
Oh how I LOVE chairs!
It is a standing joke now, that when ever I go OPPYing that I'm going to go home with a stray chair. . . {Unfortunately hubby doesn't see the need, but Shhhhhh he doesn't know about this one yet. hee hee} But this time I did think, 'Where can I put you' before I bounded up to the counter with the biggest smile on my face to pay for my $8 {yes that is right} $8 chair.
Oh how I LOVE chairs, Oh how I LOVE Oppy finds!!!!
The next Question was: "What to do with this chair"?, Then I stumbled upon Li'l Magoolie and her amazing blog and her monthly challenge:

Unfortunately I missed January:
Add something yellow to your bedroom (or your kidlet’s)
and because I only found it on the 27th February I also missed February:
Paint an item of furniture in a colour that makes you happy!
So you could imagine how ecstatic I was to find that March challenge was:
Your challenge: Get crafty with the colour green
Yay! My chair fitted into all 3 months. {When I read February's challenge I already had the fabric and had planned on painting the chair white, but changed to yellow to fulfill the challenge. But I then missed the dead line {as it was only 2 days away}. So that is why I was sooooooo pleased that March was GREEN as, WALLA, green seat cover.
I do plan on making more things GREEN as that was technically last months challenge so keep an eye out . . . .
Anyway back to the chair, Here is how I did it.
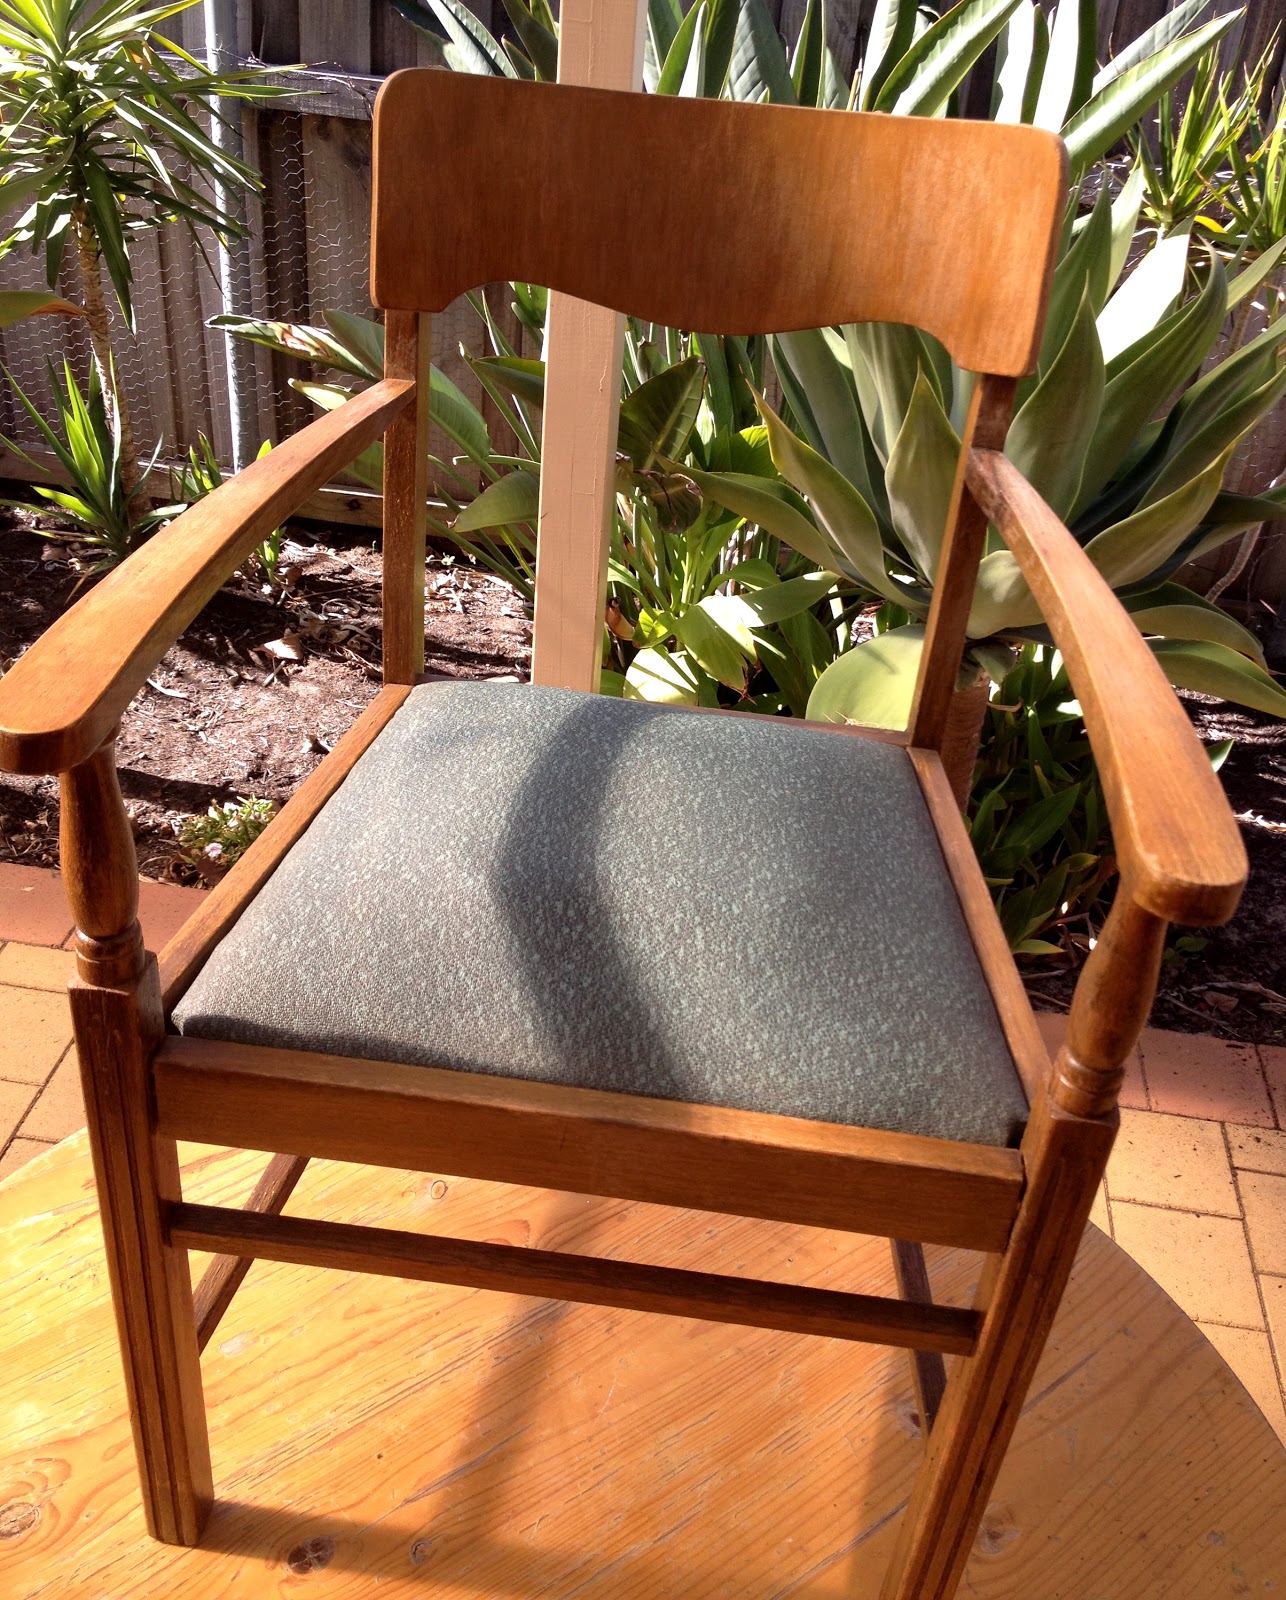 |
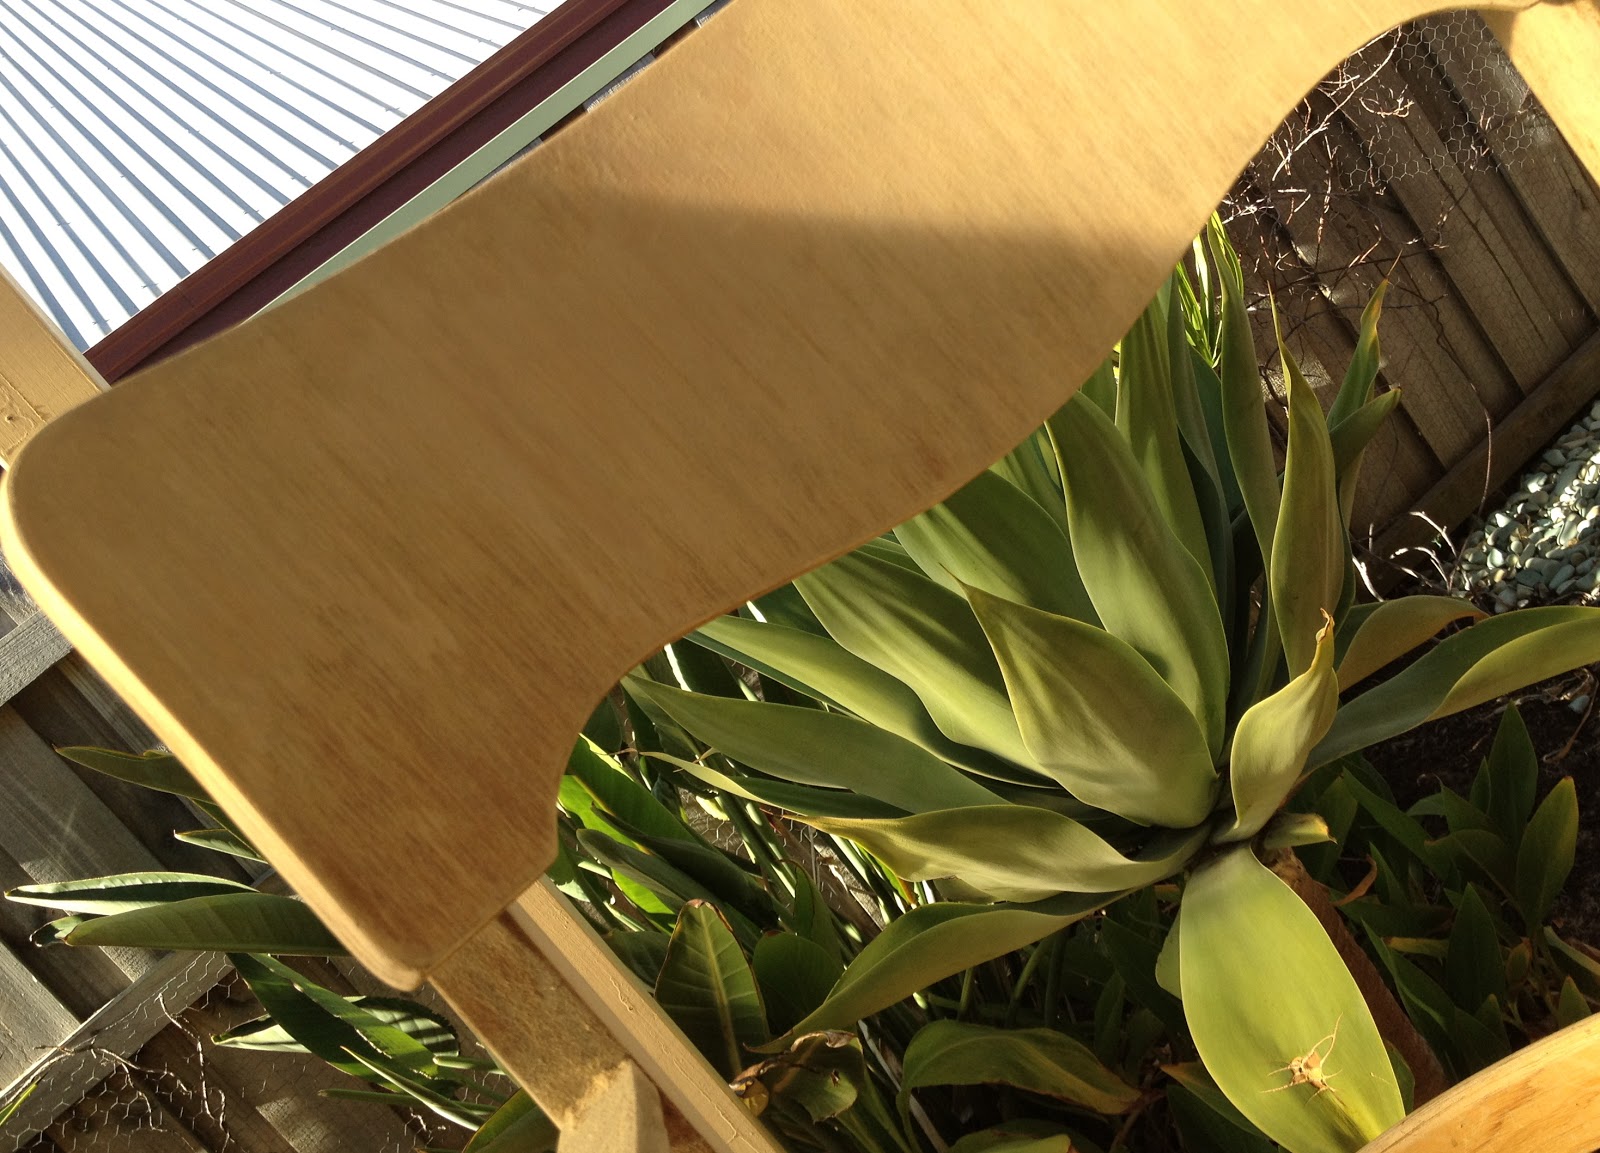
| I took one plain boring chair . . . . |
 |
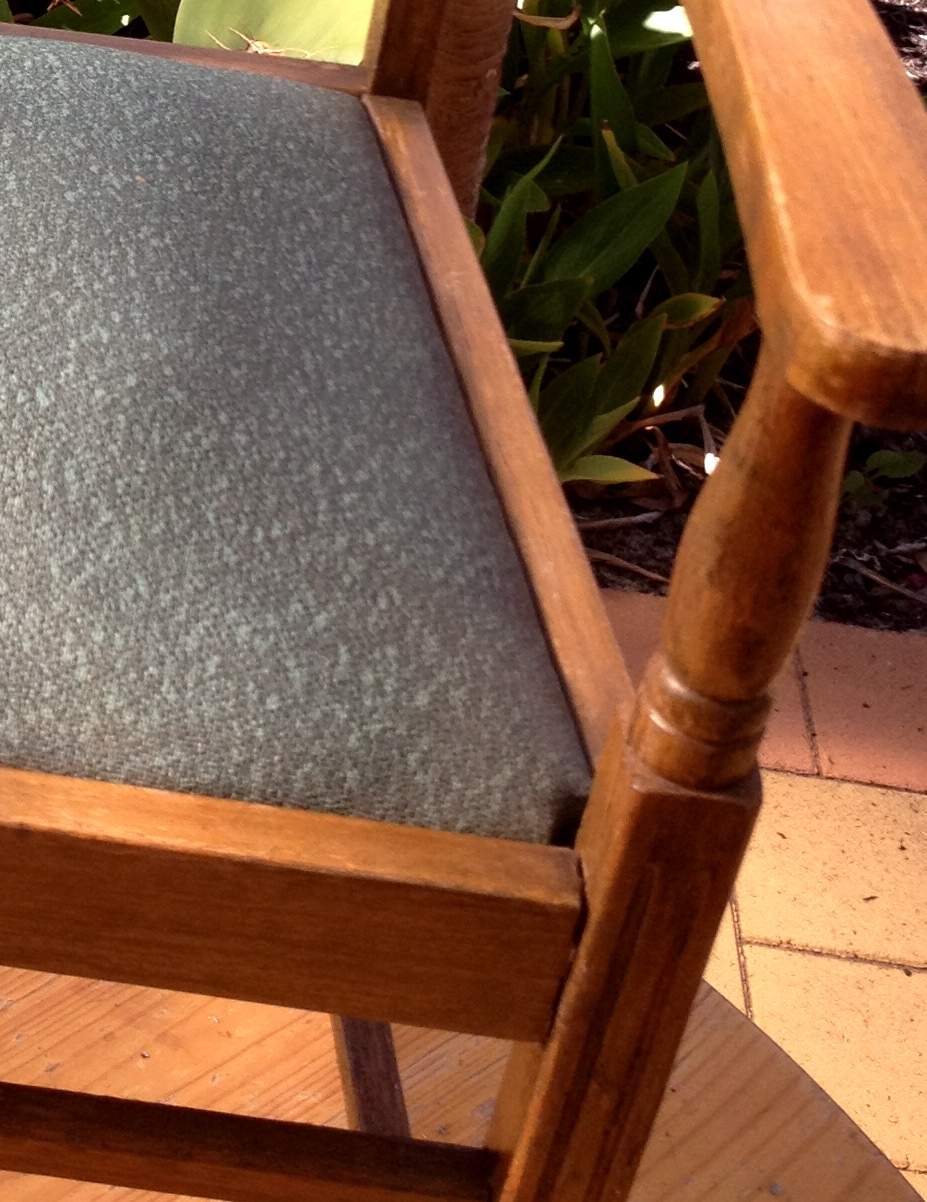
| {This is a comfy seat I must add - and no rips - Bonus!} |
 |
| I sanded. . . . |

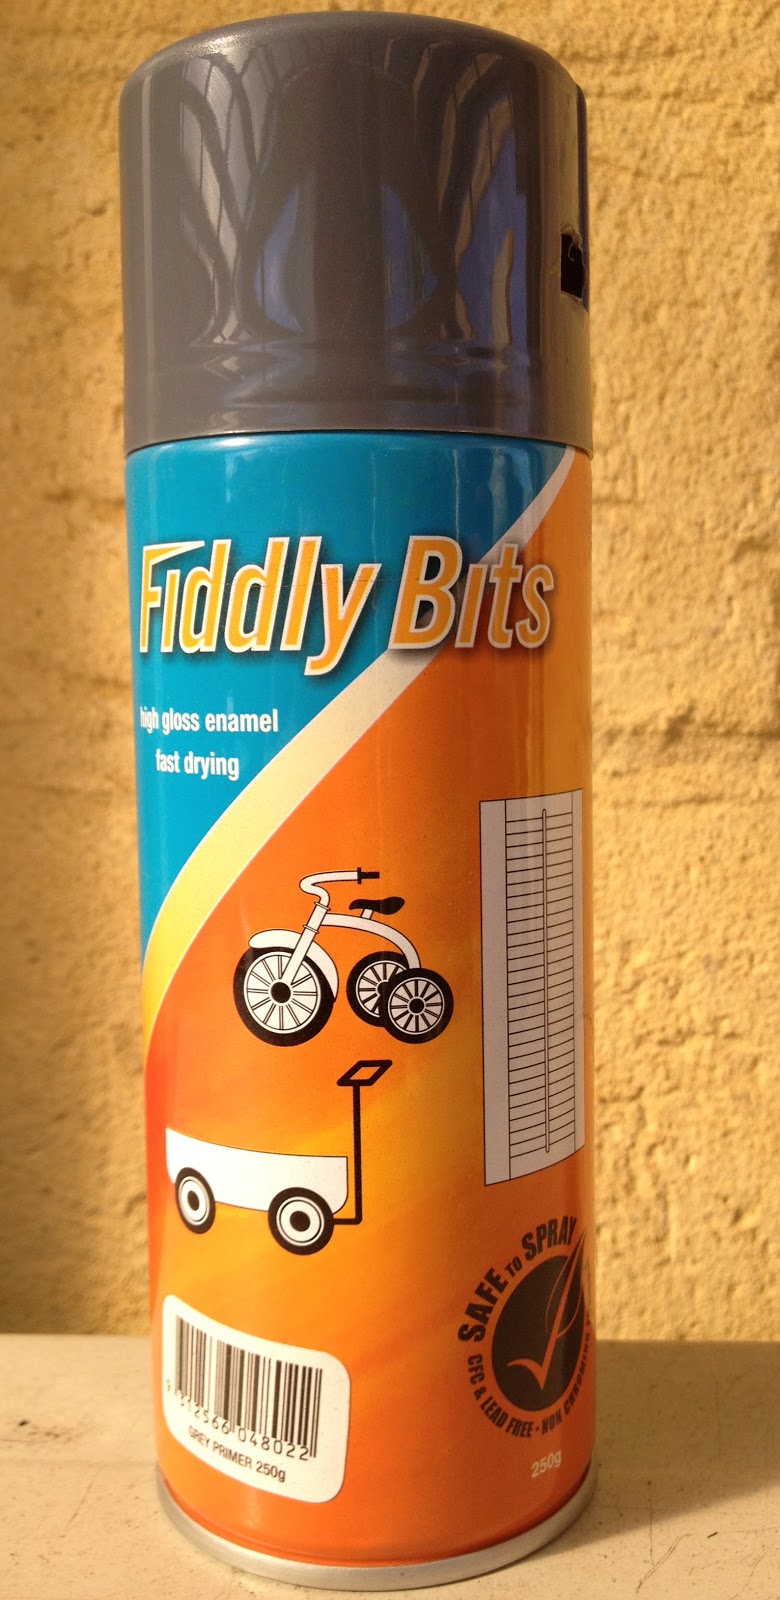
Then I primed using Fiddly Bits from Bunnings $2.95 {This is what the paint guy recommended as he said the paint would come out brighter, but I think I would prefer a lighter undercoat as it took a few coats of paint to cover the dark gray. Though in saying that I'm sure if that was possible he would have recommended that ha!}
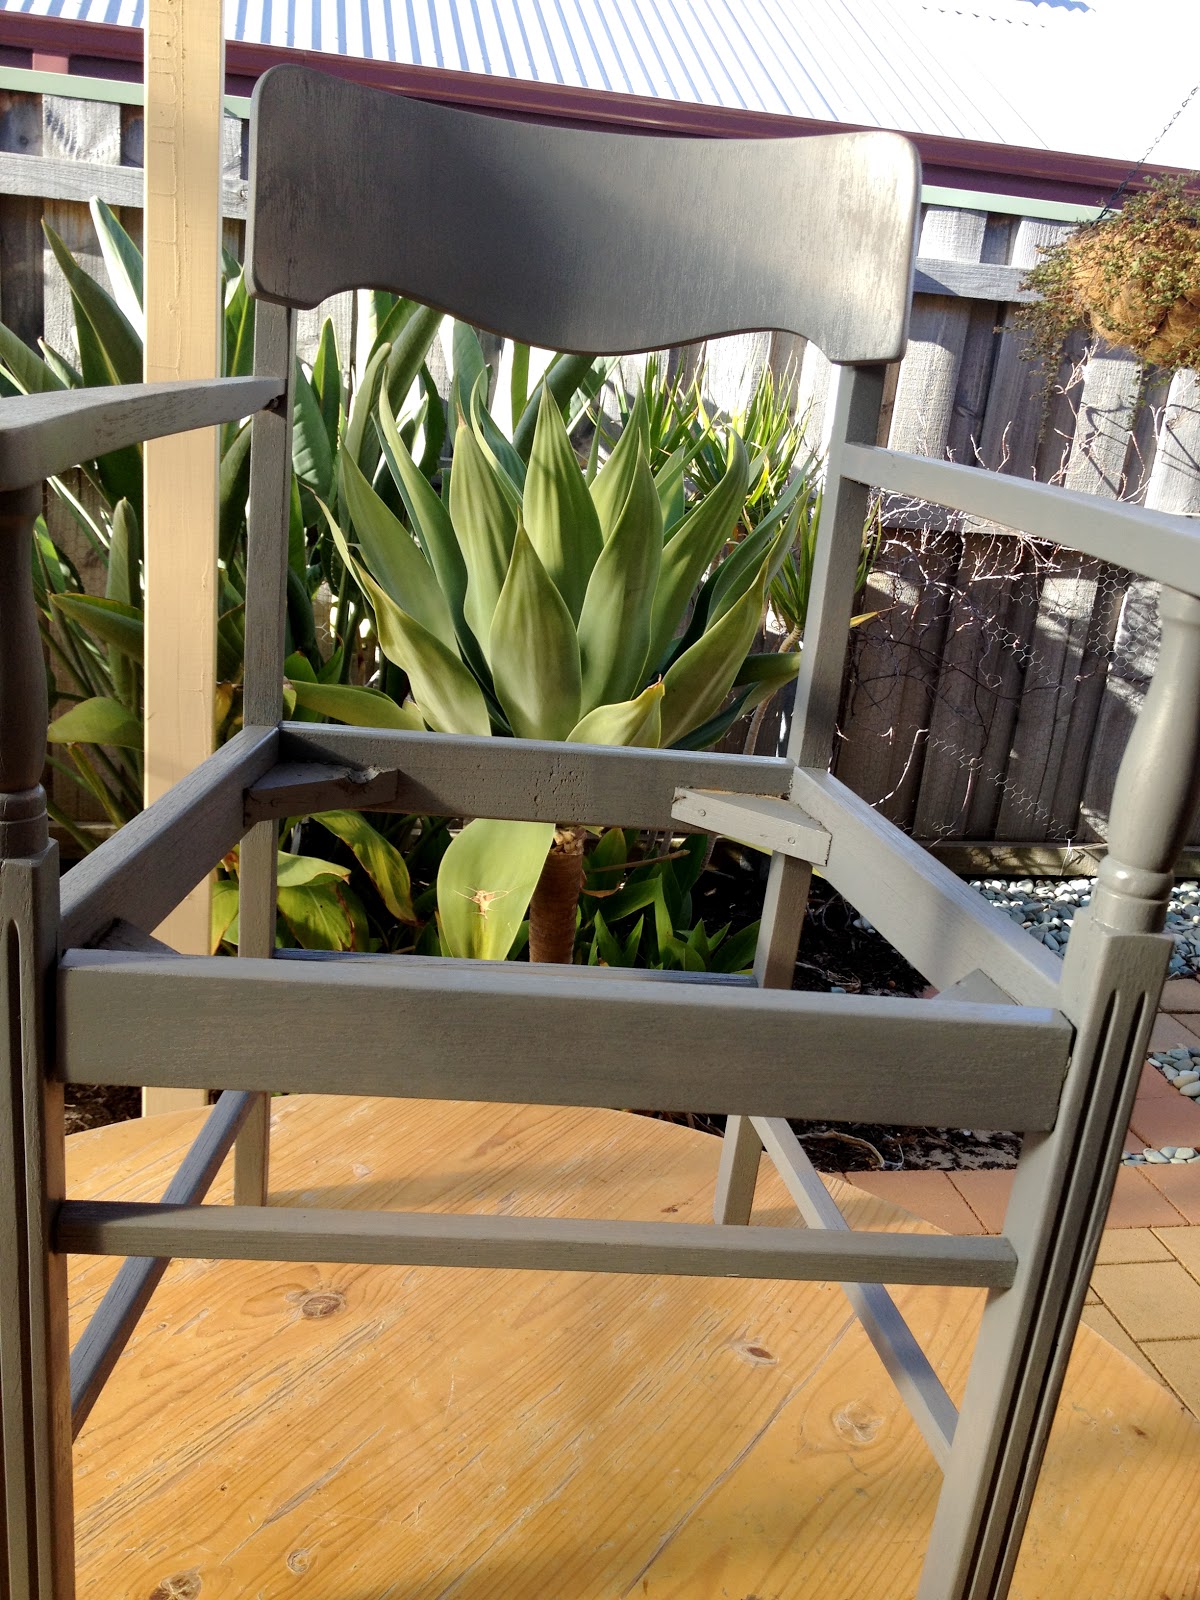 |
| One UGLY gray primed chair. |
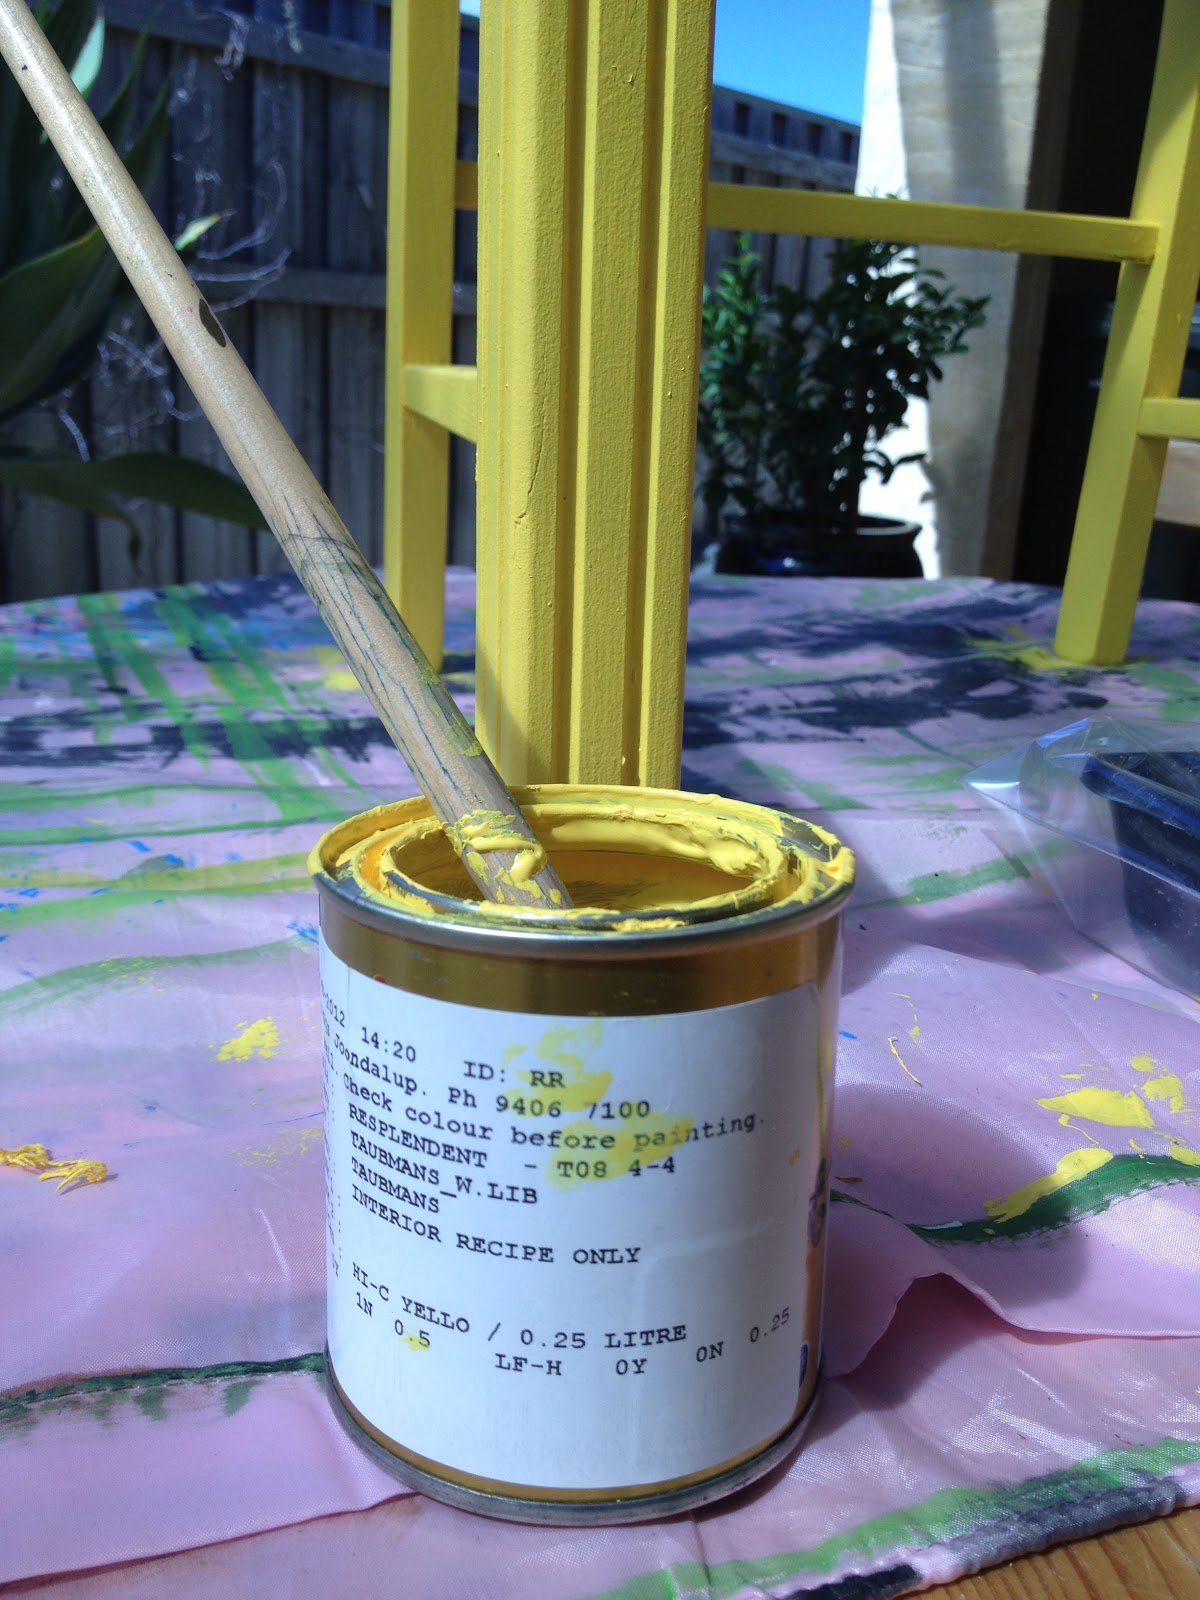
The paint I chose was Taubmans: Resplendent - {I took in my fabric sample to match it}
I only got a tester pot which was around $6
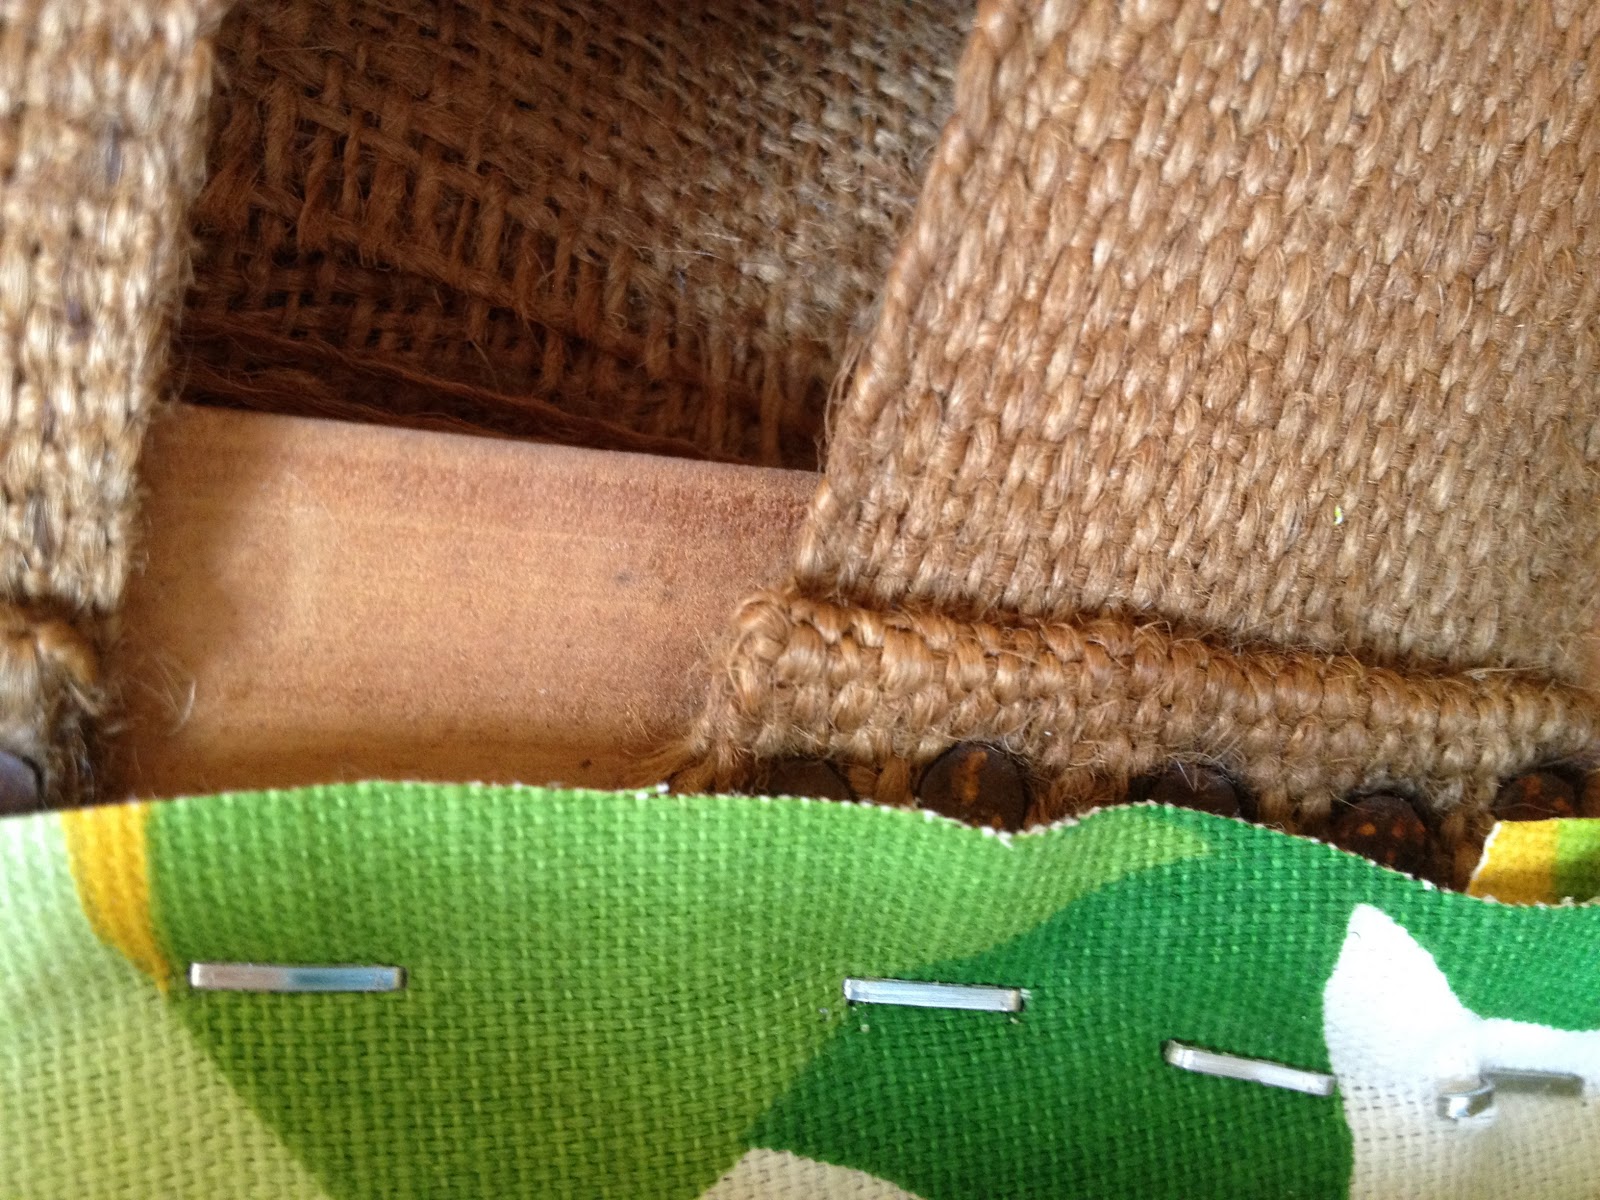 |
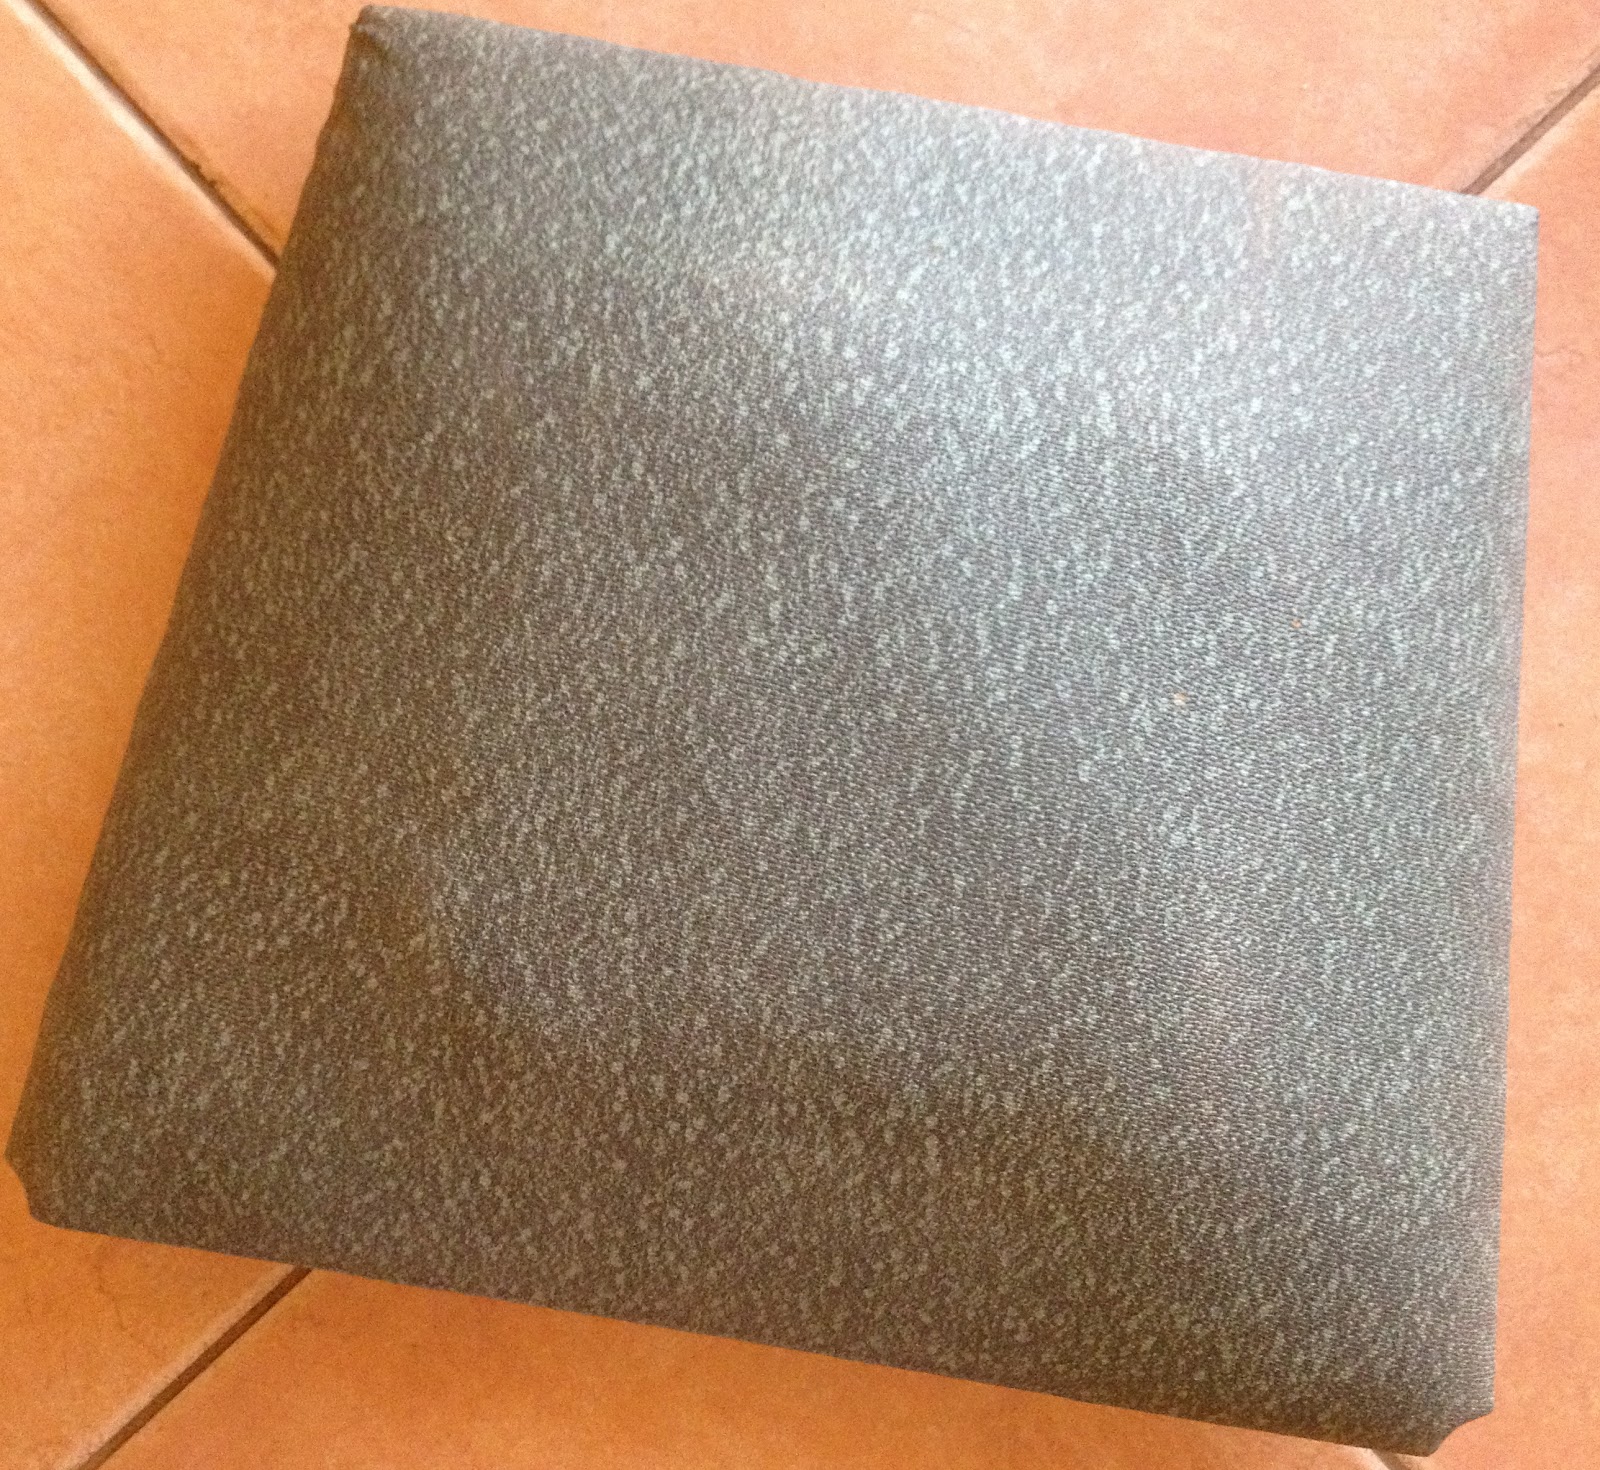
| I covered the seat with the fabric and gun stapled underneath. {It doesn't have to be fancy, no one will see under here.} |
 |
| Yay a pretty covered seat . |
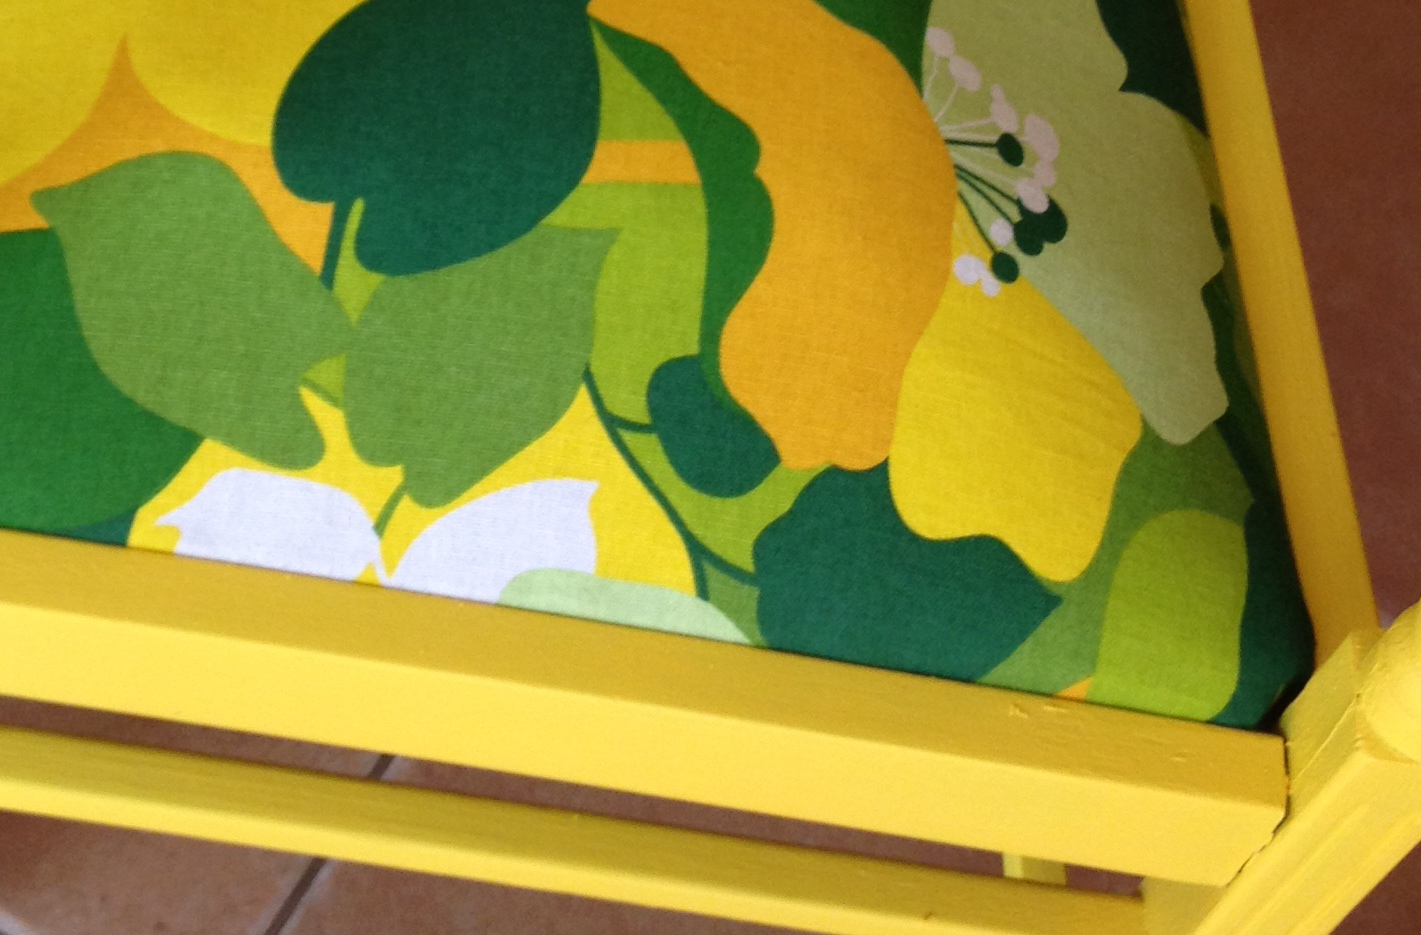
I just popped the Seat {Bit, thingy} back in, I didn't even bother screwing it or anything as I don't think it will be going anywhere!
And WALLA . . . . A spunky new chair for my sewing room!

Tash :0)
Wow that looks great. Would love this chair in our new bach/house when we build it. Love reading your blogs
ReplyDelete