Friday, October 26, 2012

We have a veggie garden!


For a while I have wanted a Veggie Garden, but because my husband works away it didn't really seam worth the effort of tending to the growing process for half of it to go to waste. However now that we are only 8wks away from our new addition joining us it seams like as good a time as any to get it started,  Plus I want to make my own baby food. 


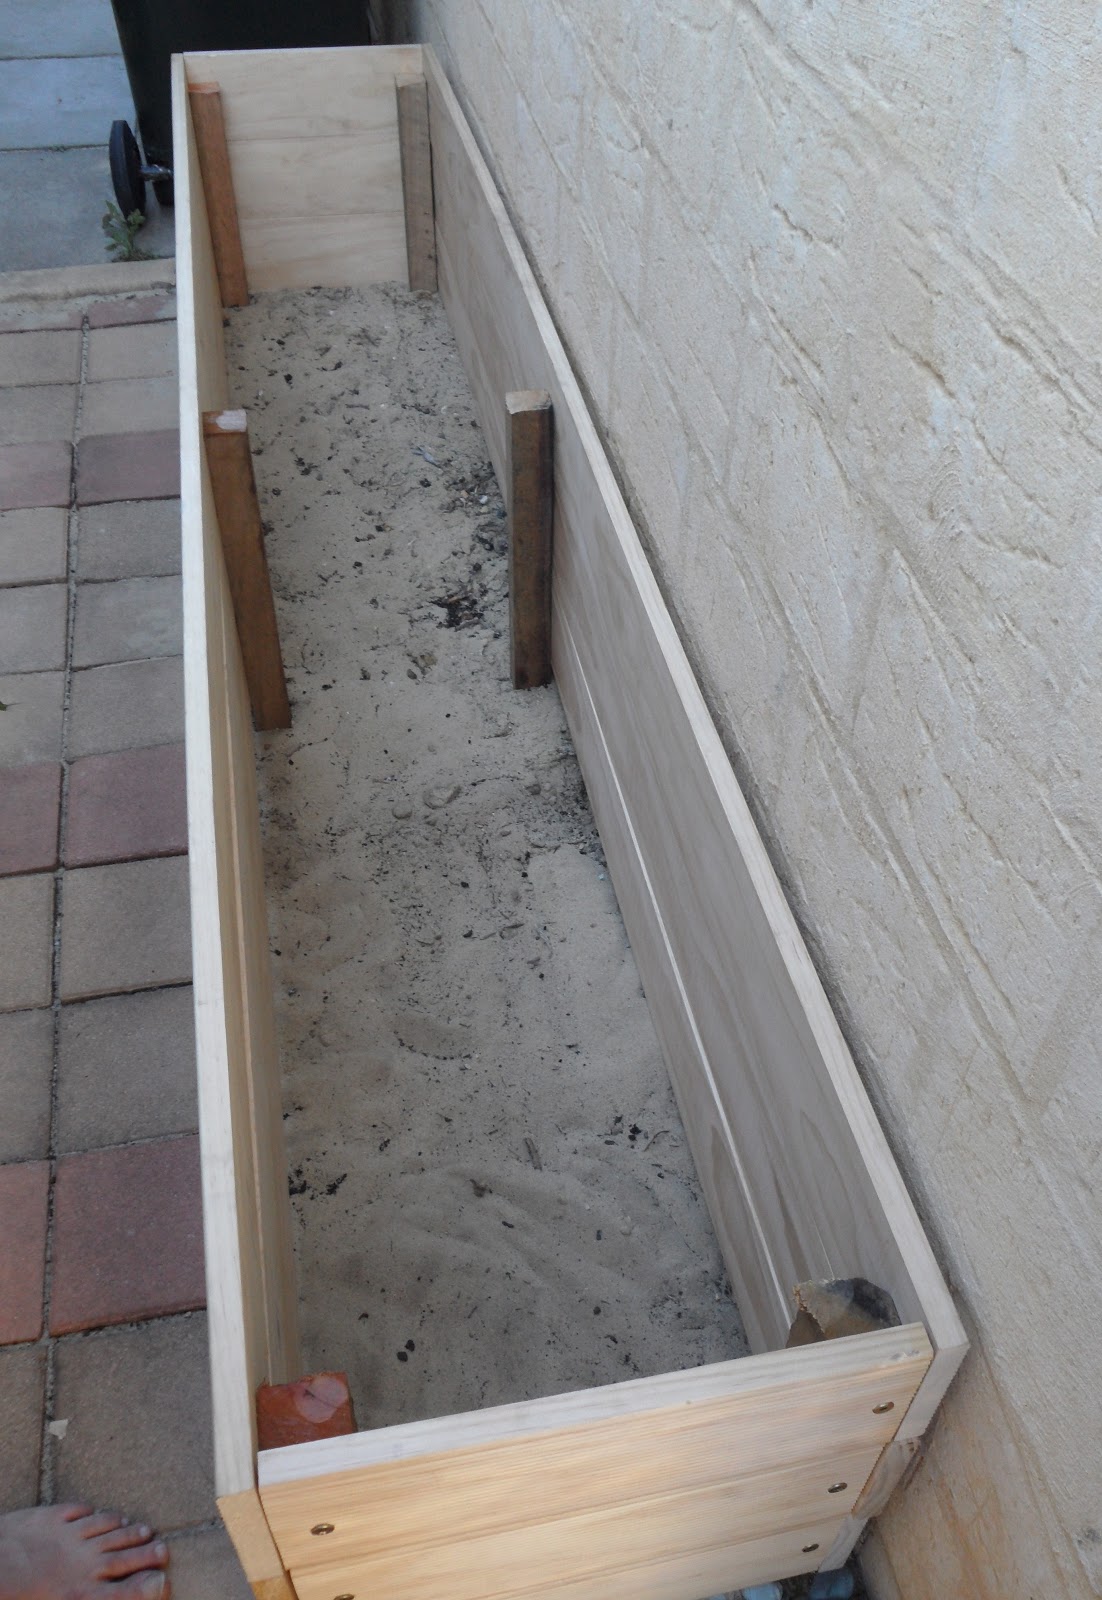
This is the space that we are using. It is down the side of our garage and gets nearly all day sun! {which I read that veggie gardens need at least 6hrs of sun a day.}


So we headed off to Masters {LOVE LOVE LOVE} and got the wood that we needed and got to work. . . . 
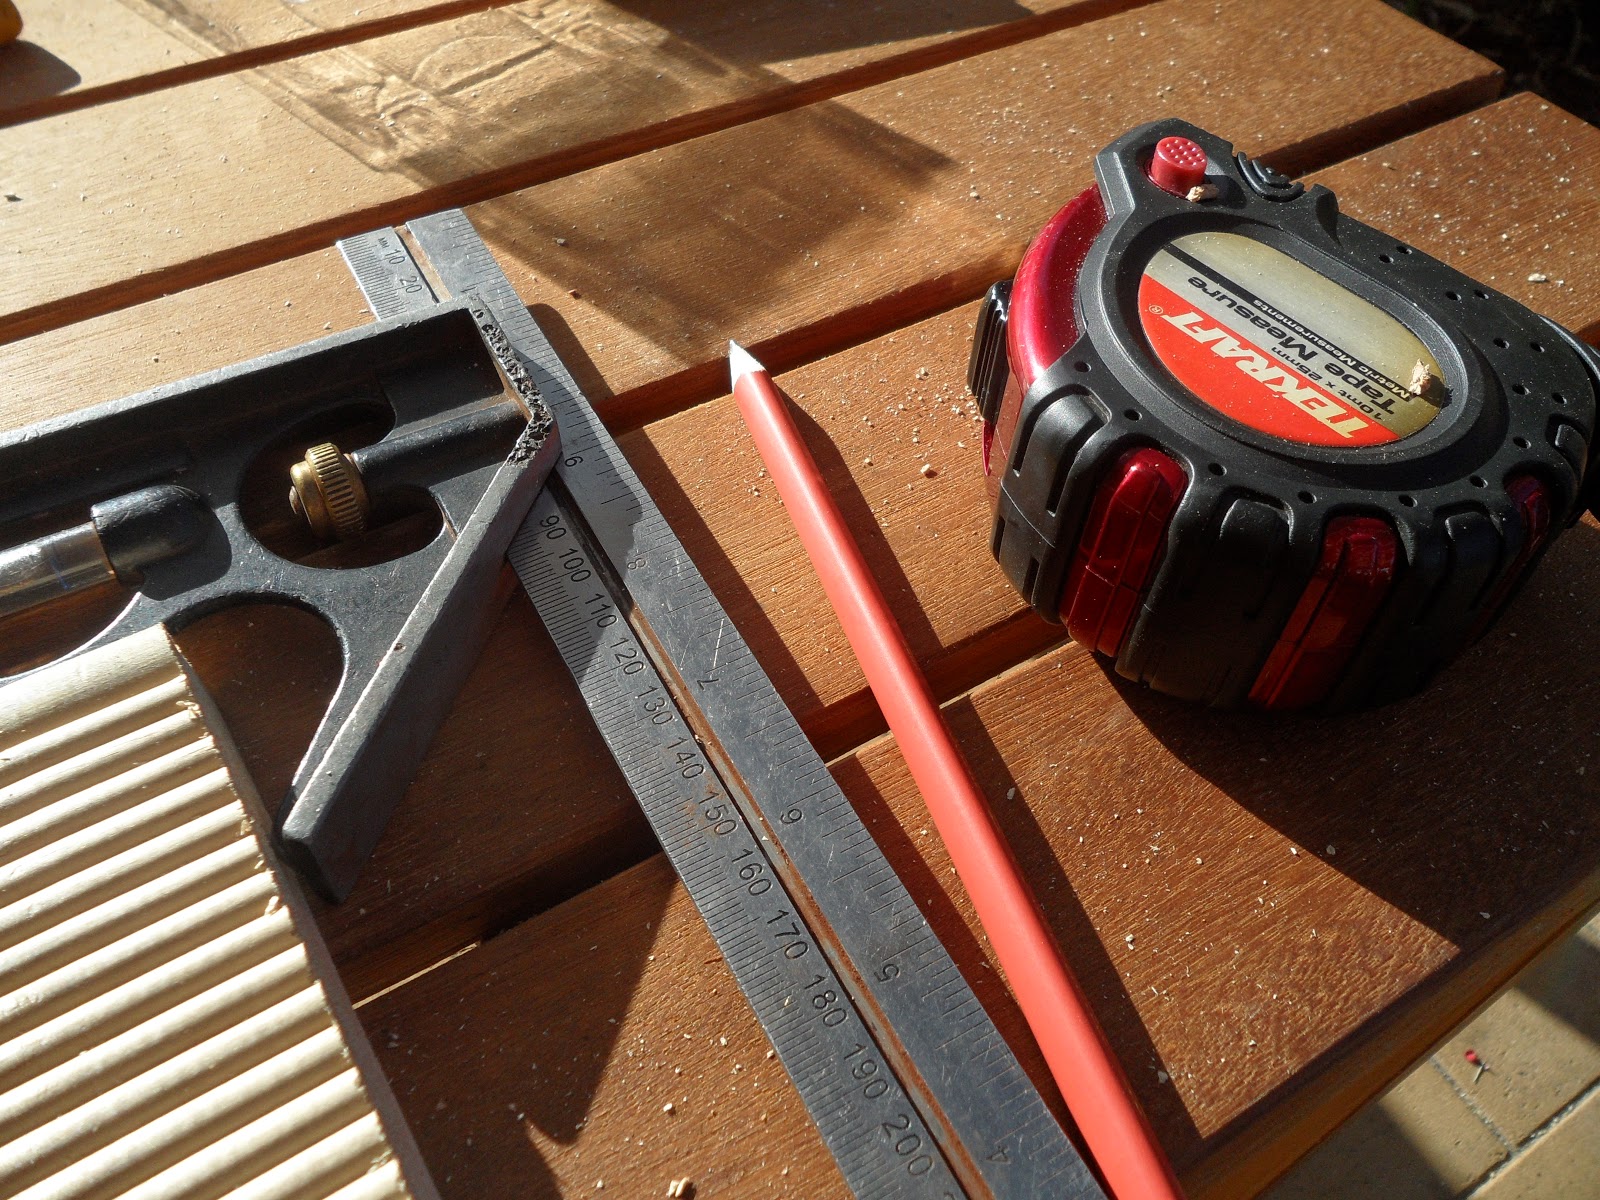

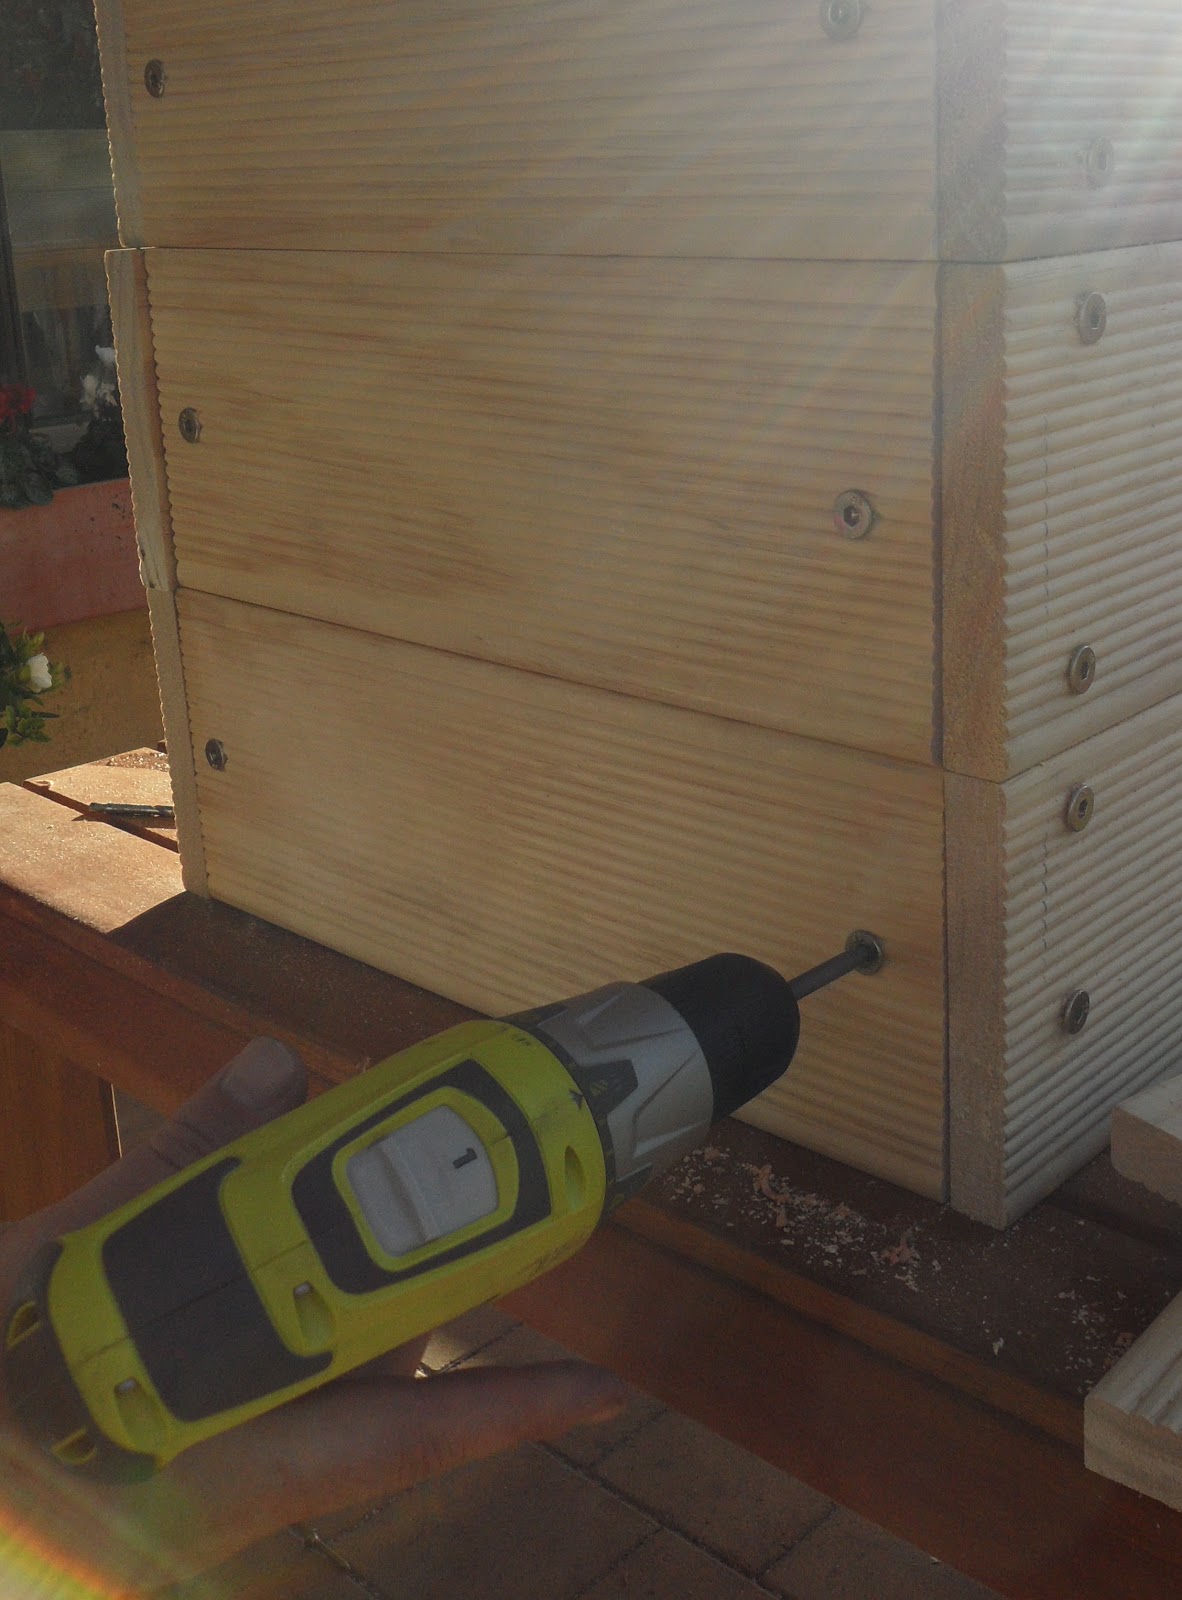
We ended up getting this decking board as they were out of stock of garden bed sleepers that I wanted, and this was untreated and according to the guy was better than the sleepers "food safe" wise. 

It was 12.7cm wide x 2.5cm thick. {not very suitable if you have a HUGE garden box, but ours is only 2.4 x .5ish, and is bulging a little from all the soil.} 
We went for 3 lengths high, and 2.4m in length.
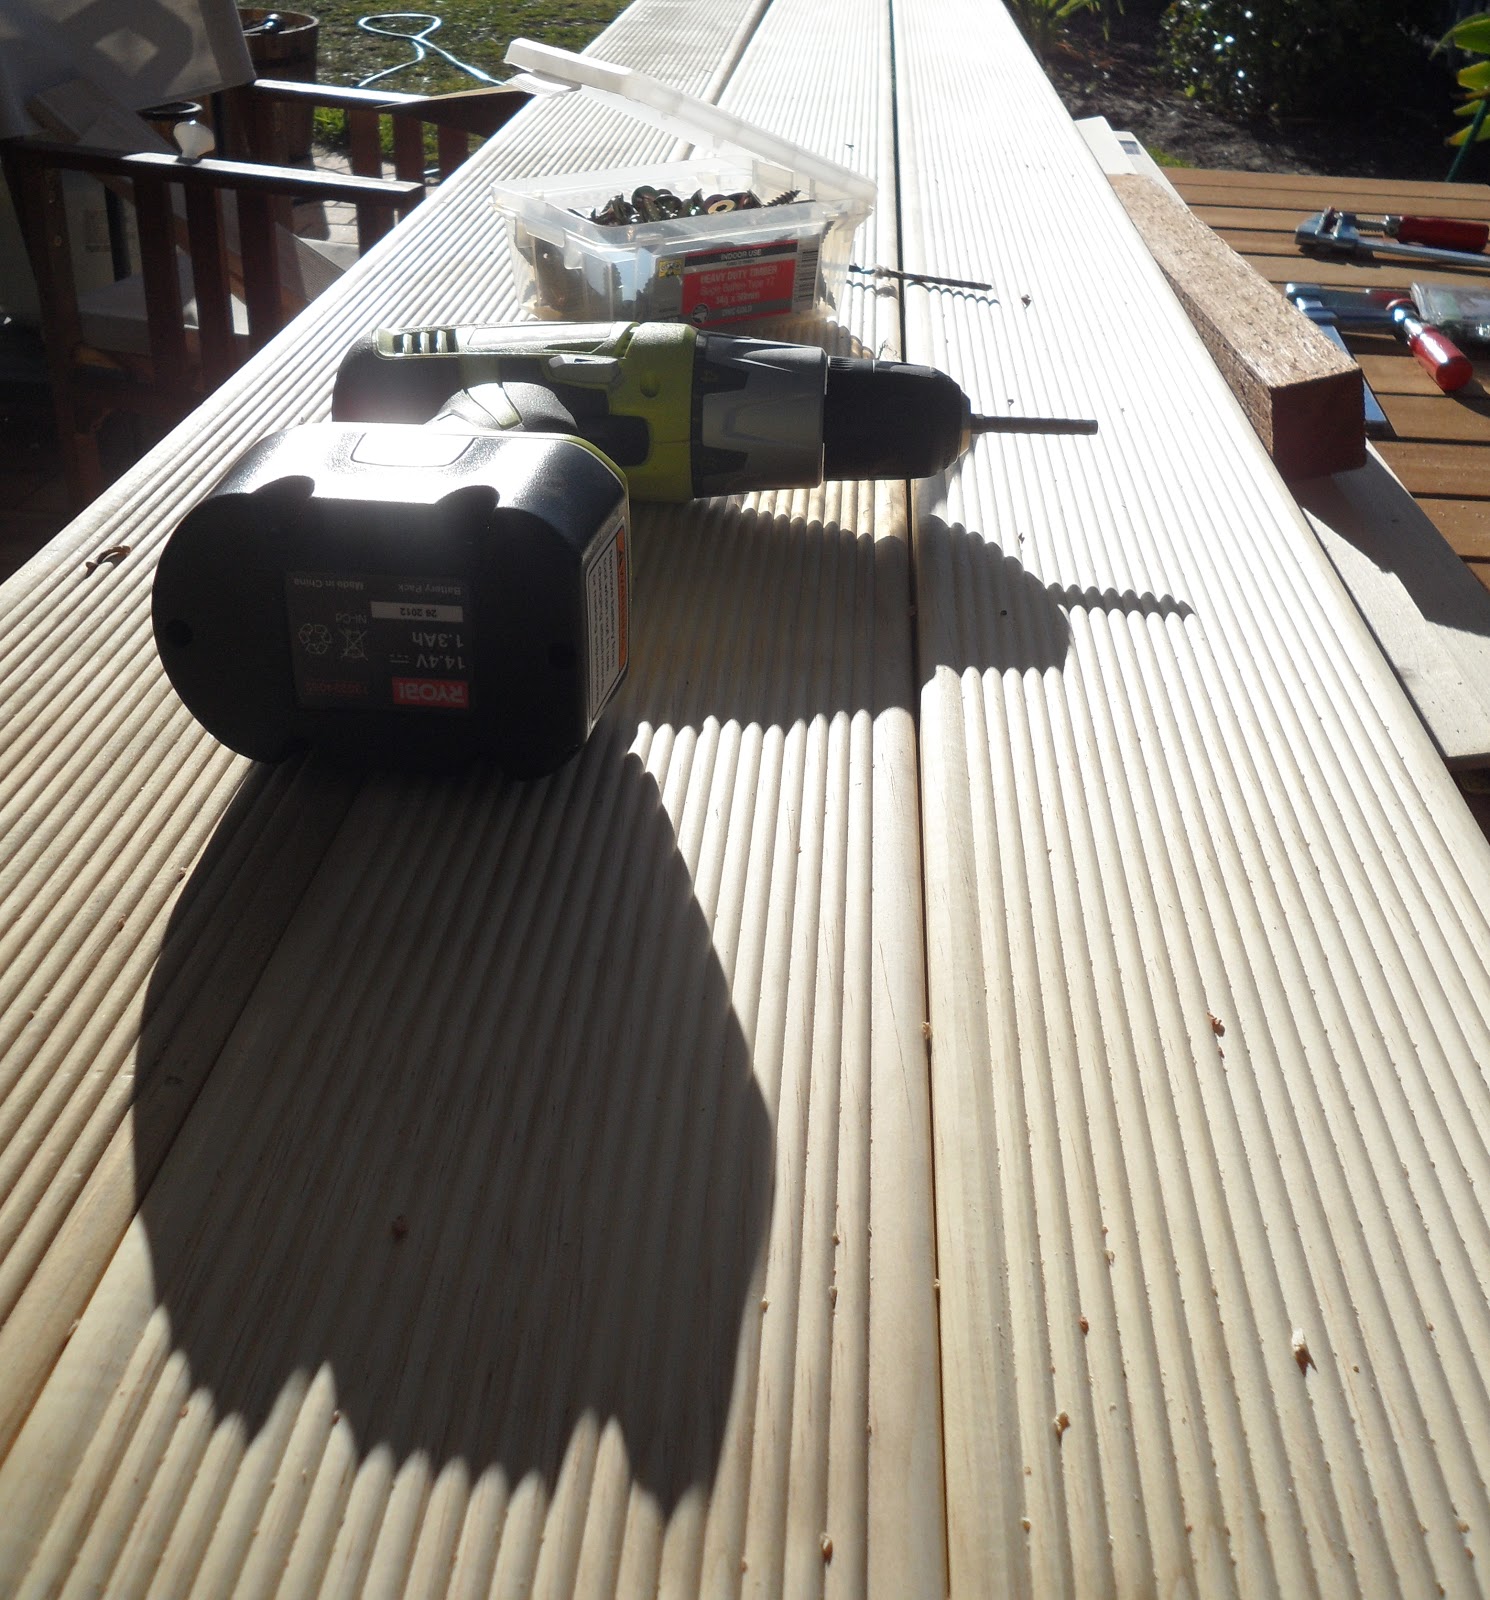

My handy man pre-drilled and screwed it all together . . . . . {I supervised!}
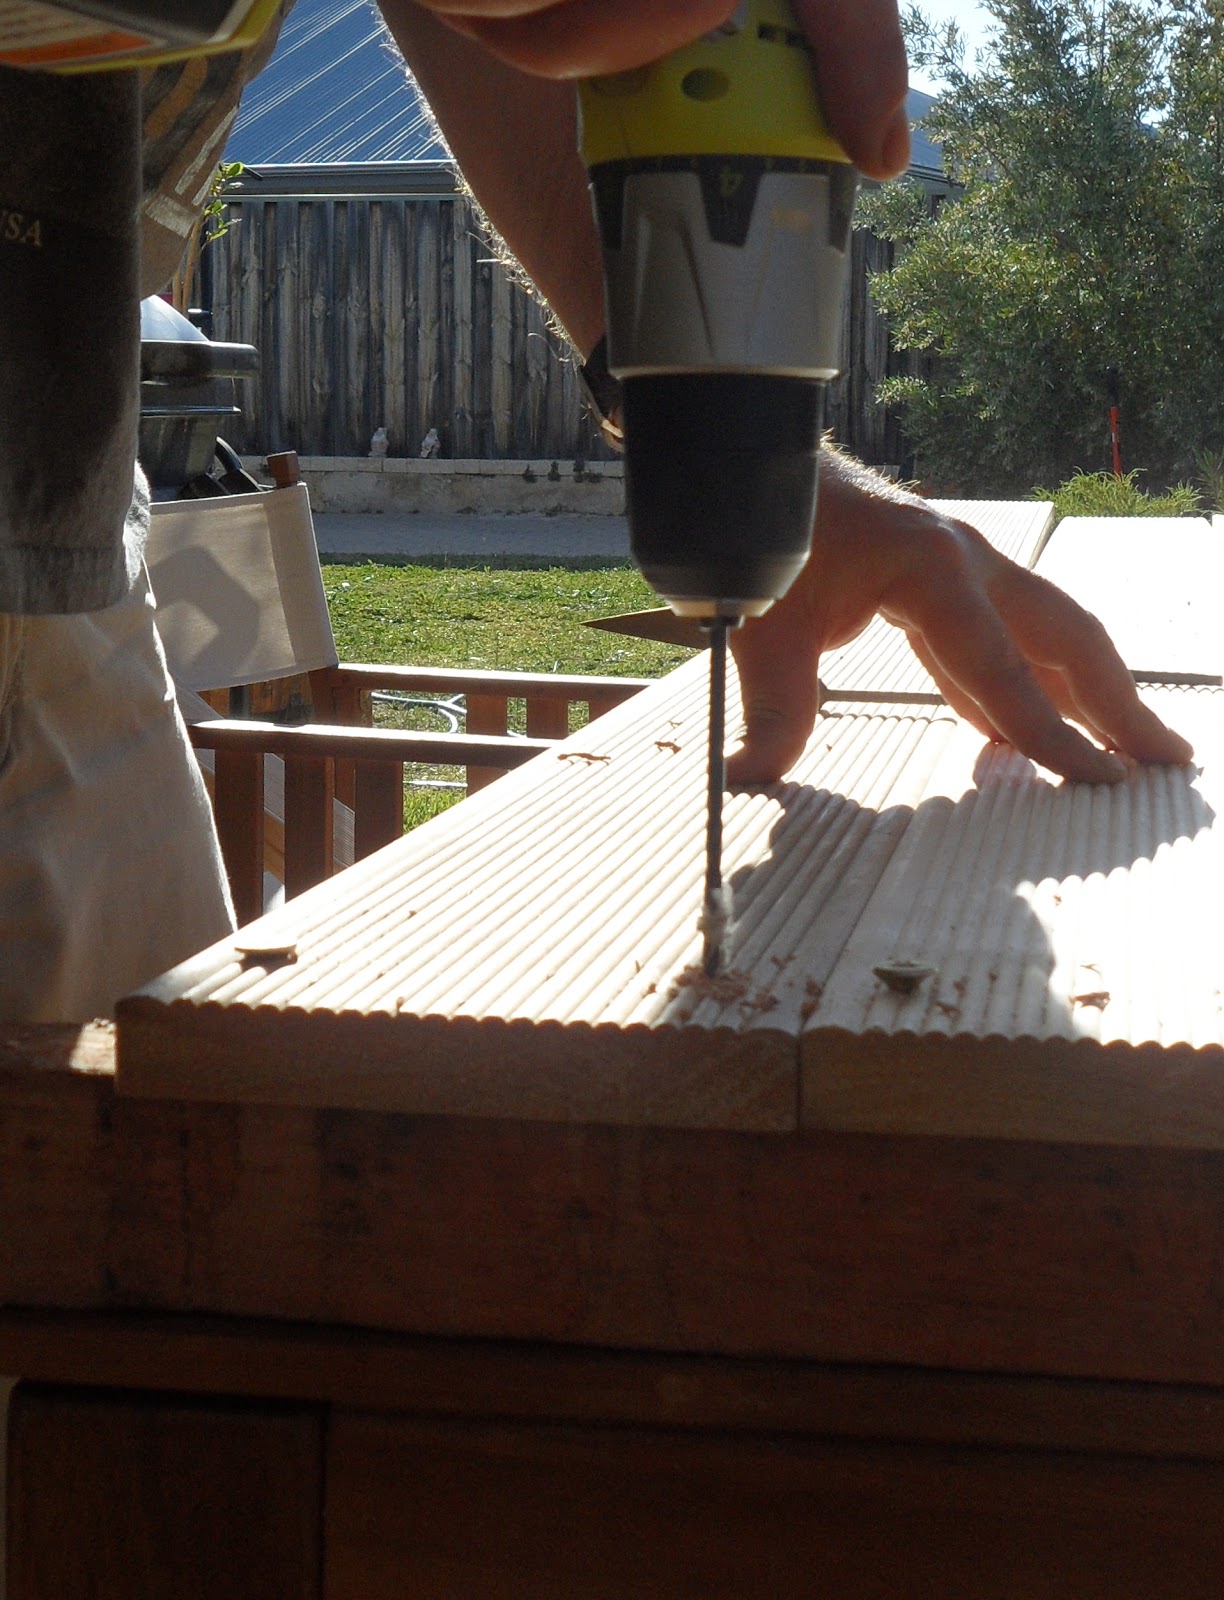


This is it at the half way point.
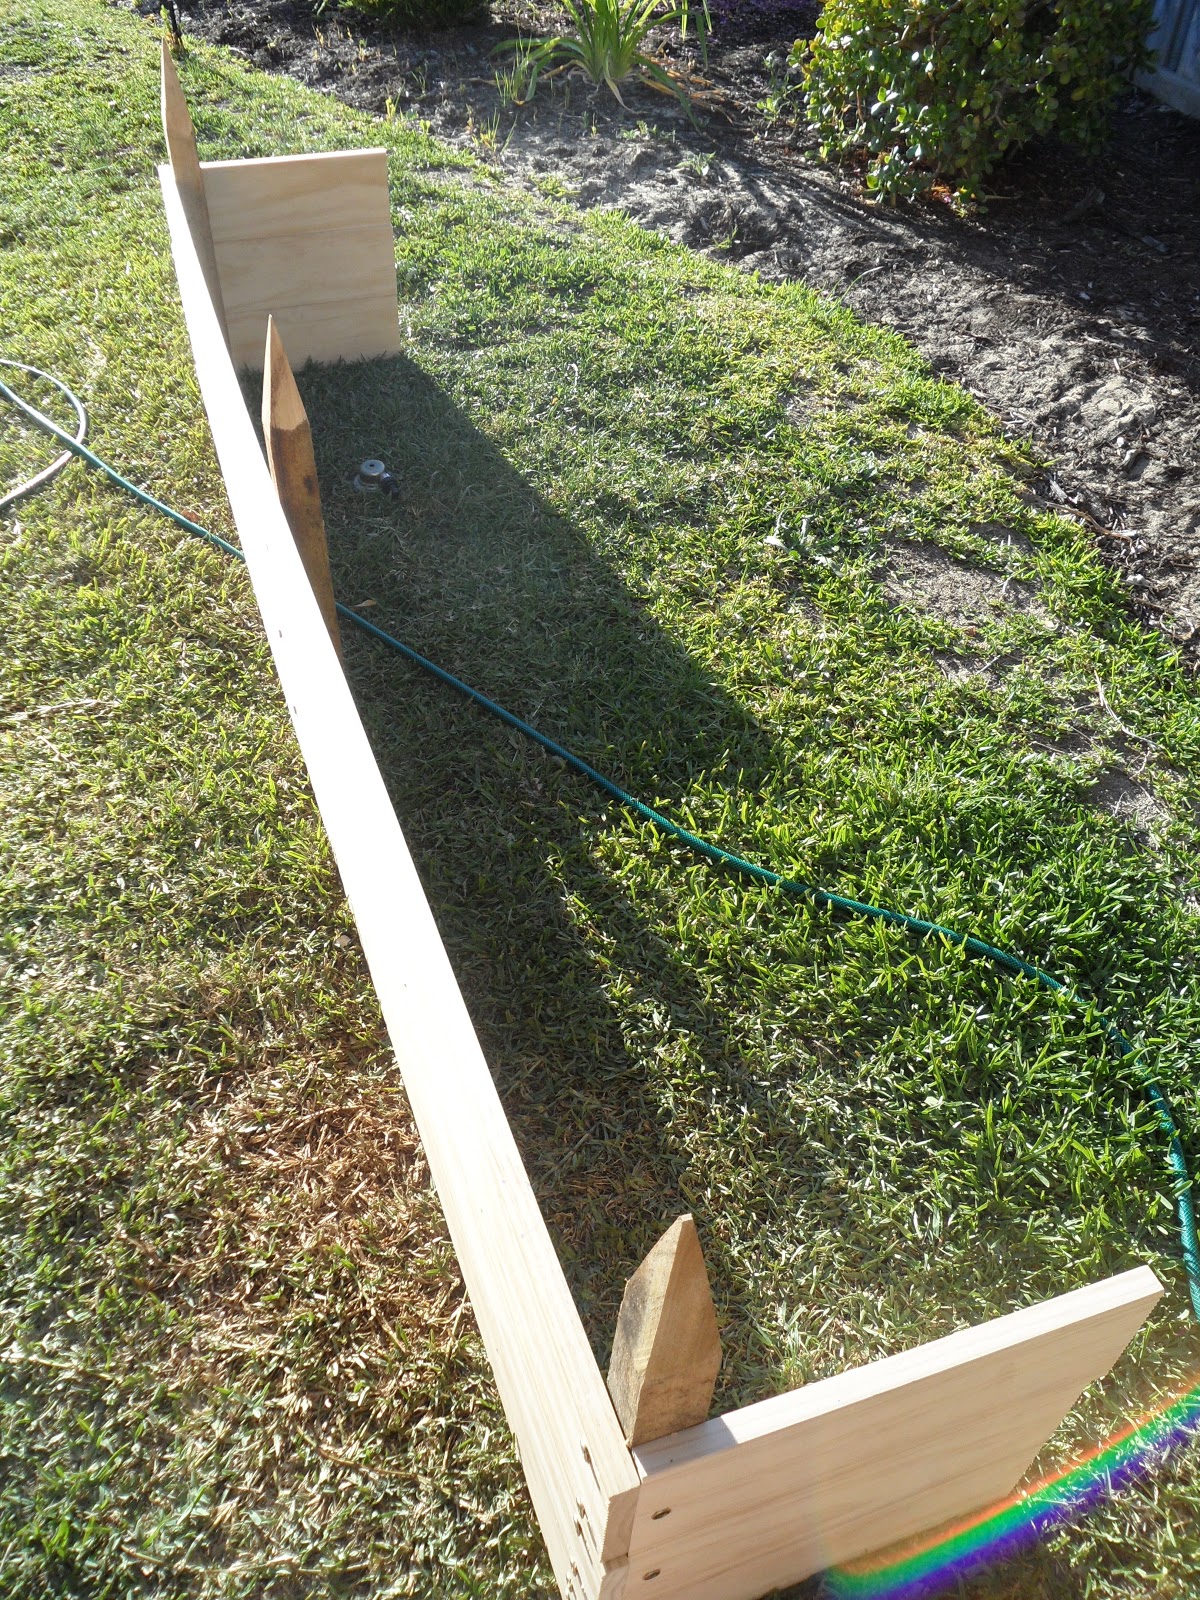


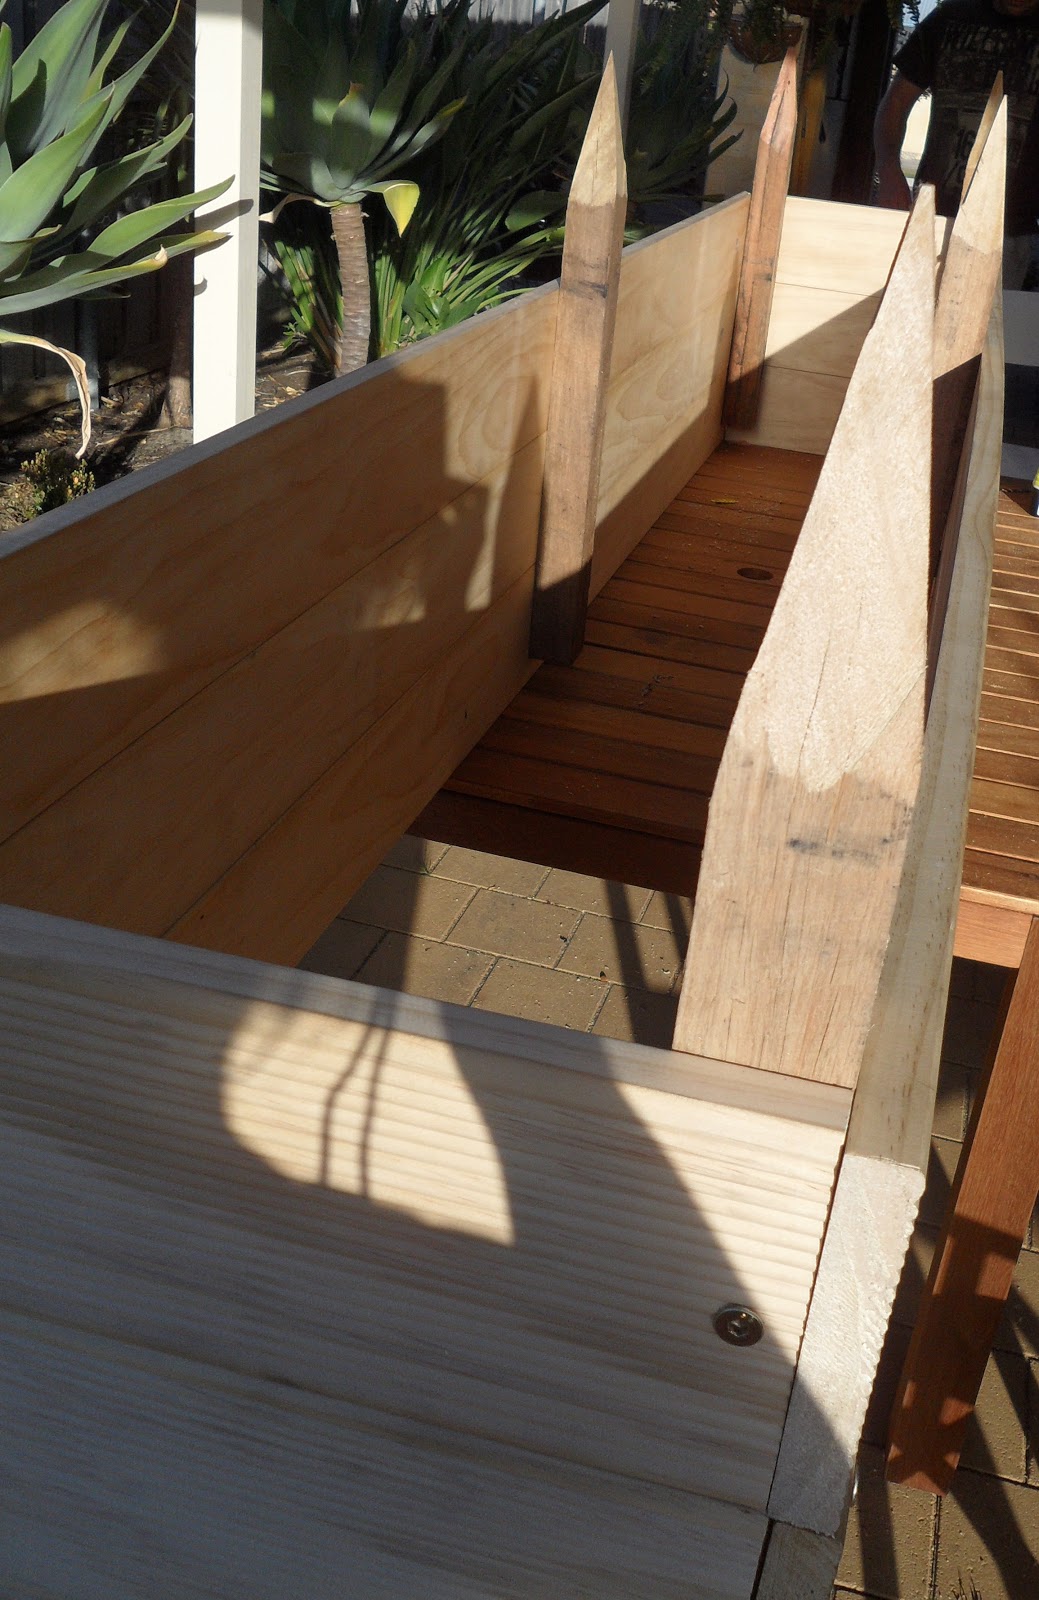
And once it was all screwed together, and introduced to it's new home!!

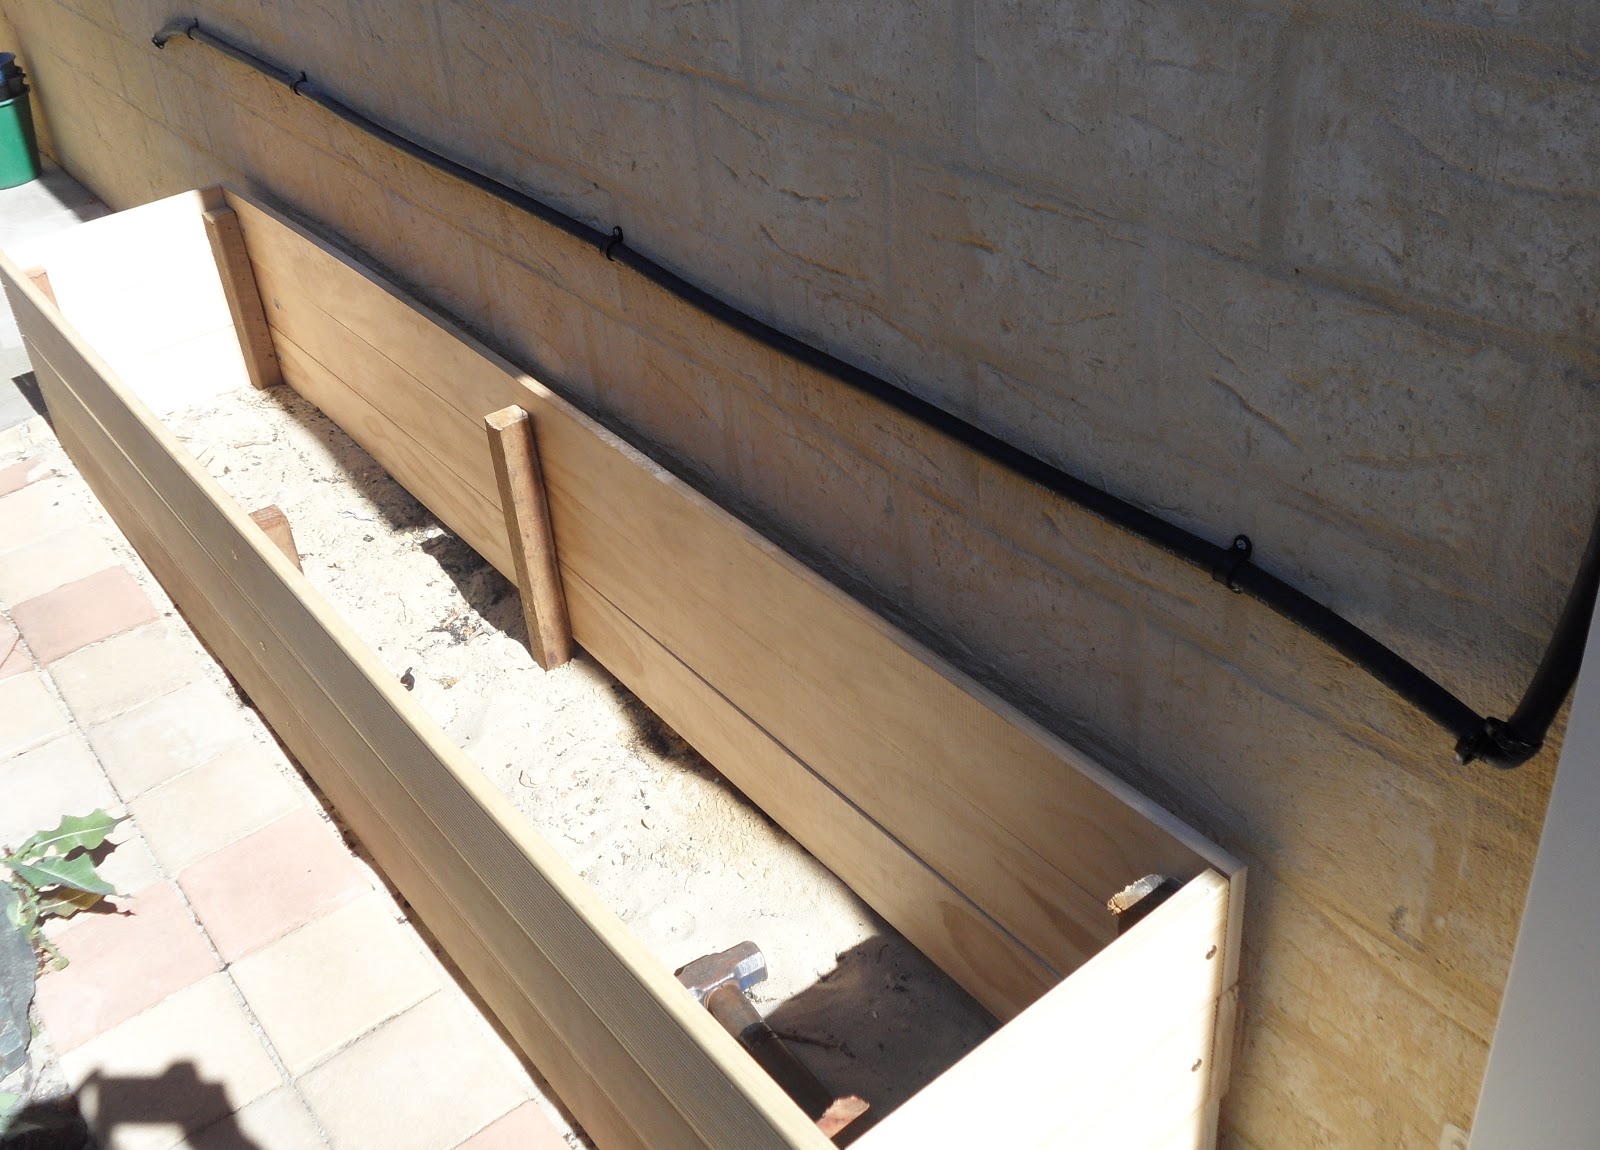
We then rigged up this nifty watering system . . . . .  . {it is also watering all our hanging baskets} 


Next was the hard job of deciding what soil to use, we went to our local Soils R Us and picked the vegetable and garden mix {or something like that}  . . . . . . .



And our garden box comes to life . . . . 
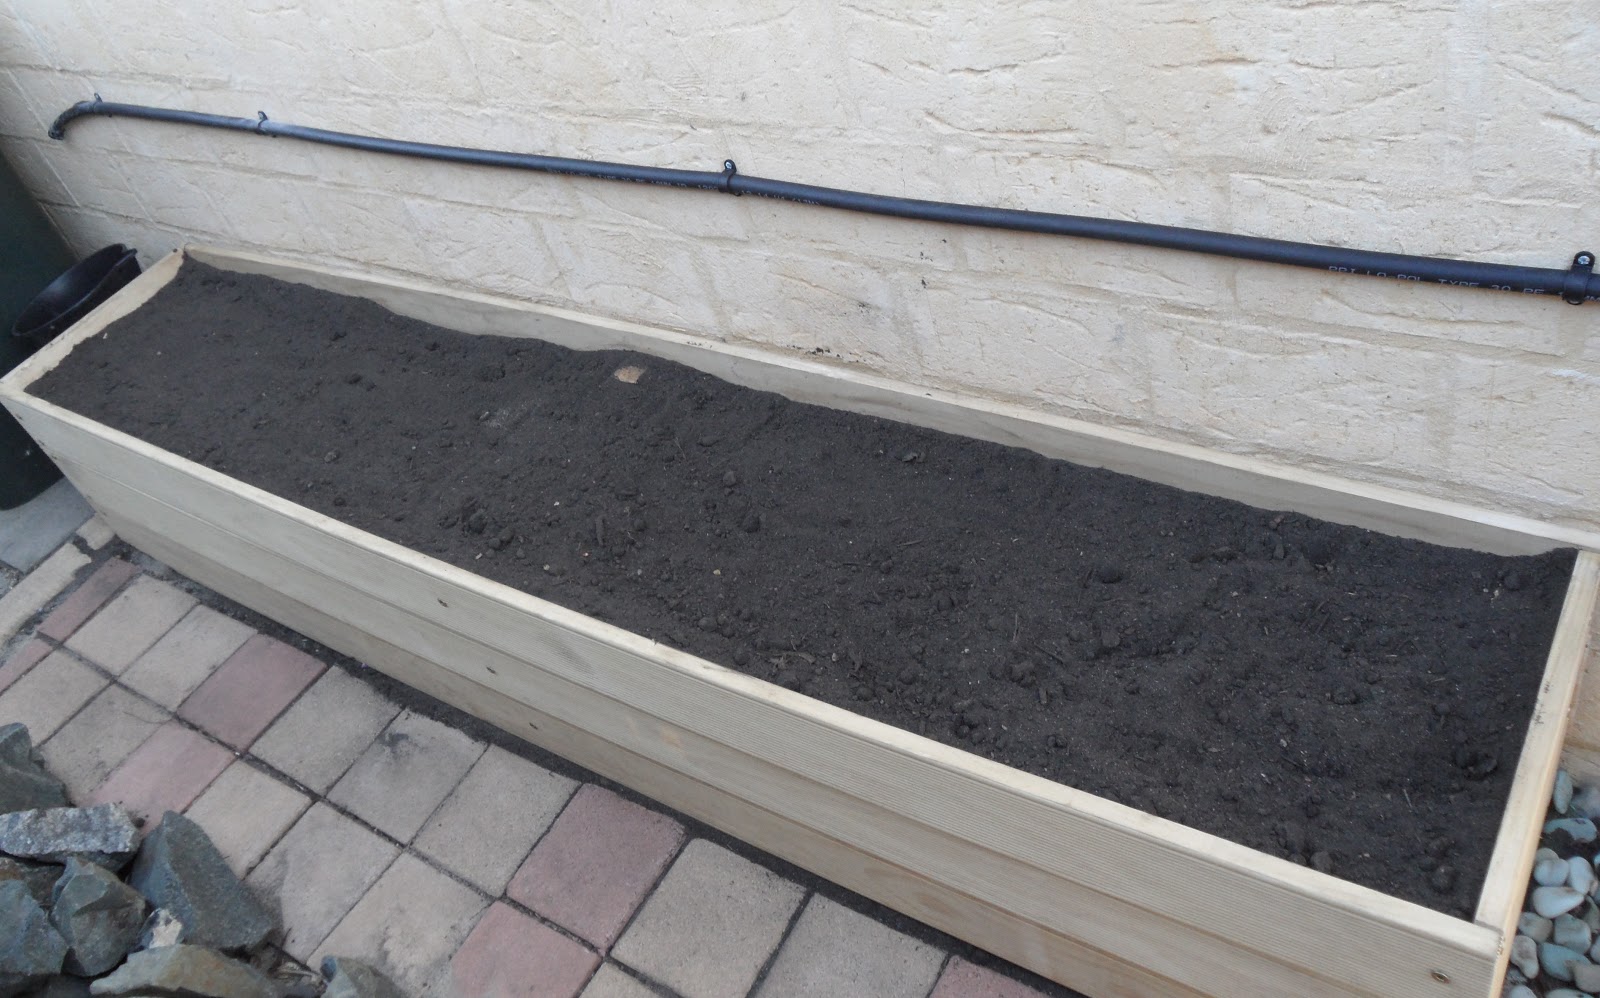

Then it was off to Masters again to pick some plant, I went a little crazy and got a few to many but I gave some away today.
I picked, Corn, Lebanese Cucumber, Broccoli, Mixed lettuce, Carrots, Red Capsicum and Cherry Tomatoes. {oh and a strawberry plant ~ in the big black pot, pictured in the last photo}
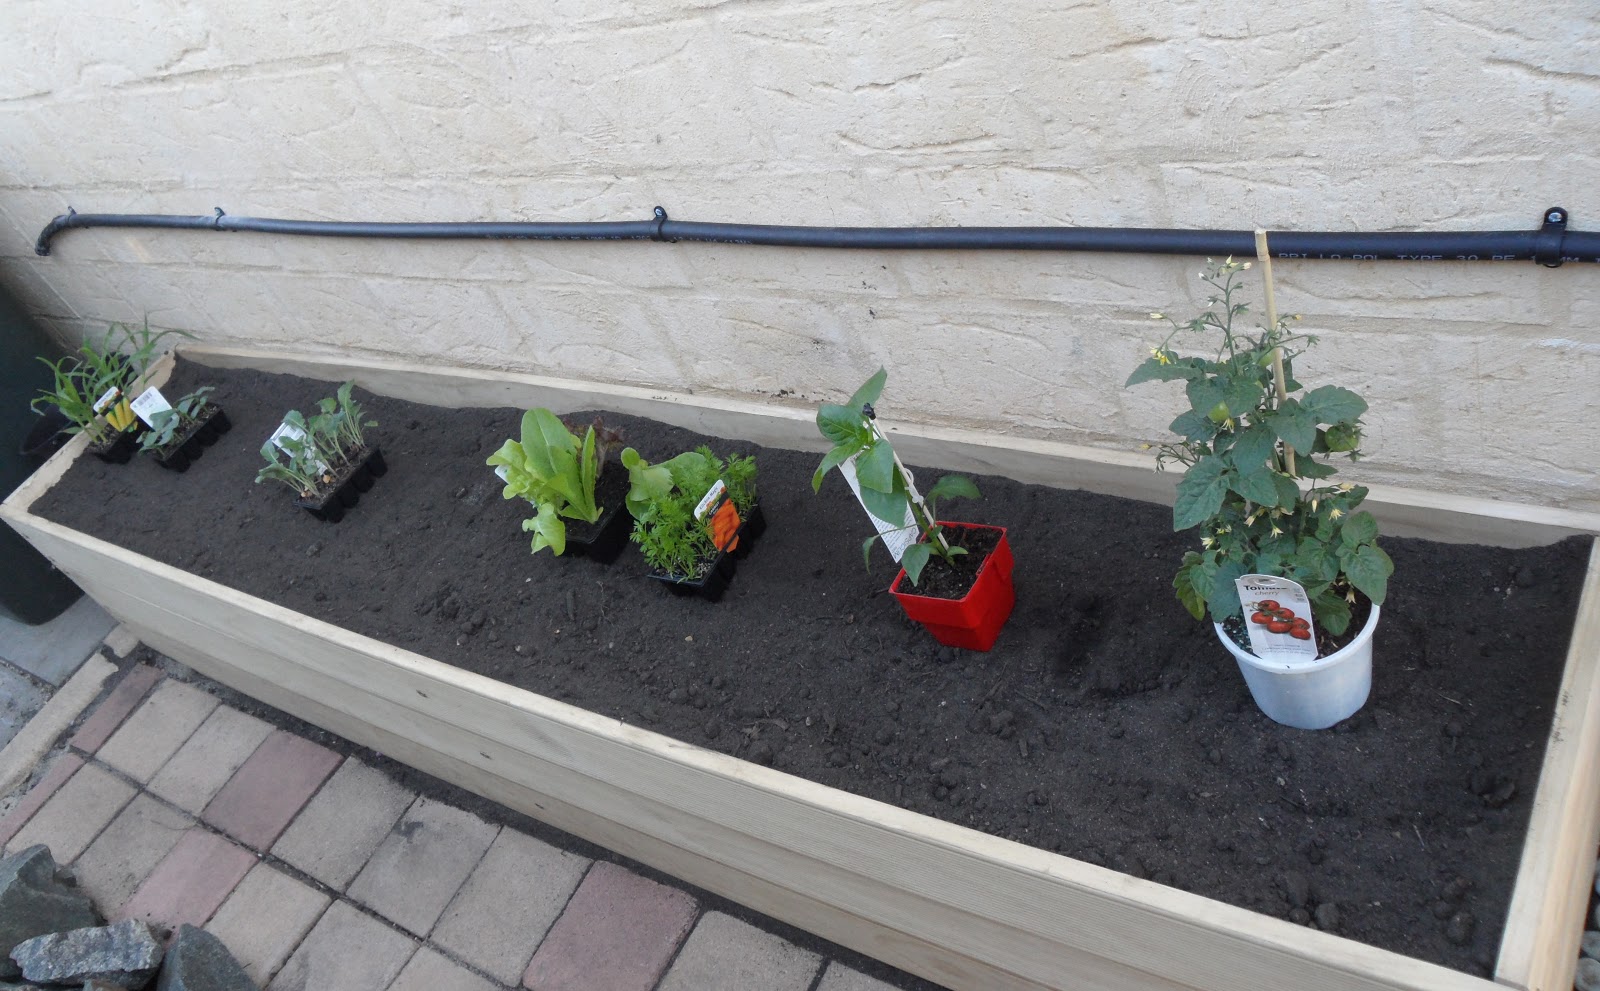


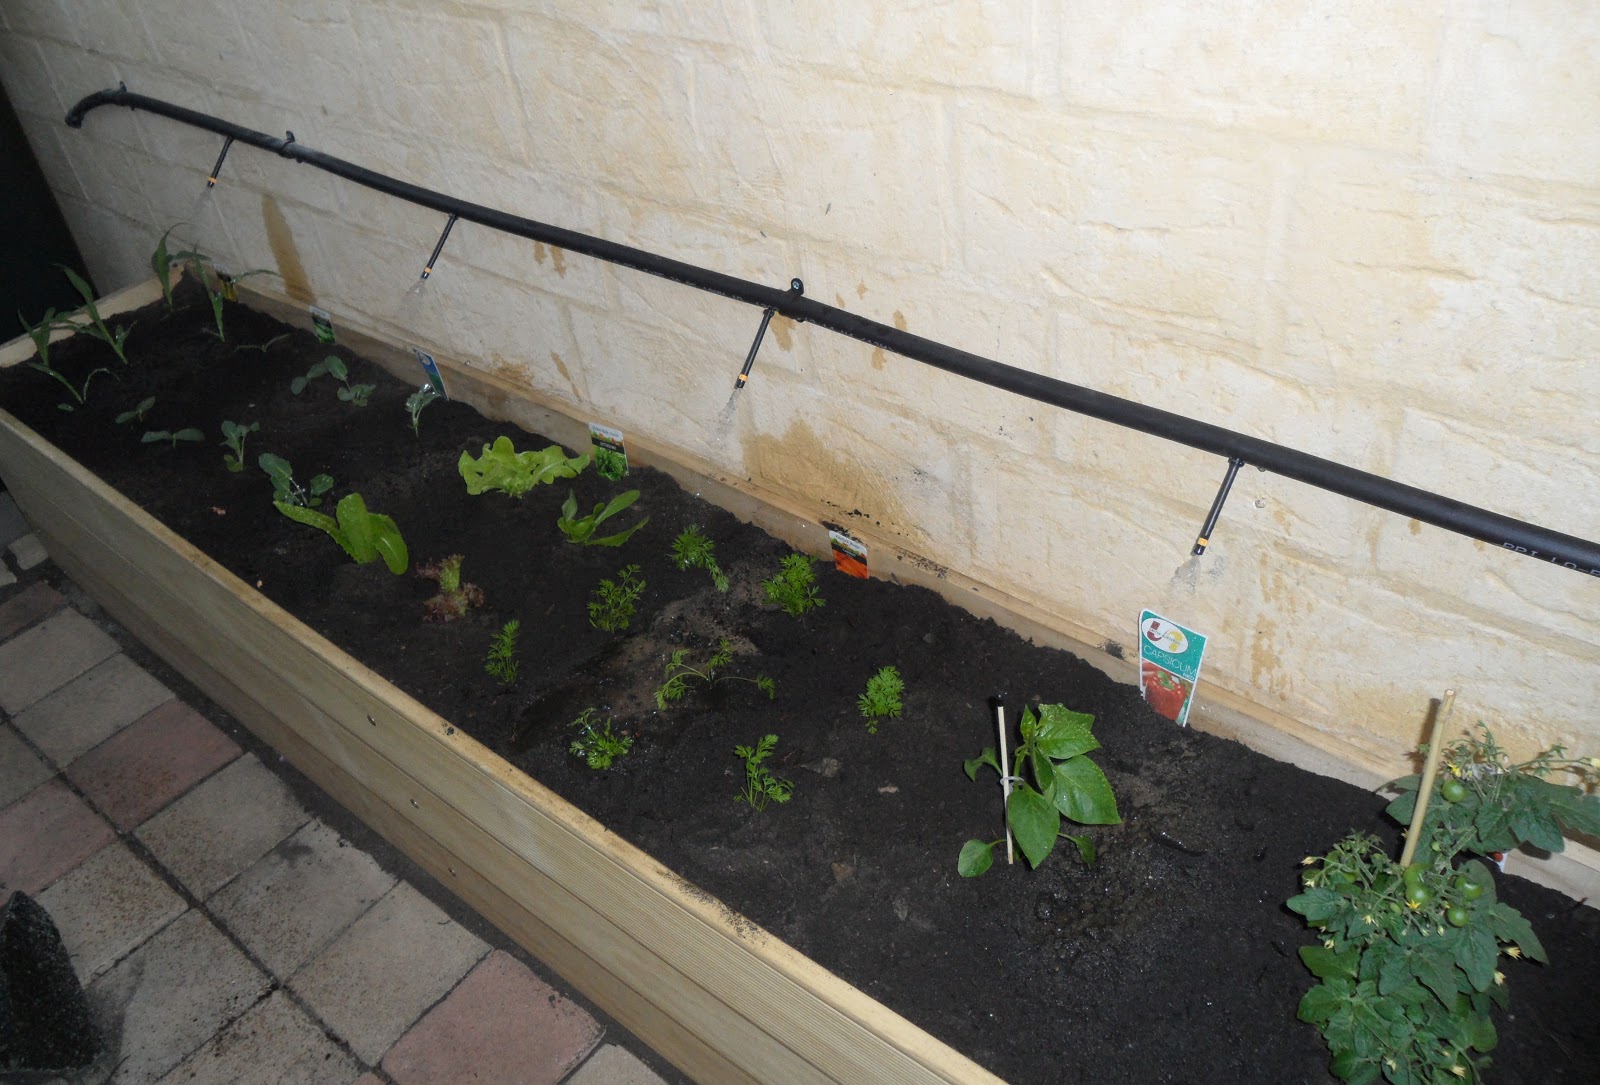
We added some sprinkler fittings to the watering system. . . . . . . . .

And last of all, added some homemade compost to the top.
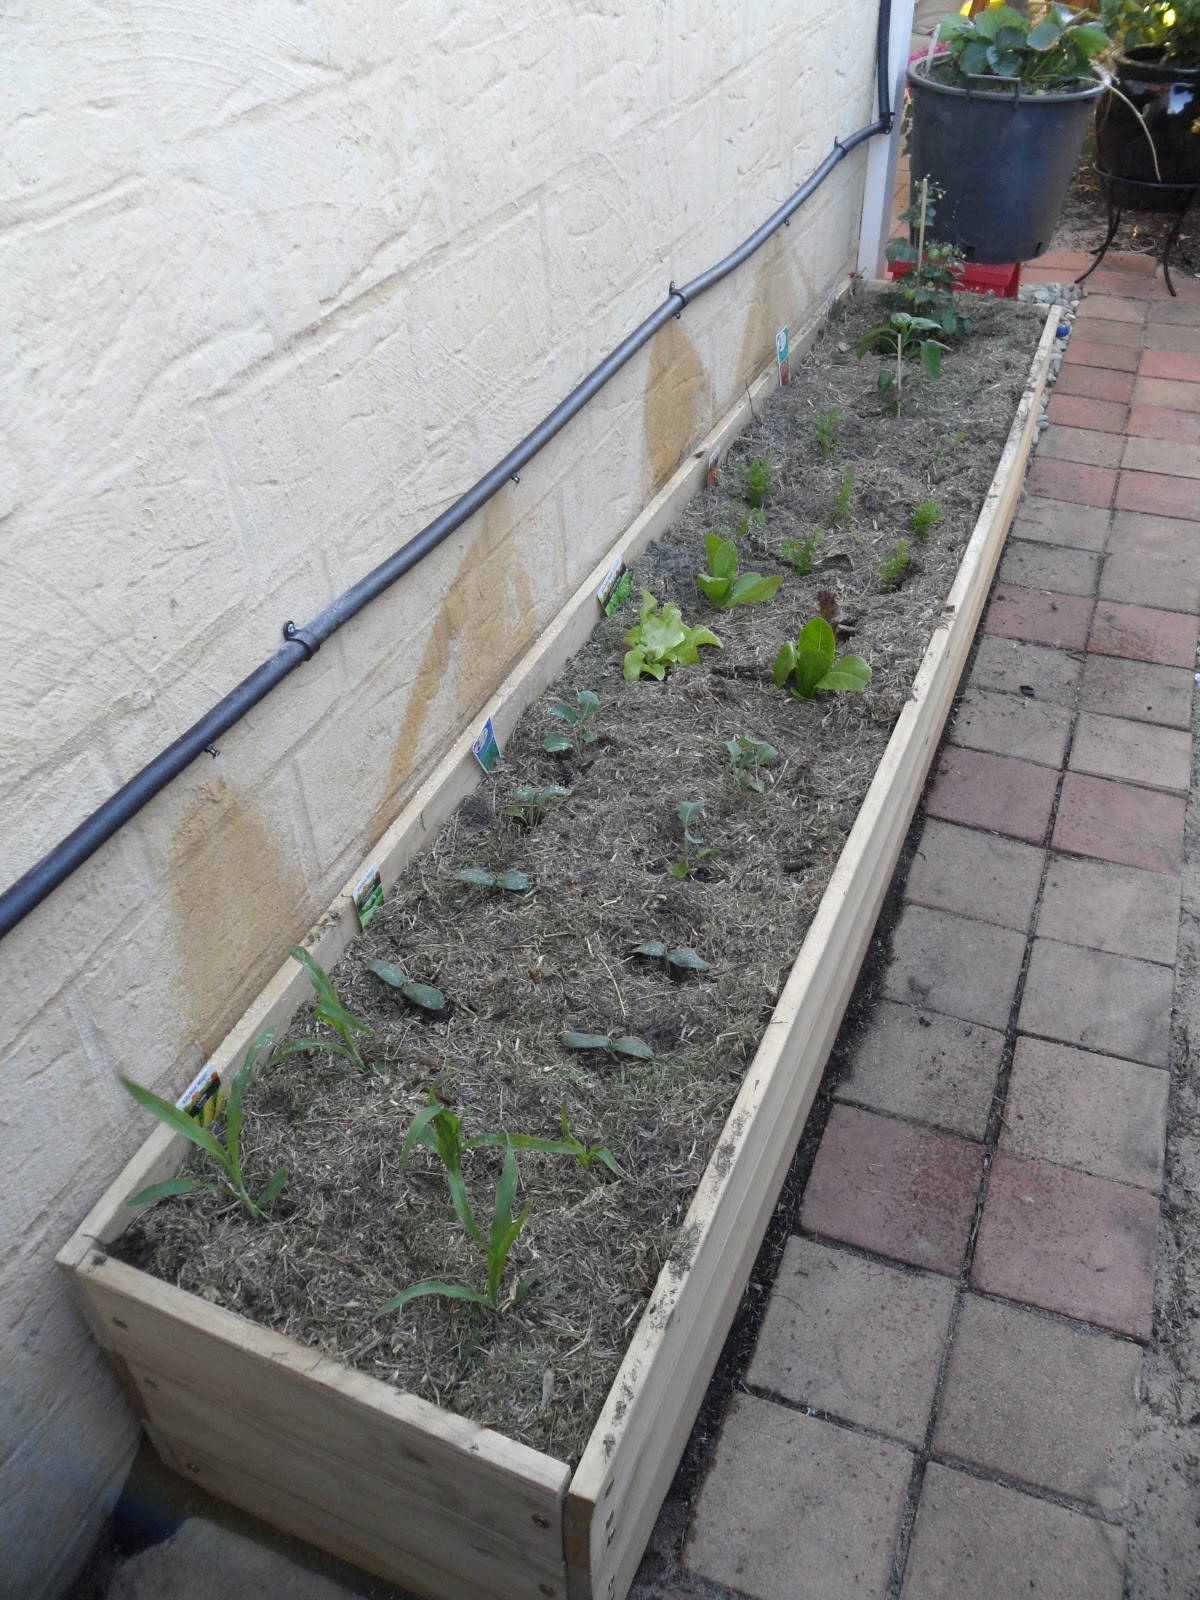


I will take some up date photo's as the plants grow. 
{Which I hope they do, I don't have much of a green finger and this is my first attempt of a veggie garden. . . . . keep your fingers crossed for me!}

Tash :o)

Friday, October 19, 2012

{UPDATE} DIY NURSERY


With going on holiday to SUNNY Queensland {which was awesome}


and having uni assignments to do {Today is my last class tho . . .YAY!}, there has been a bit of a stand still with the Nursery DIY.

However here is a little update of a few new touches to the room.


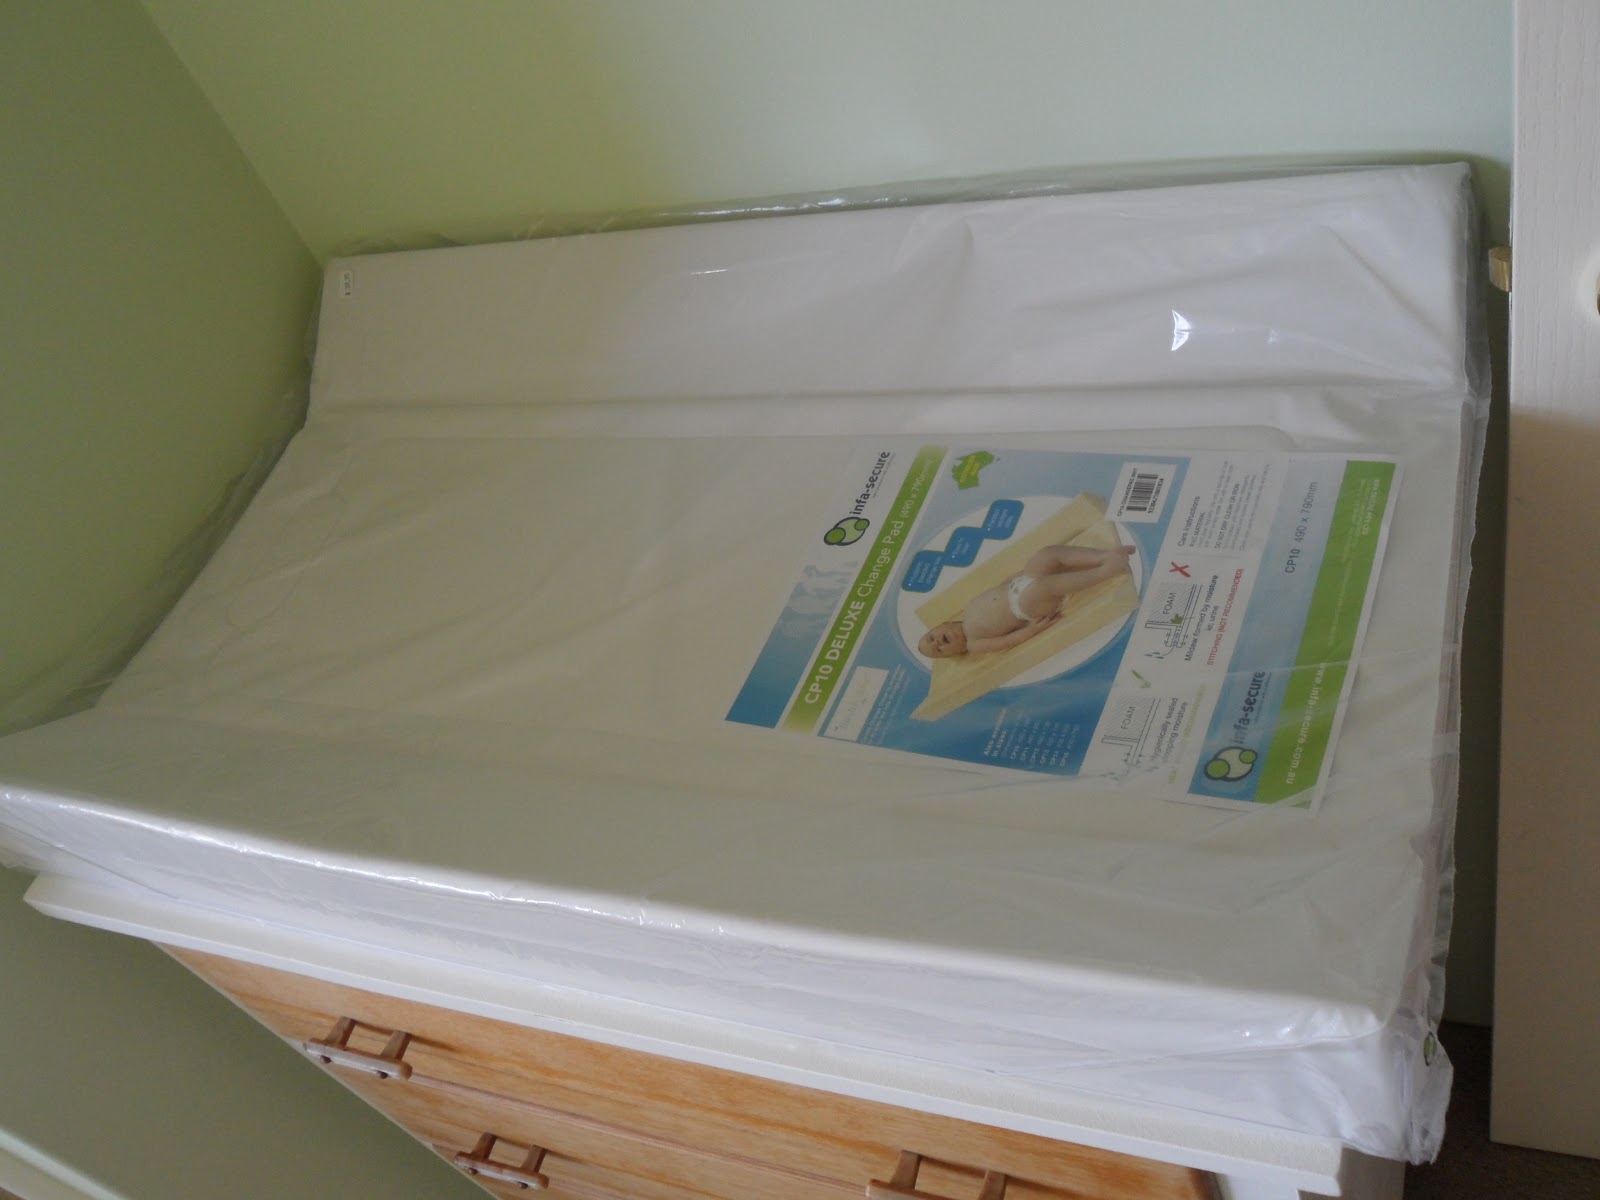
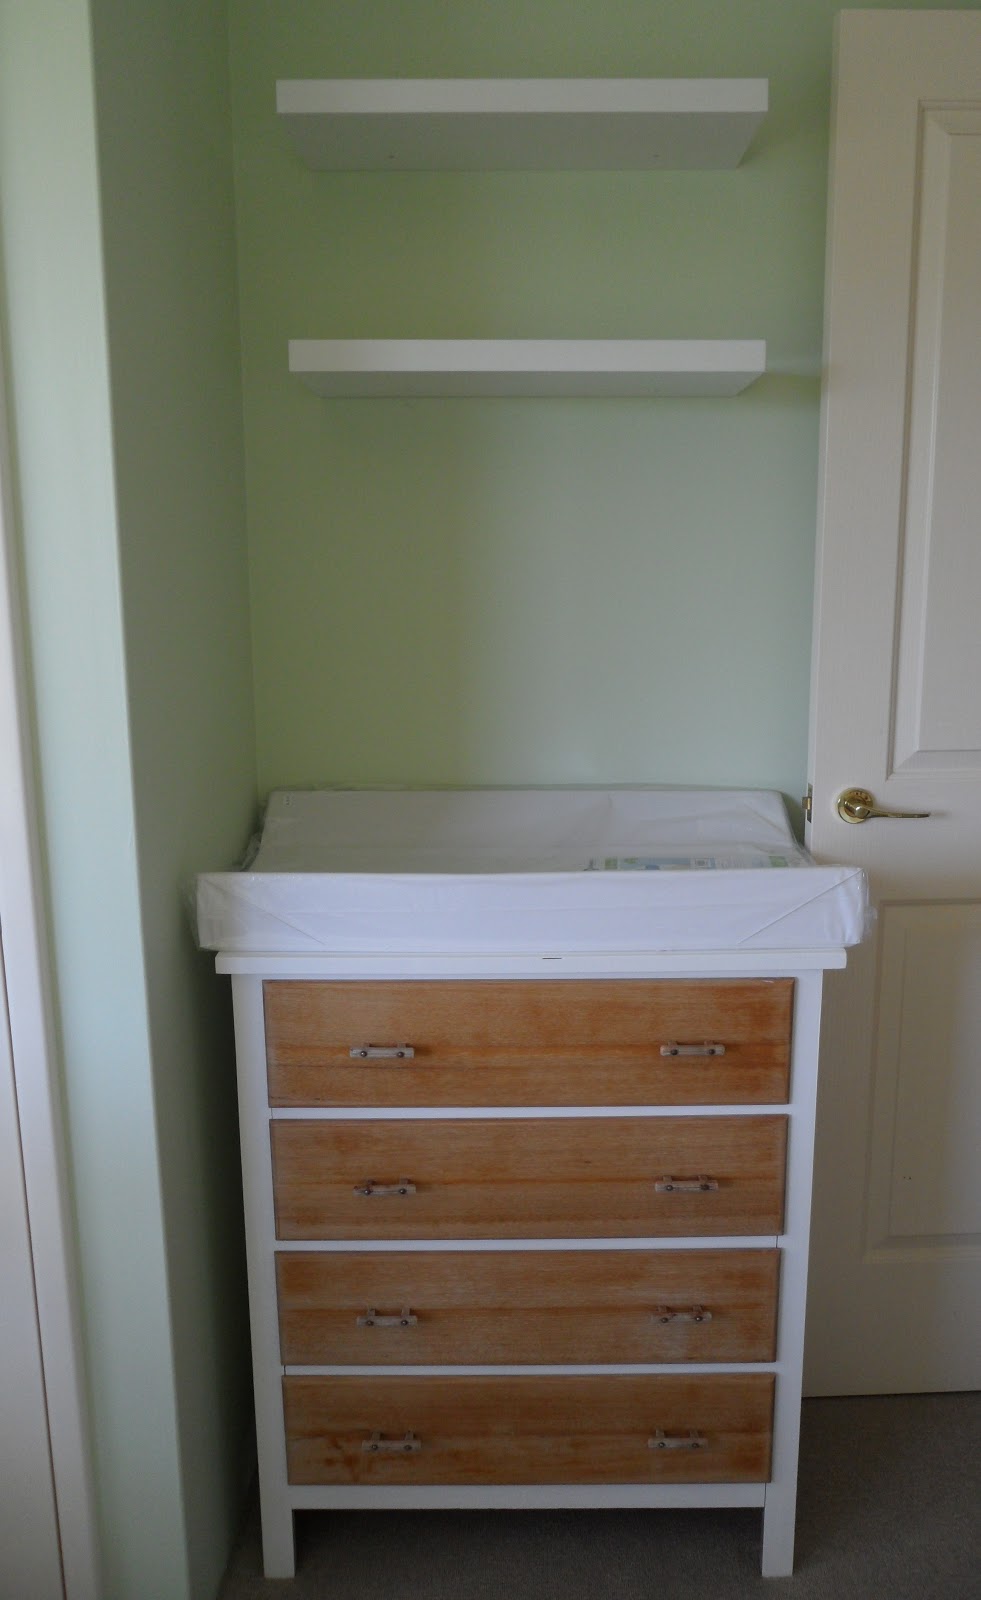
We have a change mat on the dressing table, it is a little big, but will only be on there until the baby is rolling and then I will just use it on the floor. {Im thinking of making a  funky cover for it too, maybe in that cool Michael Miller laminated fabric so that it is still wipeable!!}


We have some shelves above the dressing table/change mat so that we can put wipes, creams etc up there, 
{Or maybe just fun things}.  

Shelves are from Masters

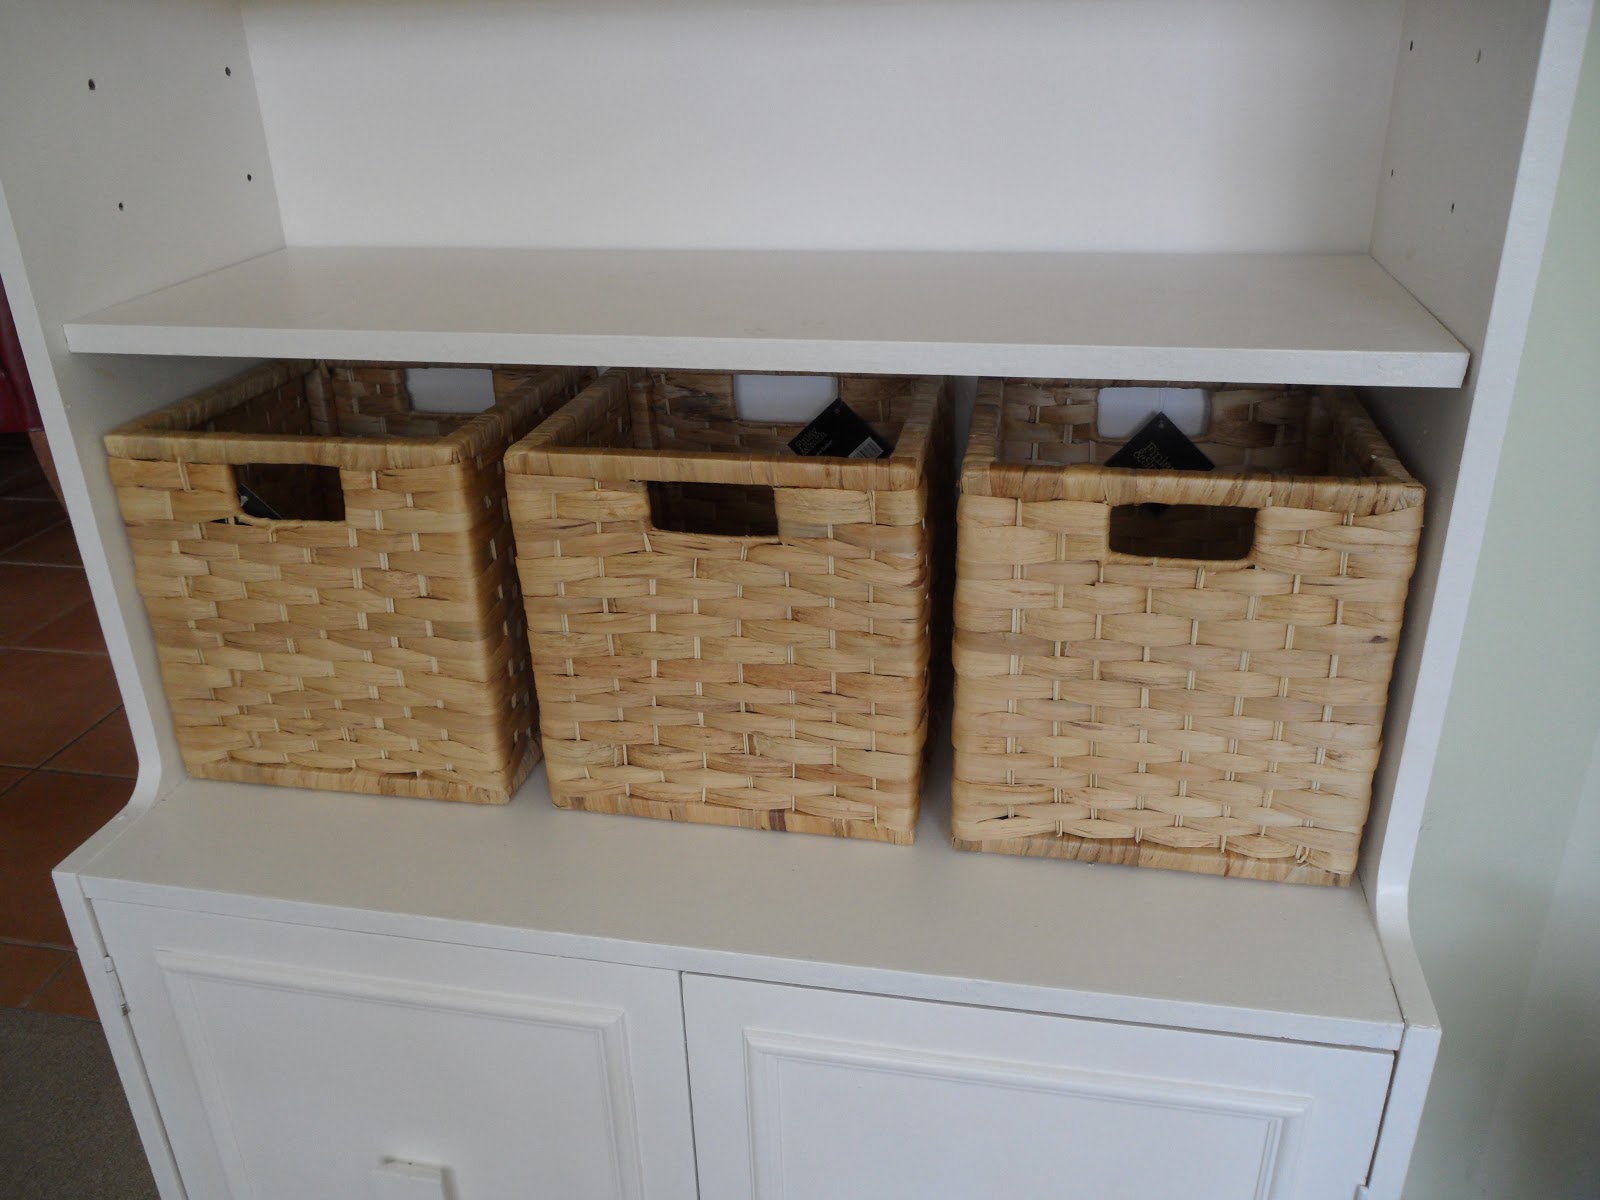
We have some baskets . . . .  .
Also Masters


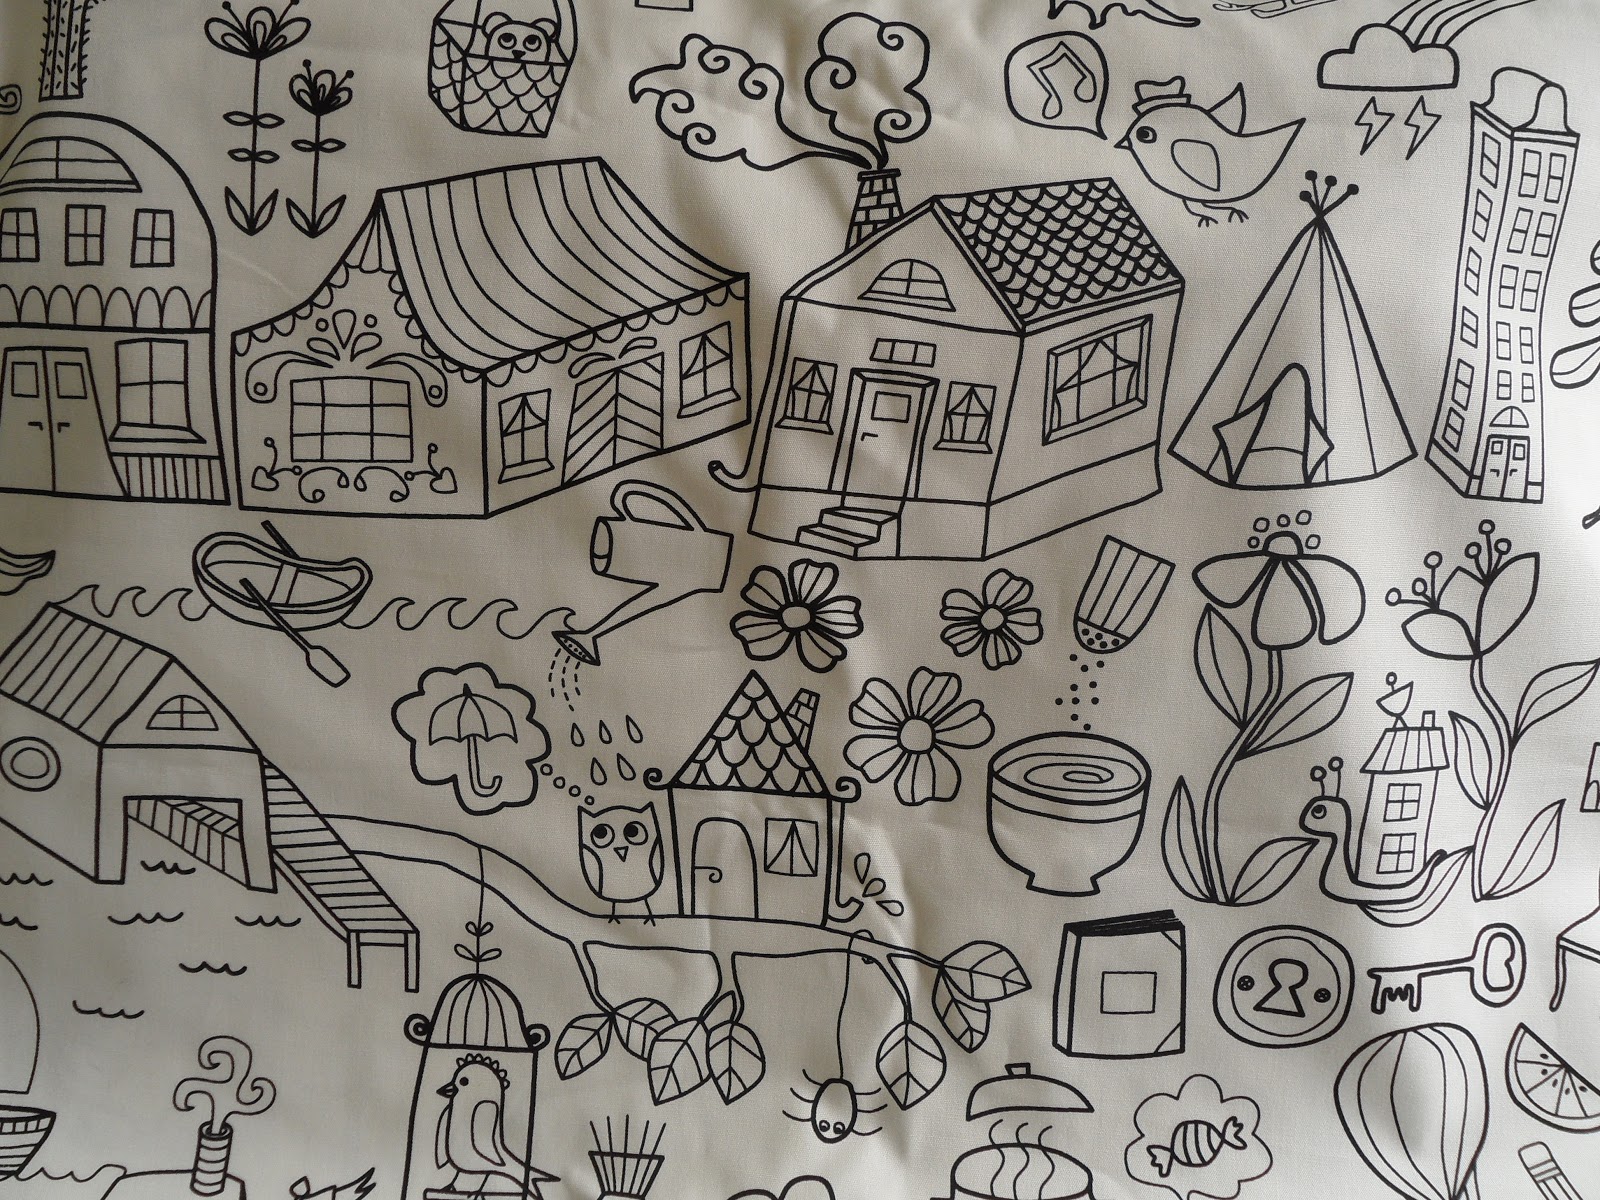
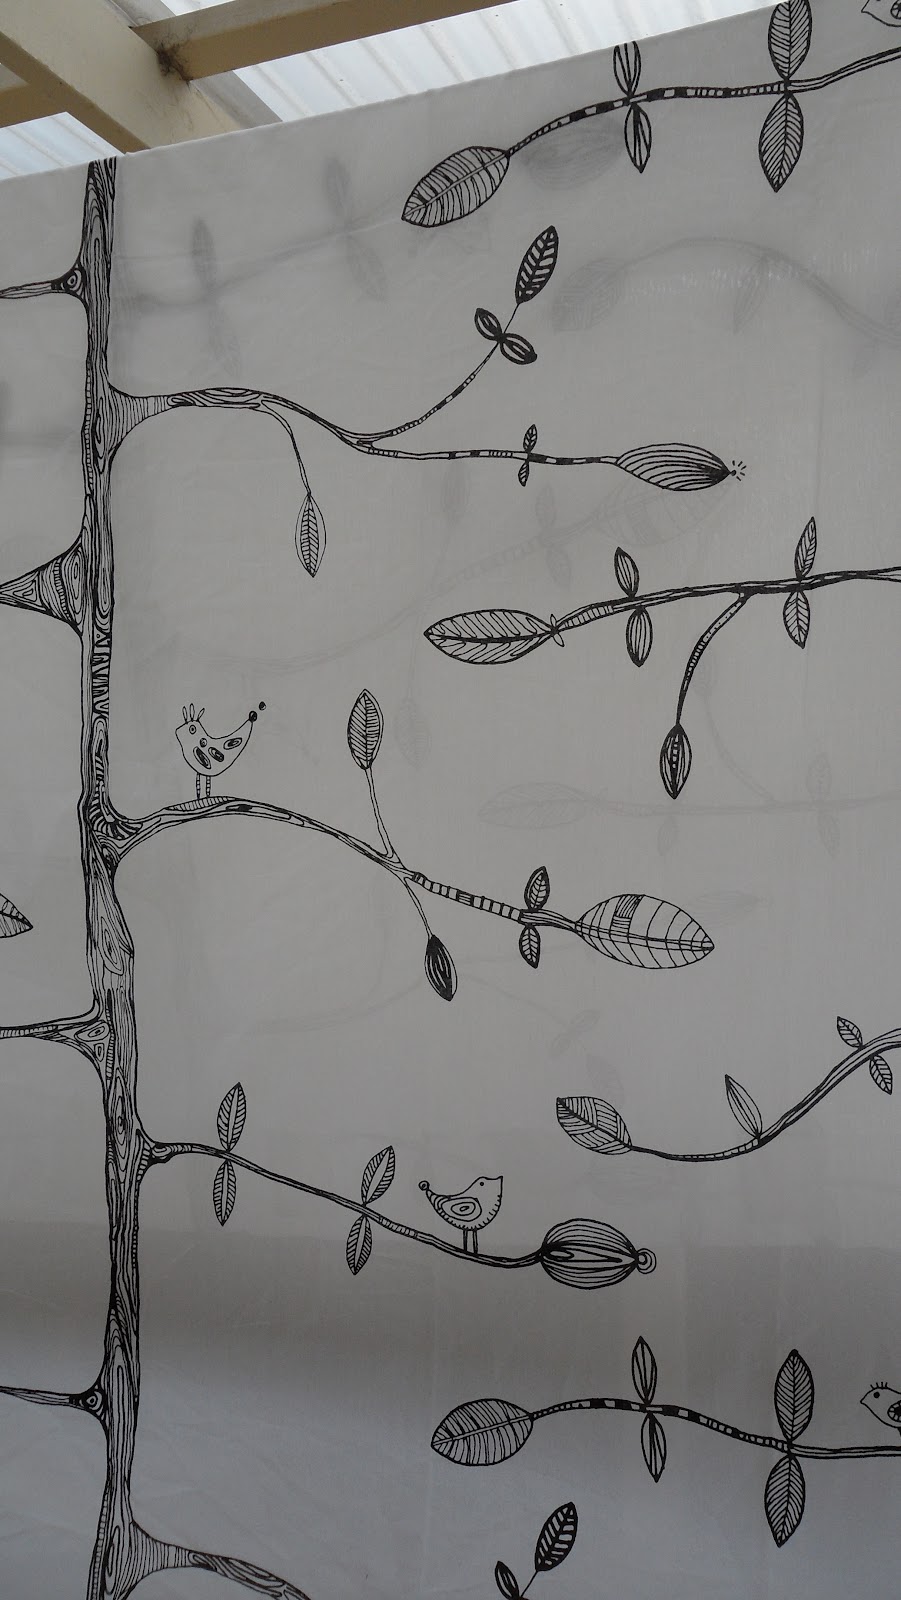
 How funky is this fabric from Ikea, and a bargain at only $9.95 / metre!!
Awesome for I SPY and learning ha!
{So I got 3m! Probably 2m more than I needed but oh well, I LOVE IT!}


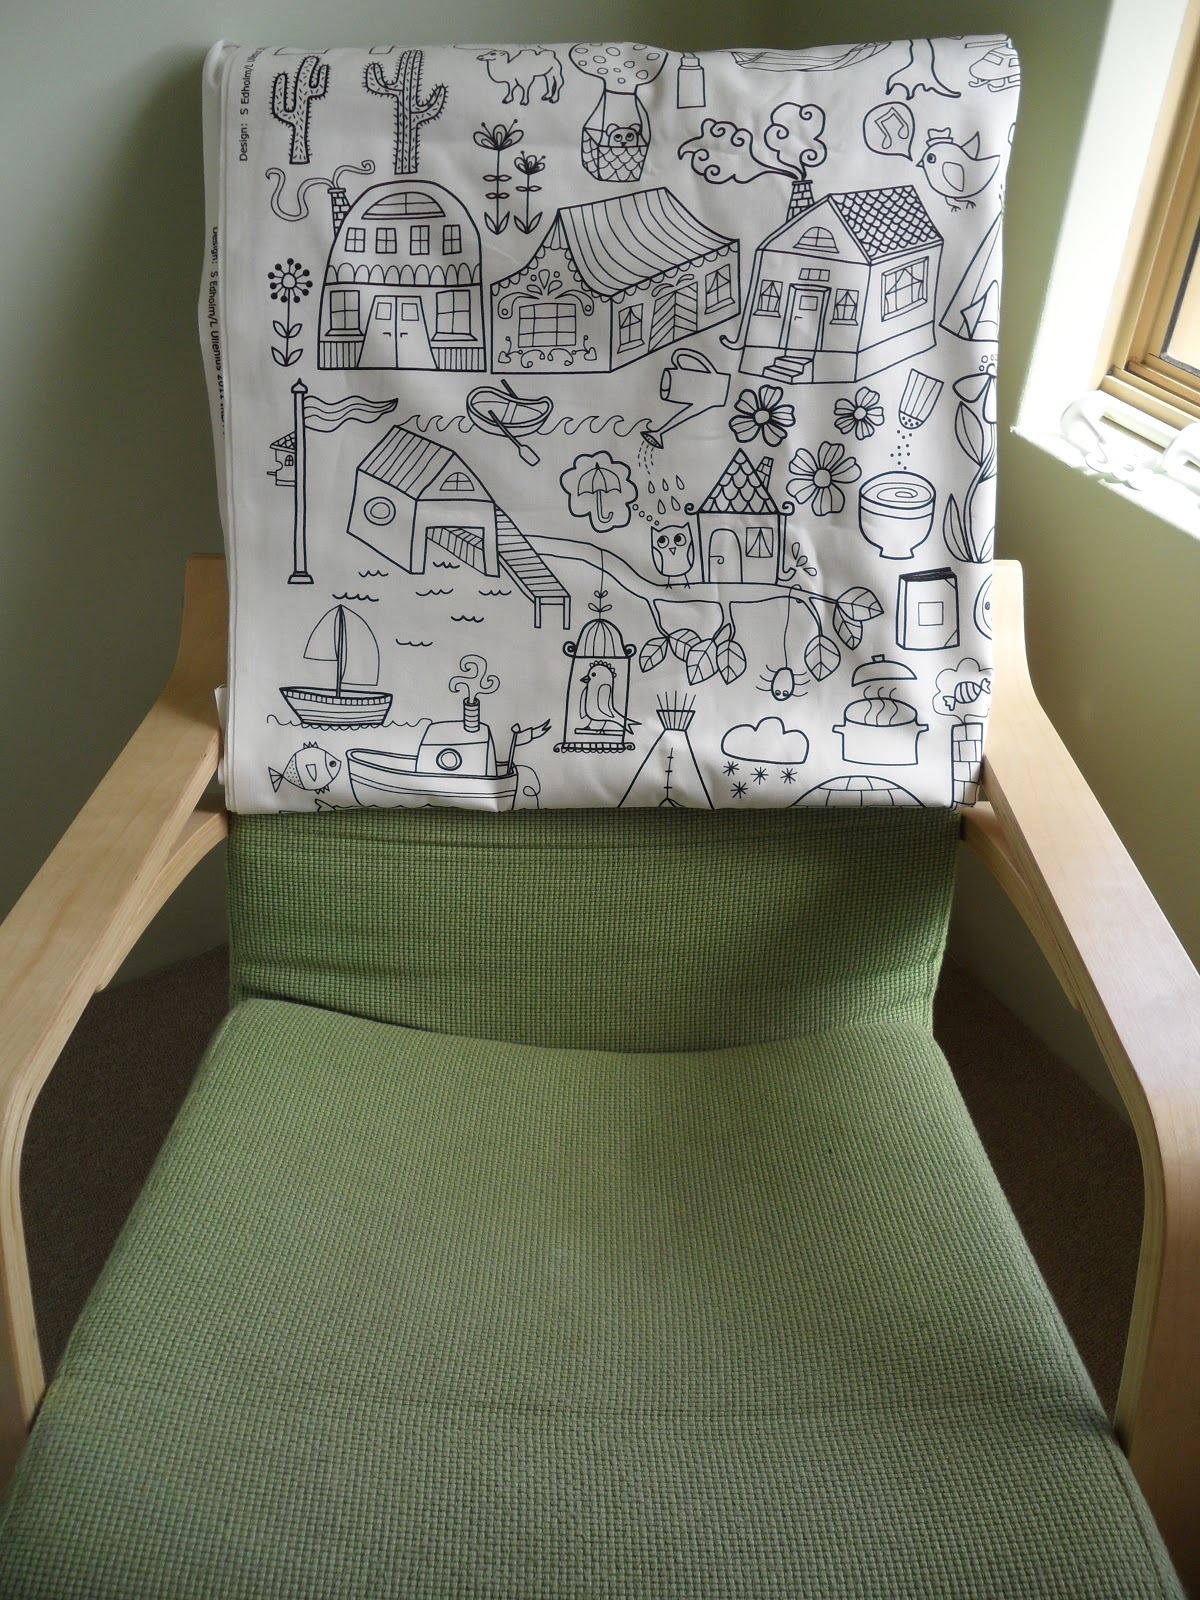
I have decided to cover the chair with it and then add a bright cushion. Then as the years go on {if we still have the chair}, we could slowly colour it in.

{I will keep you posted on the covering of the chair, will probably not happen till after exams.}


And here is me working on the curtains, giving them a 'TASH TOUCH' . . . . 
They are going to look great, but I sometimes get half way through a project and ask myself WHY!! 
{this one is a bit tedious!! But as I said, will look AWESOME in the end!}


Until next time . . .  . Keep Smiling.

Tash :o)

Tuesday, September 25, 2012

DIY NURSERY Part 3

FURNITURE . . . . . . . 


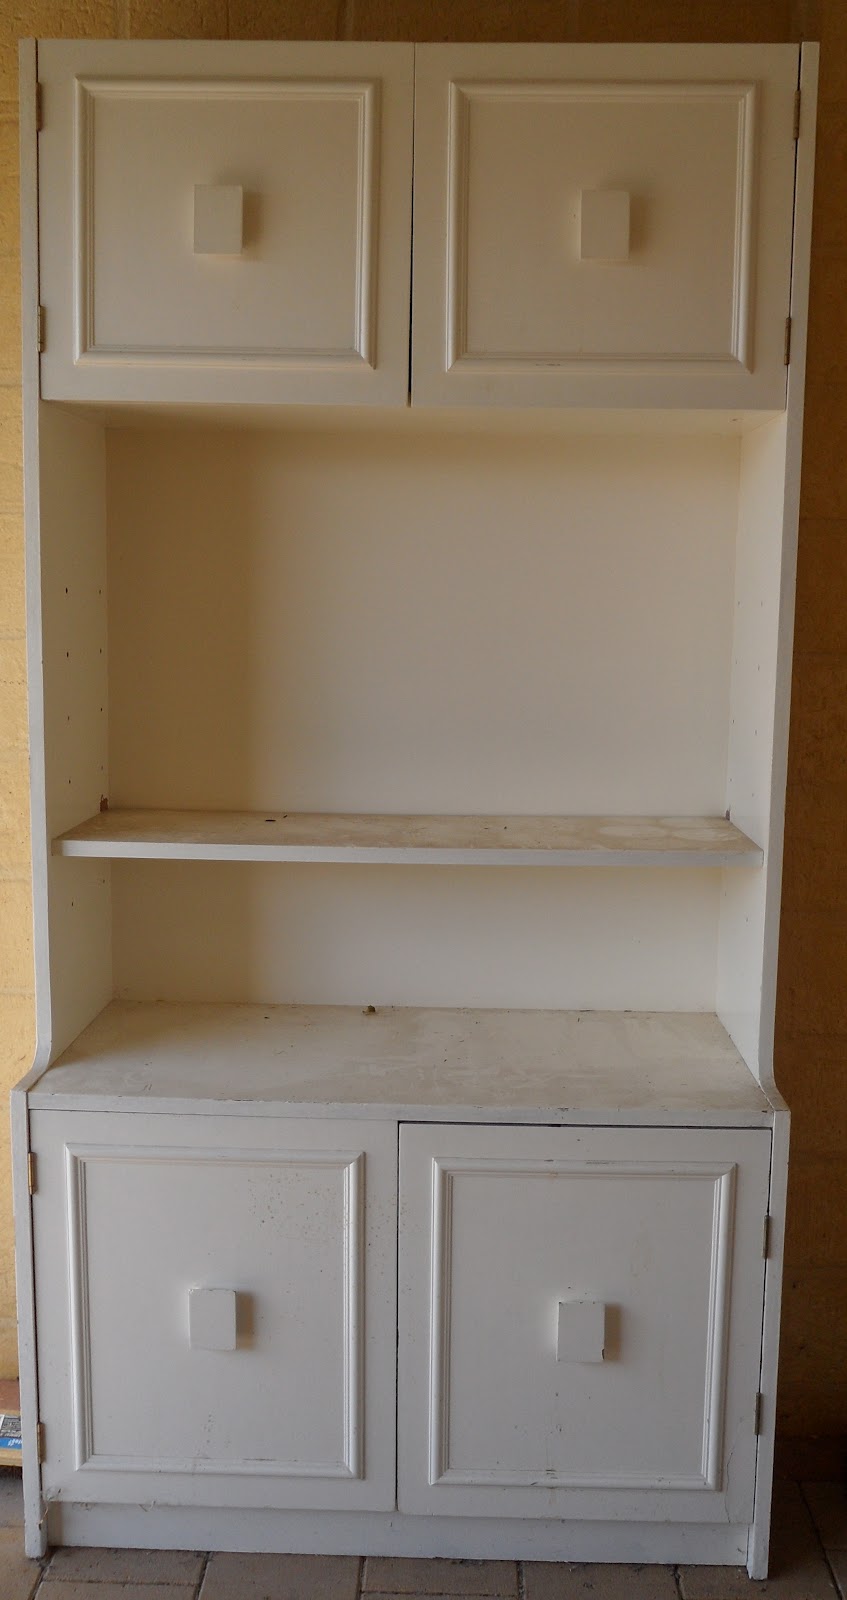
Here is the hutch.. . . 

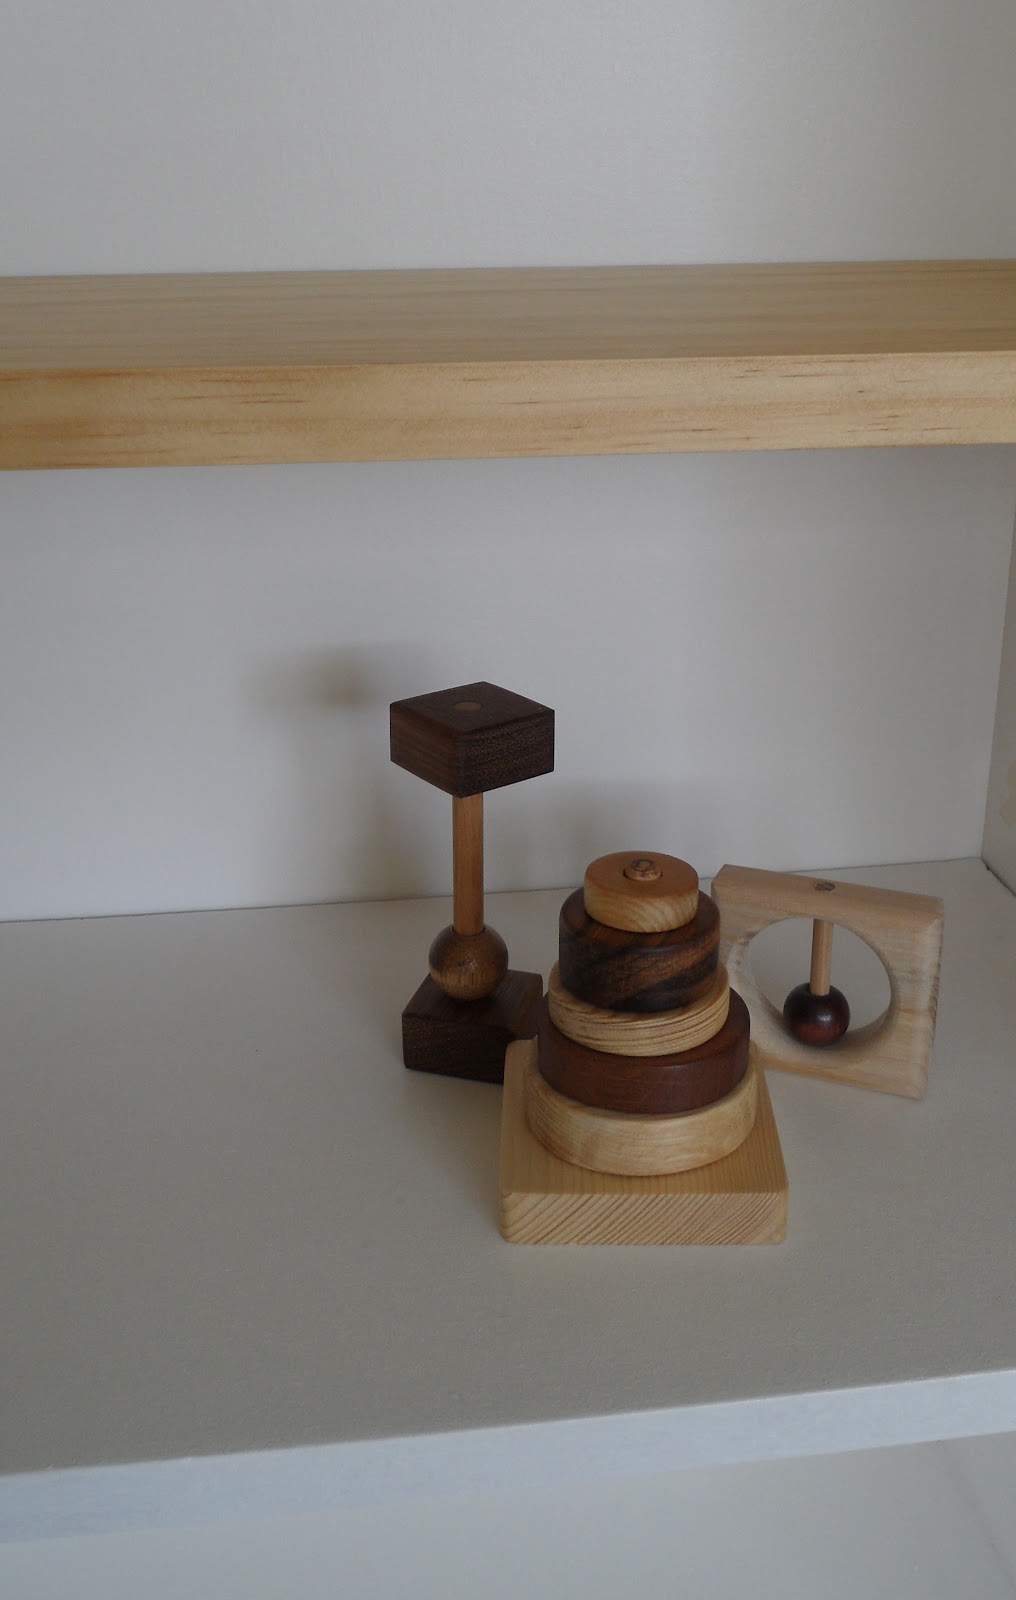
Here are the newly painted hutch.  It doesn't really look to much different as it was just a new coat of white paint, but I did add this wooden shelf.
I wanted the furniture to all link in with the birch rocker in some way, otherwise the rocker would have been the only thing not white.


My new wooden toys from FB business Wooden It Be Lovely. I have more of the range,
 but they are still packed away.


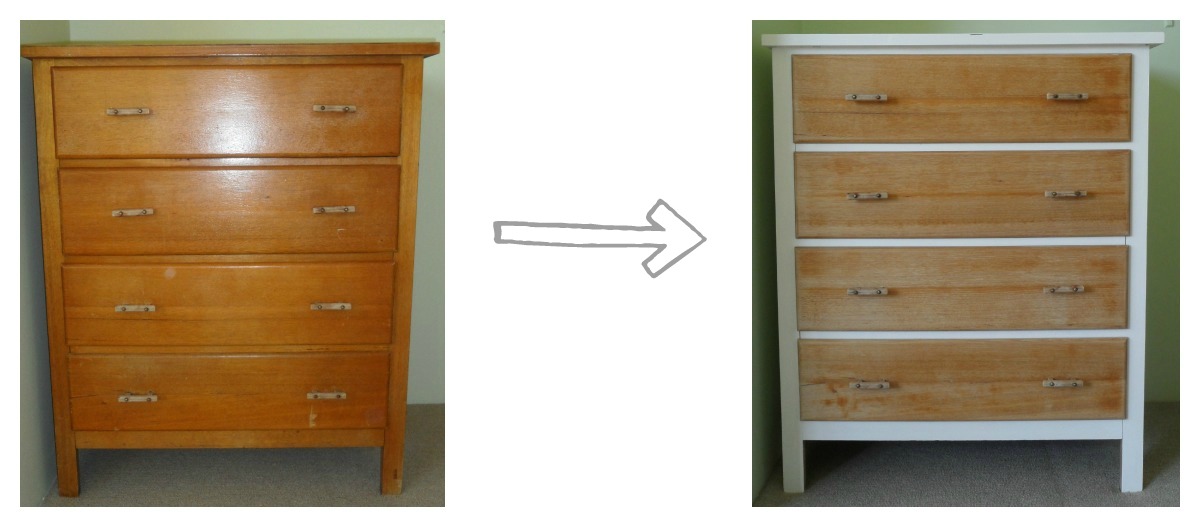
Here is the dressing table . . . . 

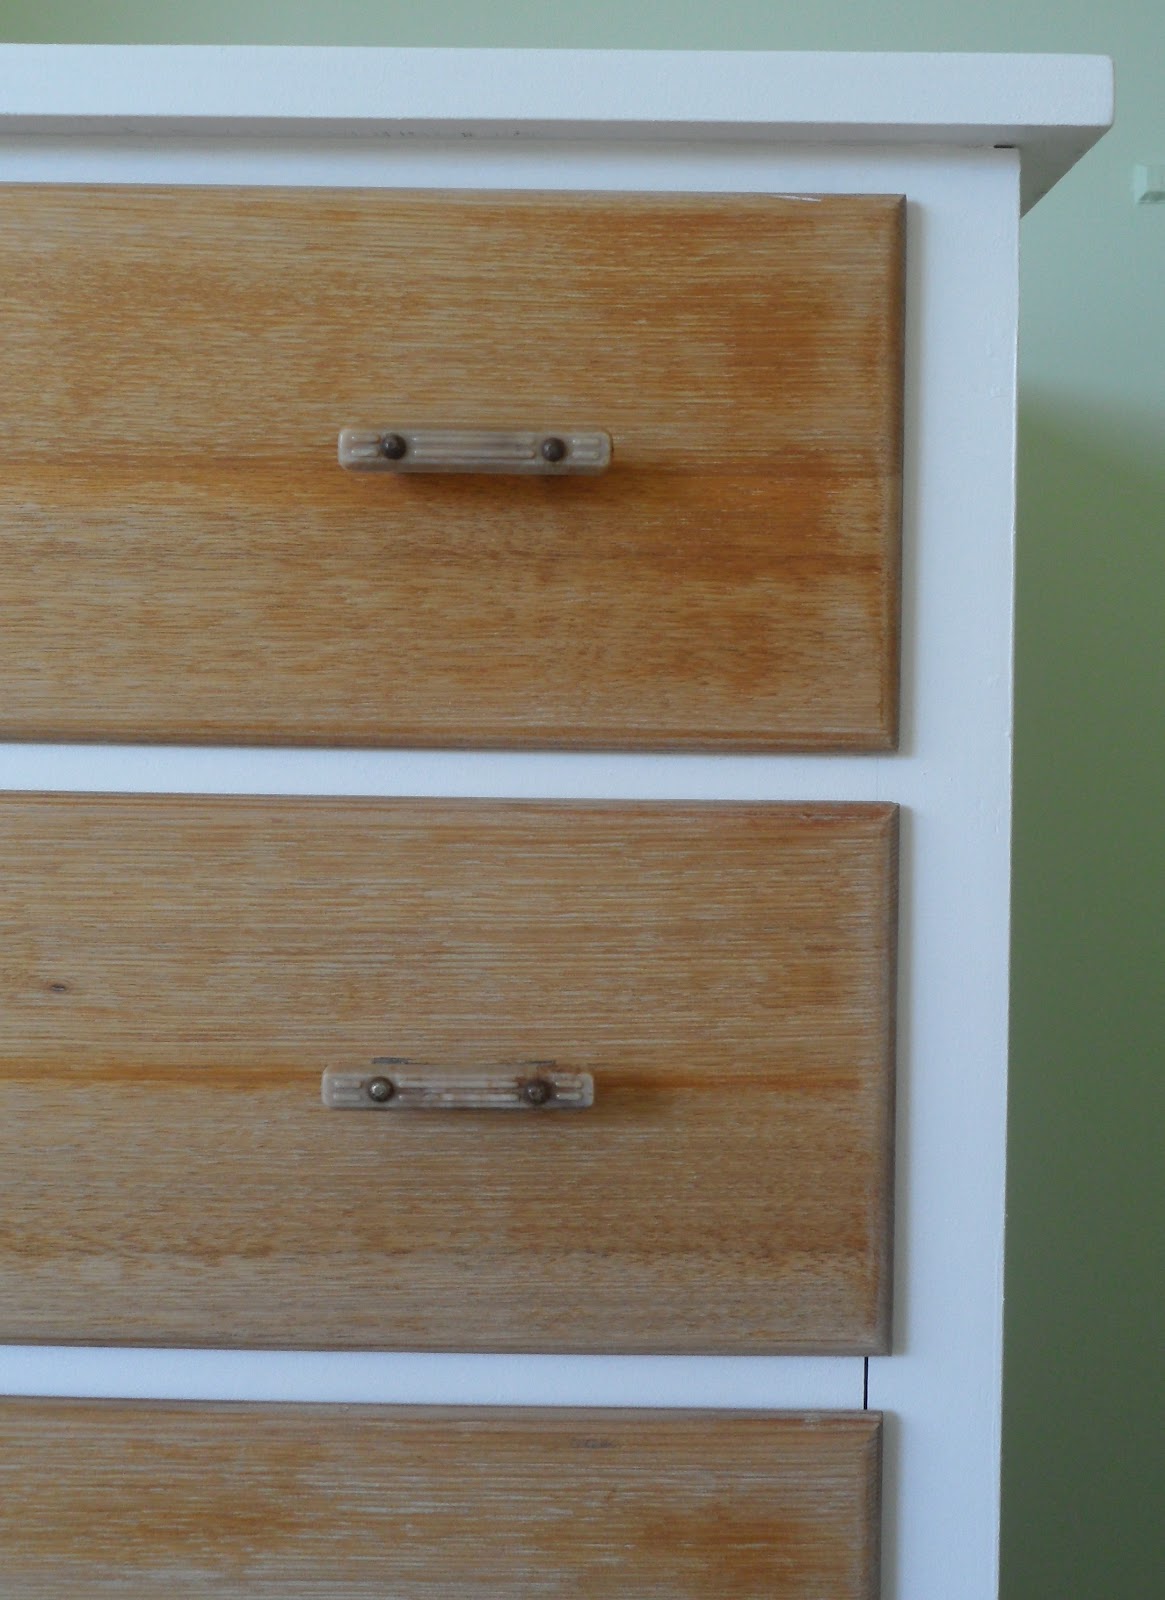
I wanted it to be white, but couldn't decide what to do with the drawers. I might still cover them in fabric, but will wait until I know if it is a boy or girl. 
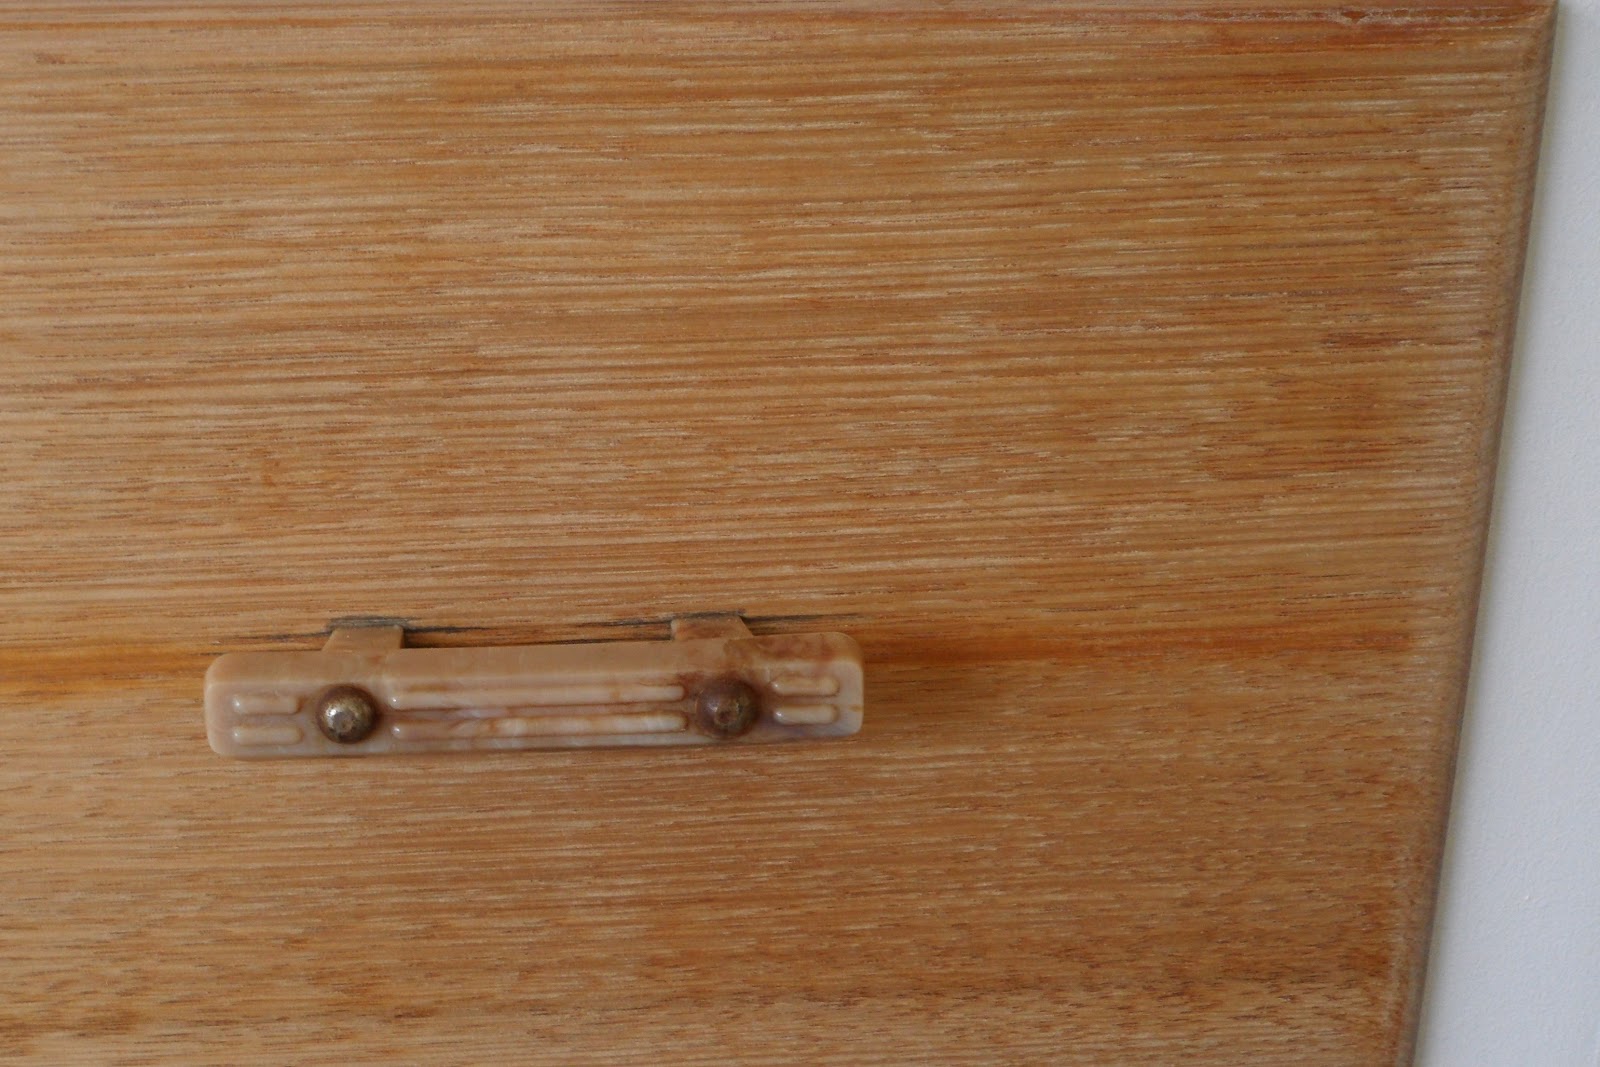
We were going to change the drawer hands as my husband hated them, but we had a look and they were all longer, therefore would need different screw holes, and once we I sanded the fronts they blended in quite nicely. 


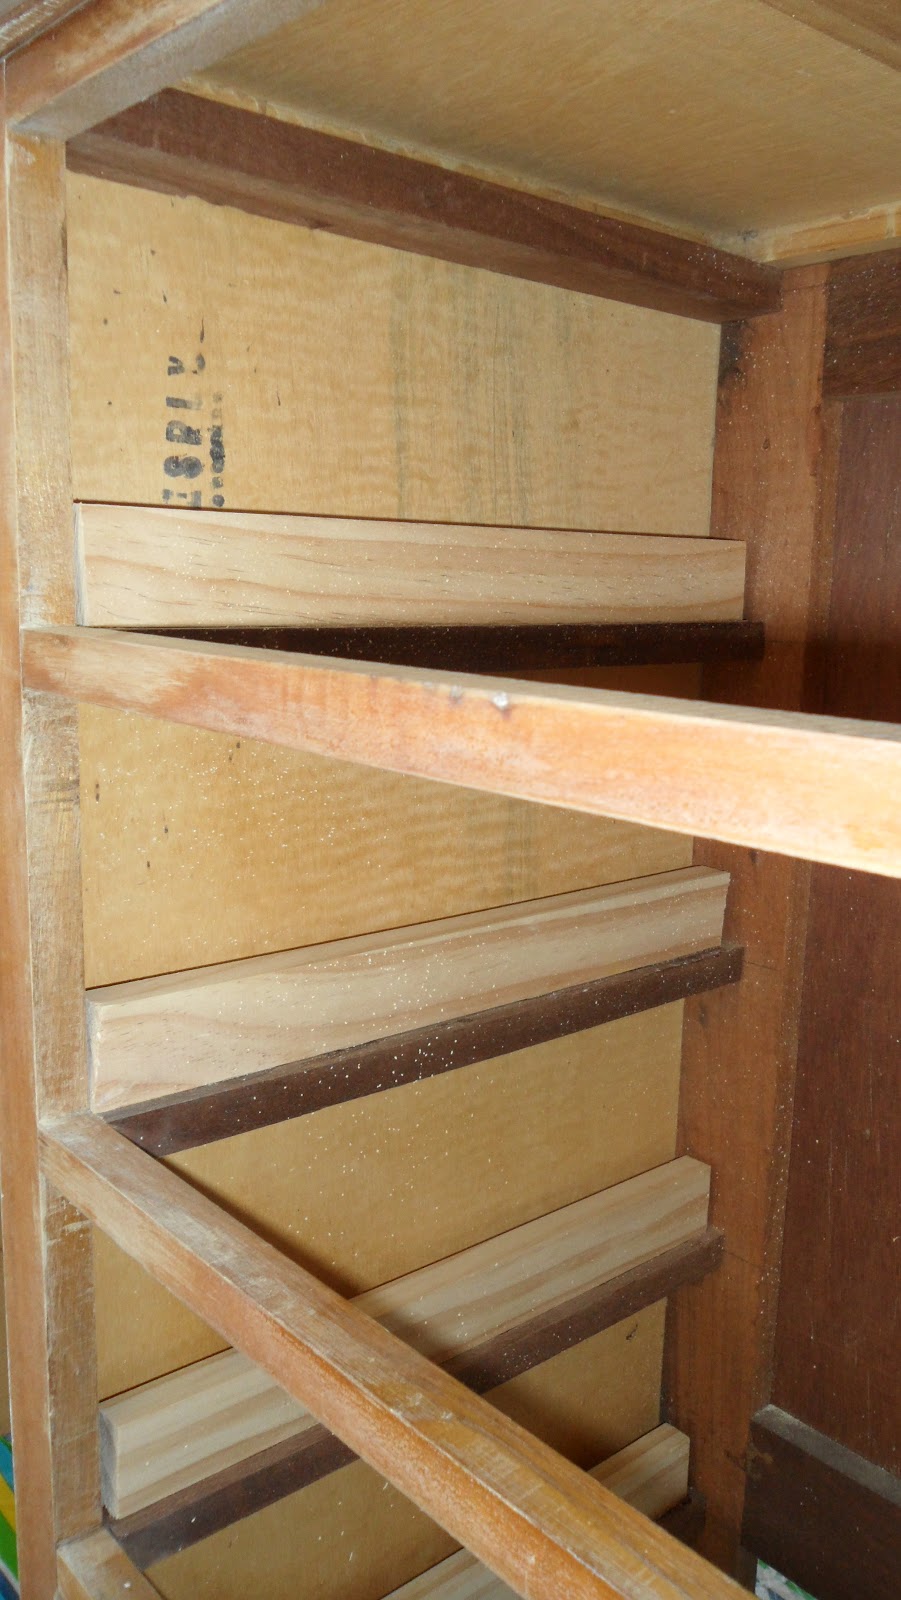
We did a little work on it as the drawers don't have runners and moved around heaps when you pulled them out.


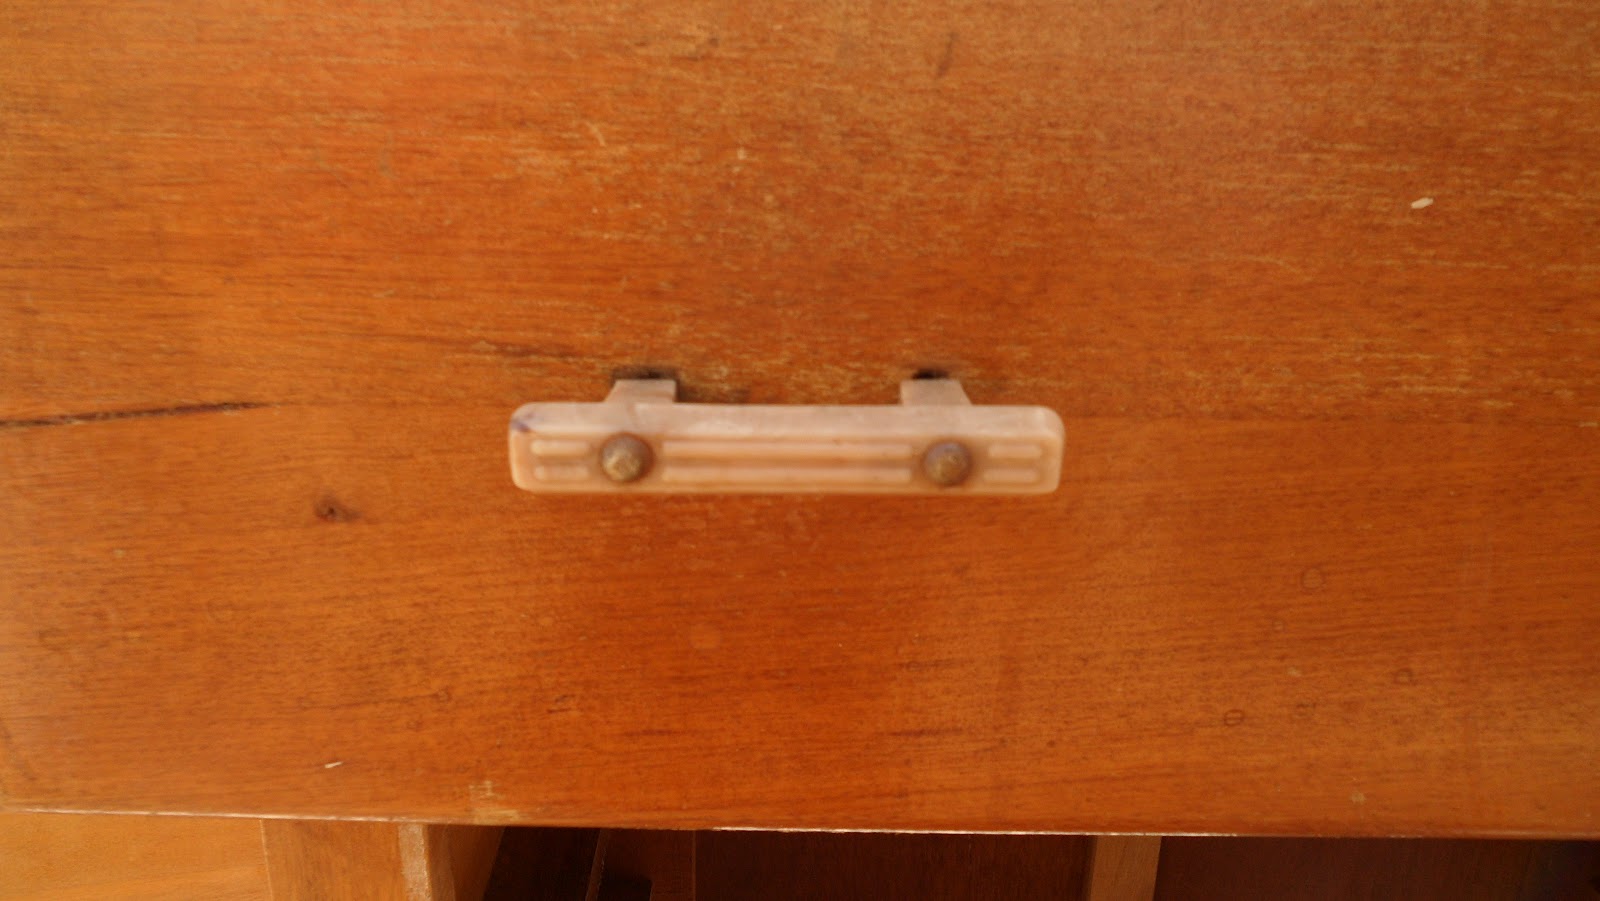
The hated handles! I don't mind them as they are a bit vintage.

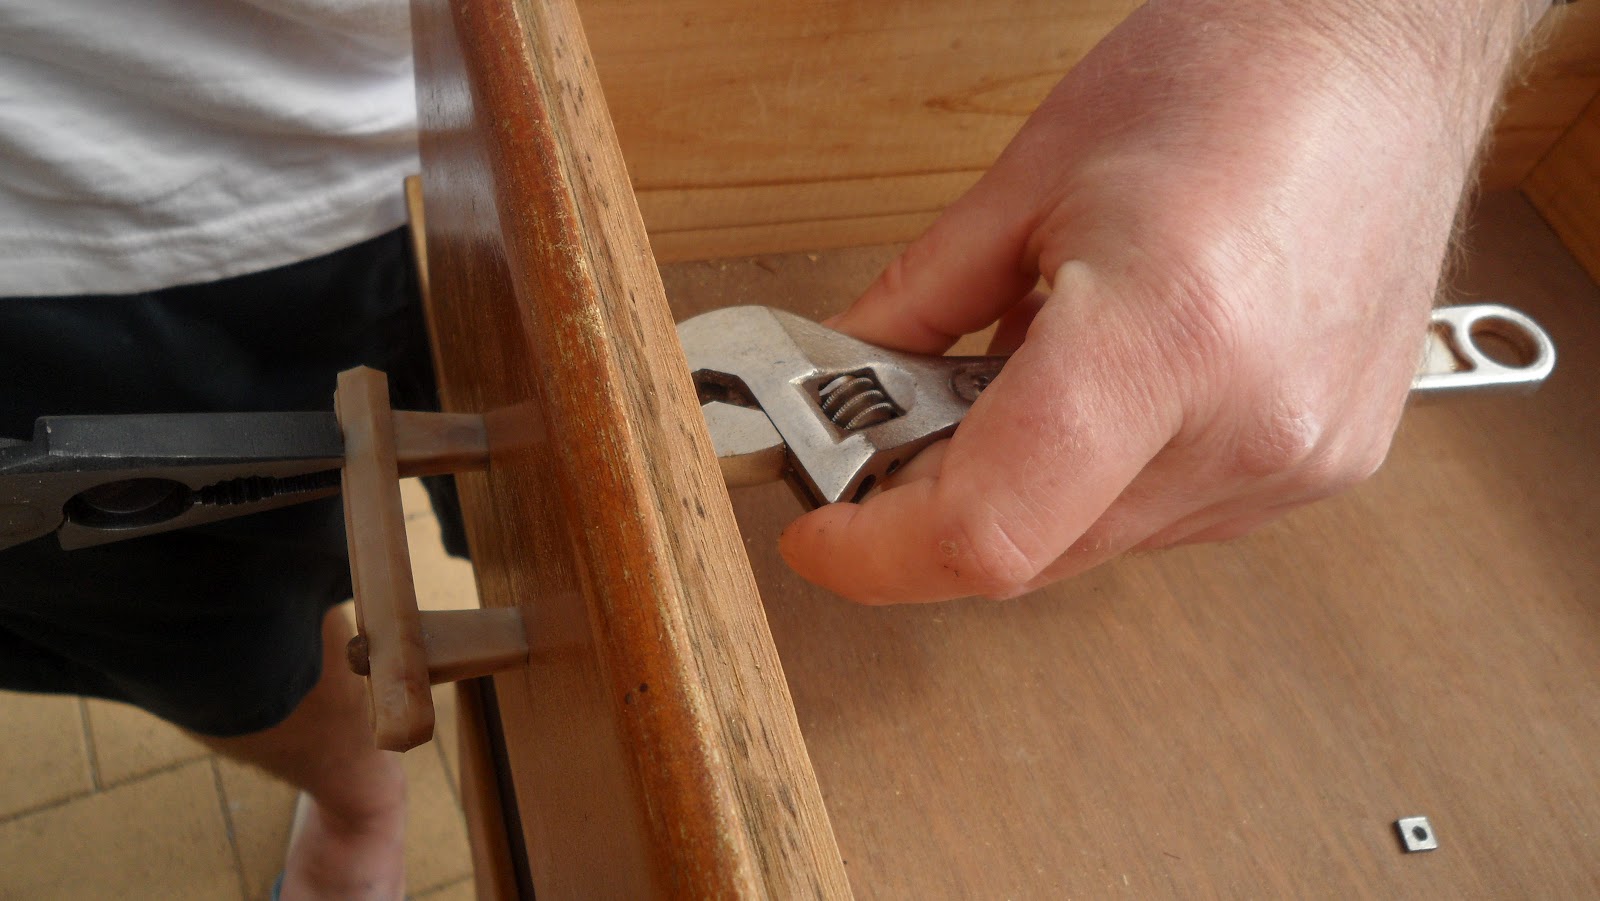
Taking off the handles.


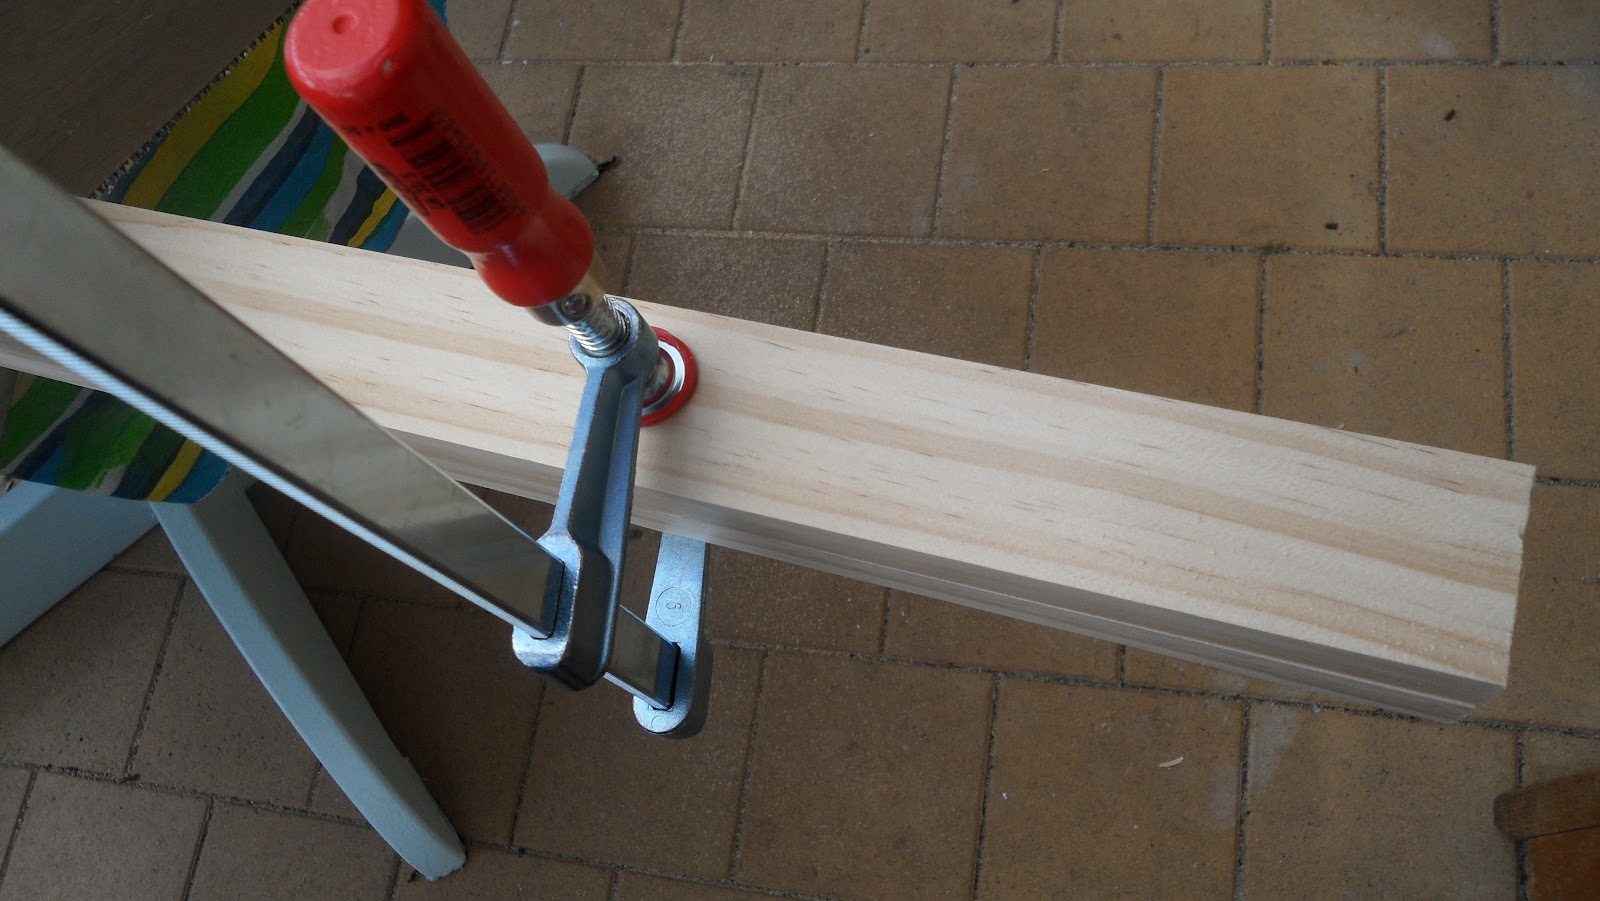
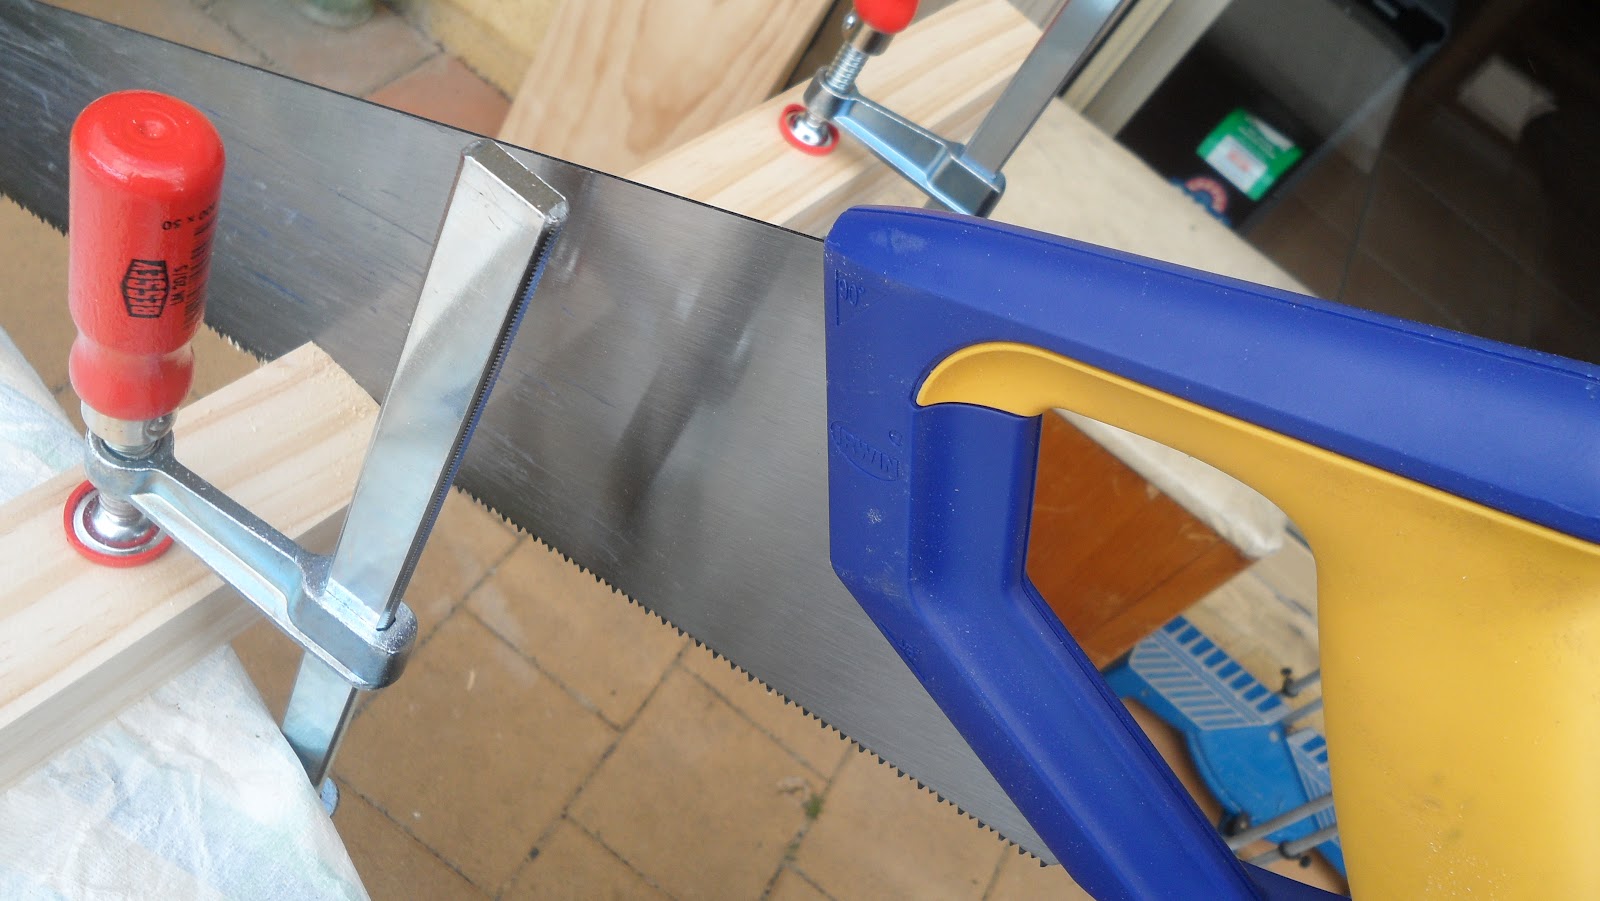
 Making the new draw runner thingies . . .


The finish drawers {maybe just for now. . . you will have to wait and see.}


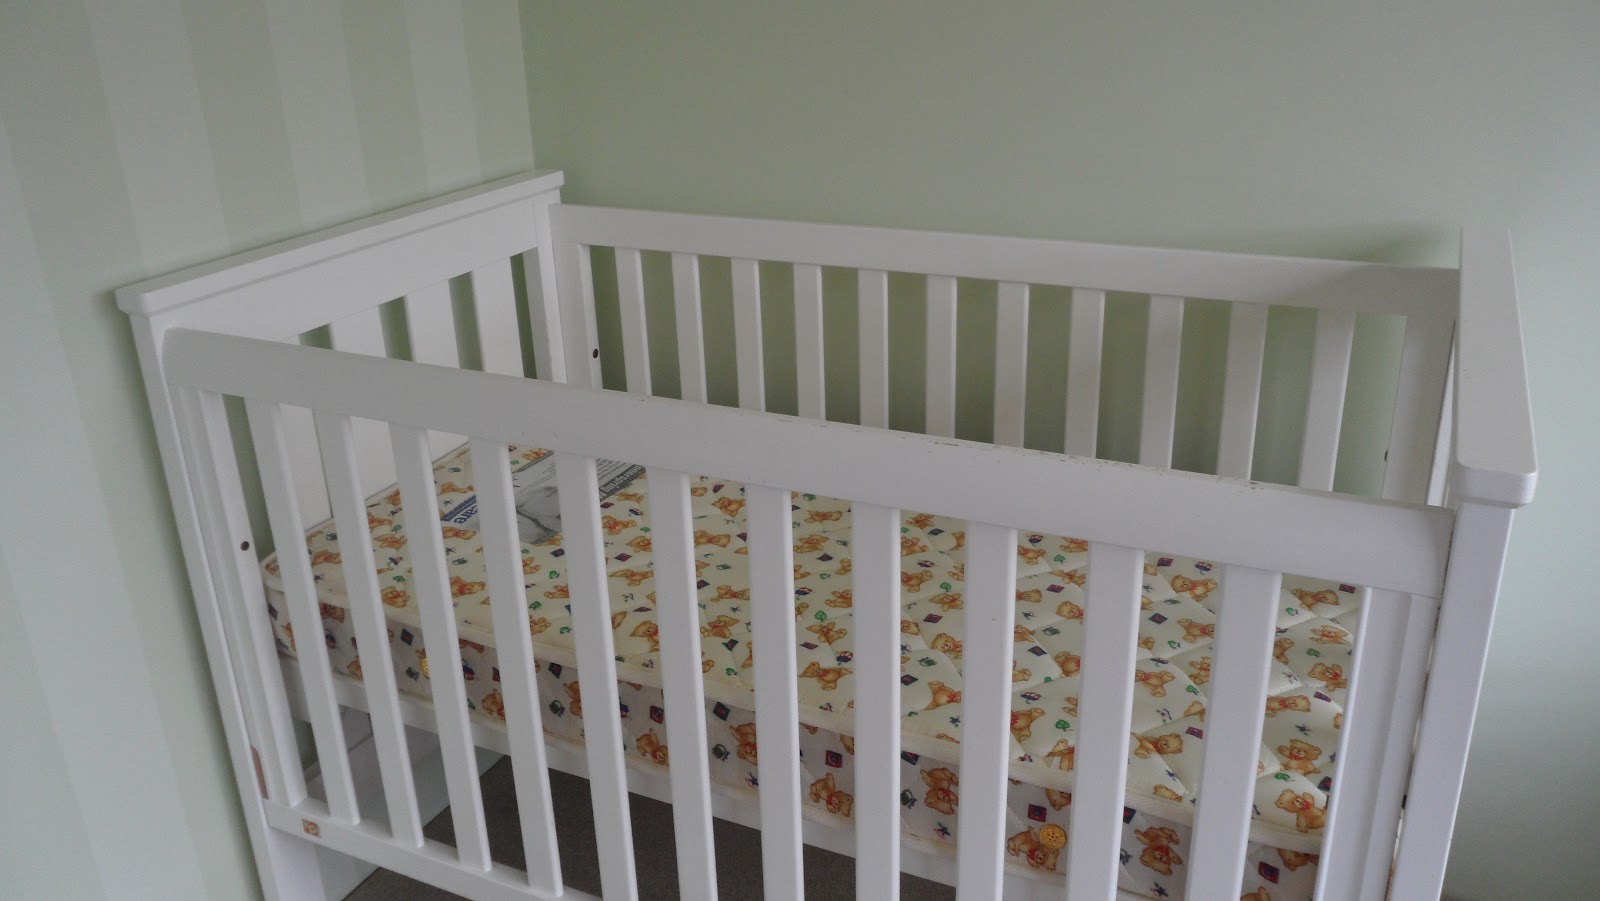
We have a cot . . . . . .

It needs a few little touch ups, but was only $60 including mattress, which was WAY better than the $500+ I would have spent on a new one.


Until Part 4 . . . . . . .  
(We are off on a family holiday next week so will be once we get back.)

Tash :o)
Part 4 is ready . . . . . . .HERE!

Wednesday, September 19, 2012

DIY NURSERY Part 2

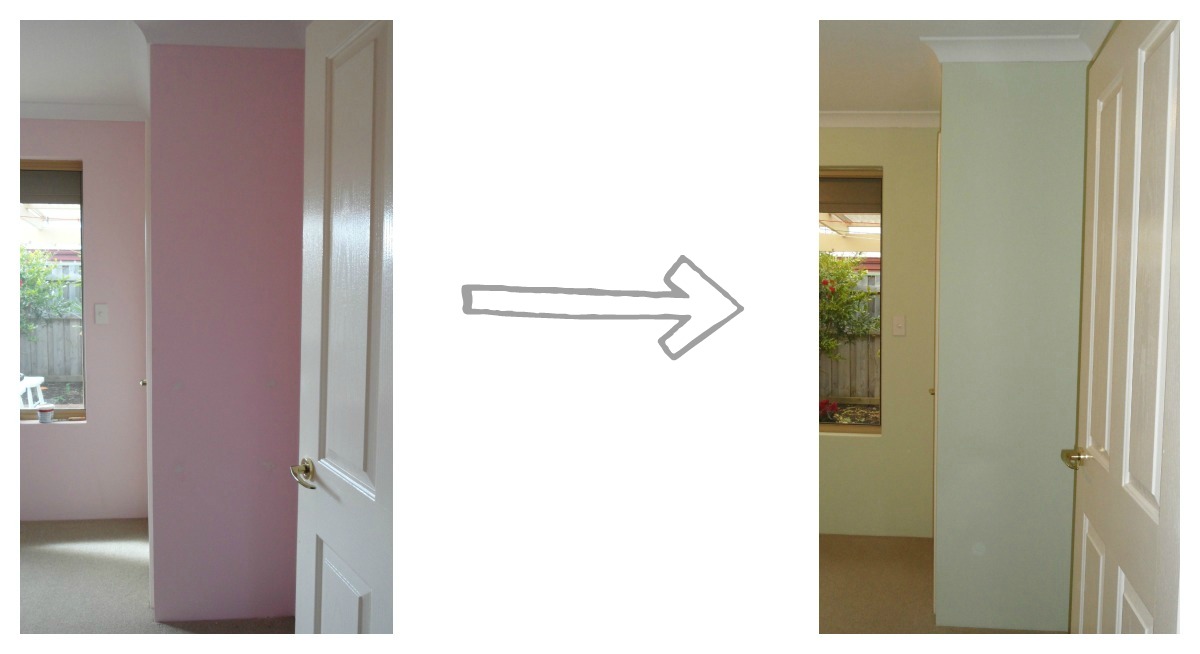
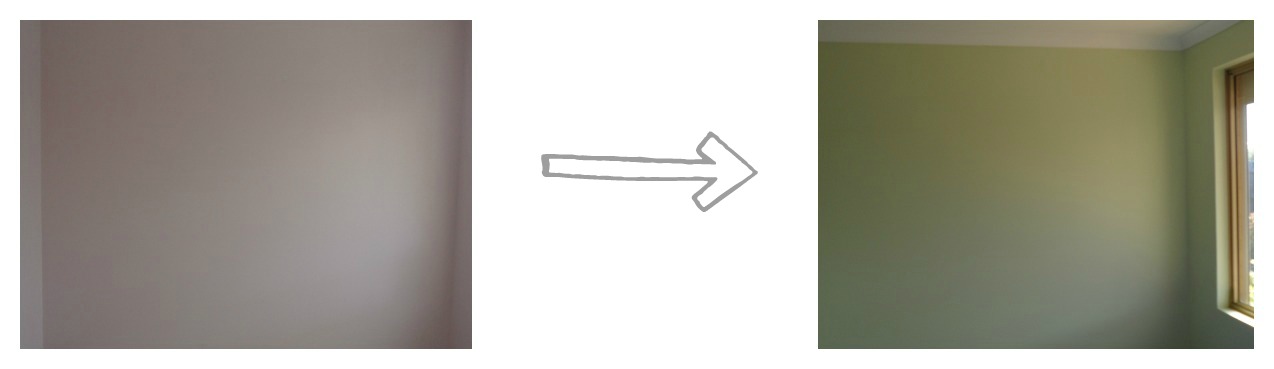
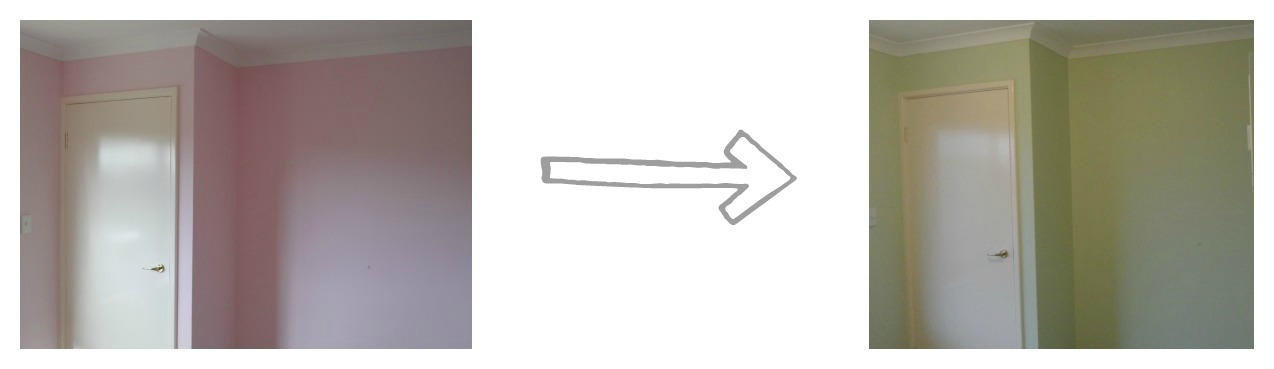
WE HAVE GREEN WALLS!!

The room is painted!! In the end I went for, Security for the darker and Security Half for the lighter green, by Dulux.  I went for one shade lighter with the darker green than was first planned {in the colour samples in DIY NURSERY Part 1, which you can see HERE!}
 Im totally in love with it and can't wait to add more colour once I know the baby's sex.


Here are the before and after shots!


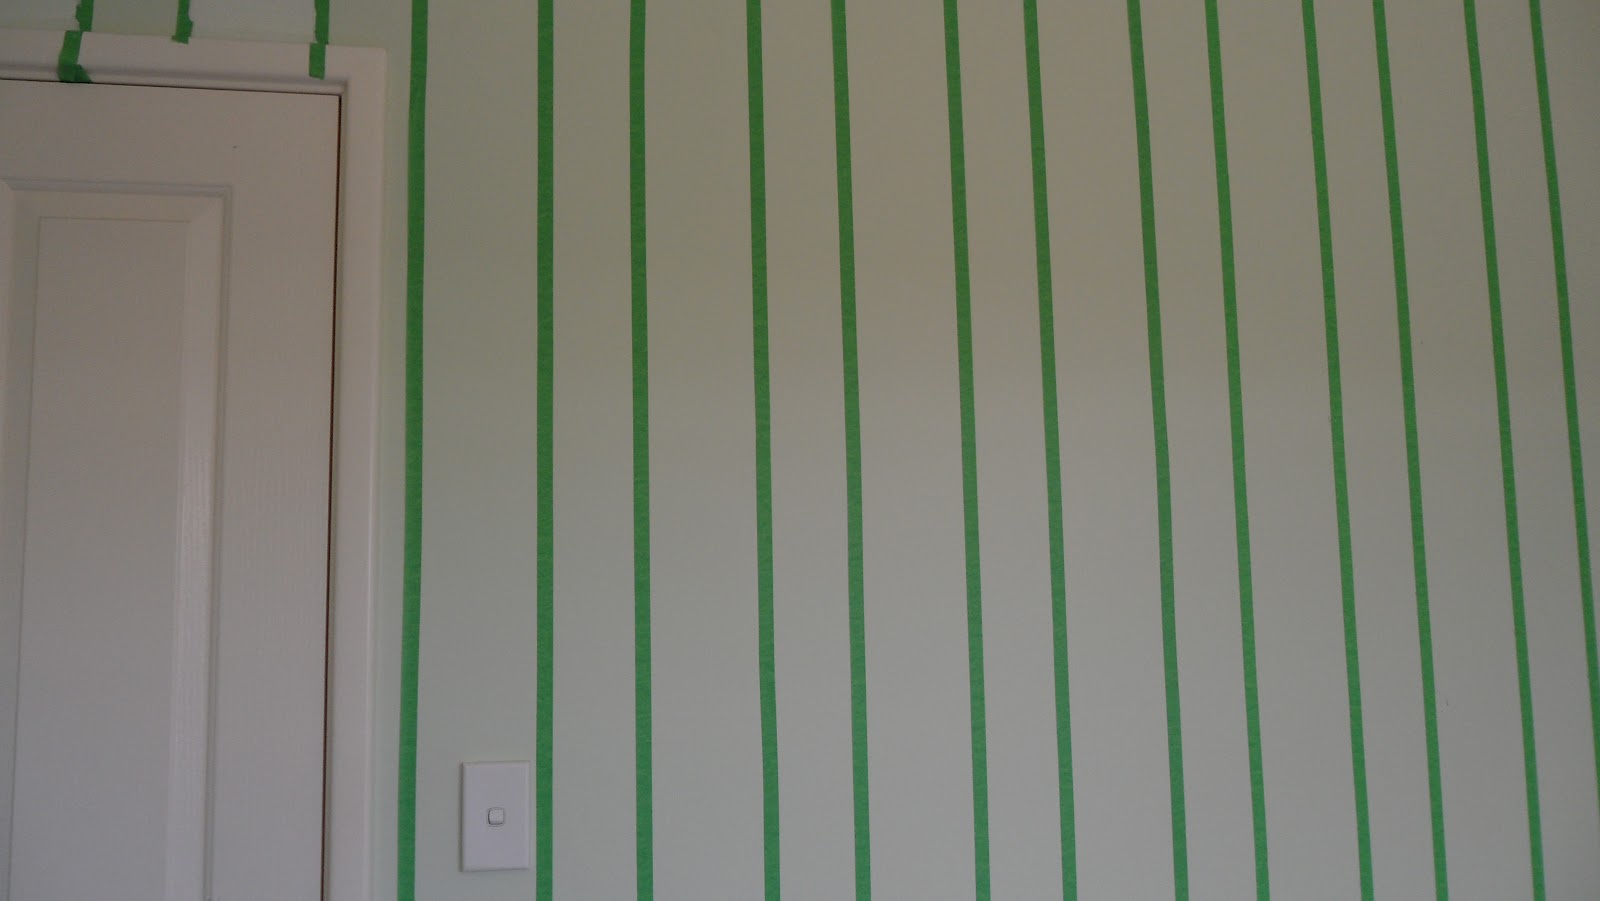
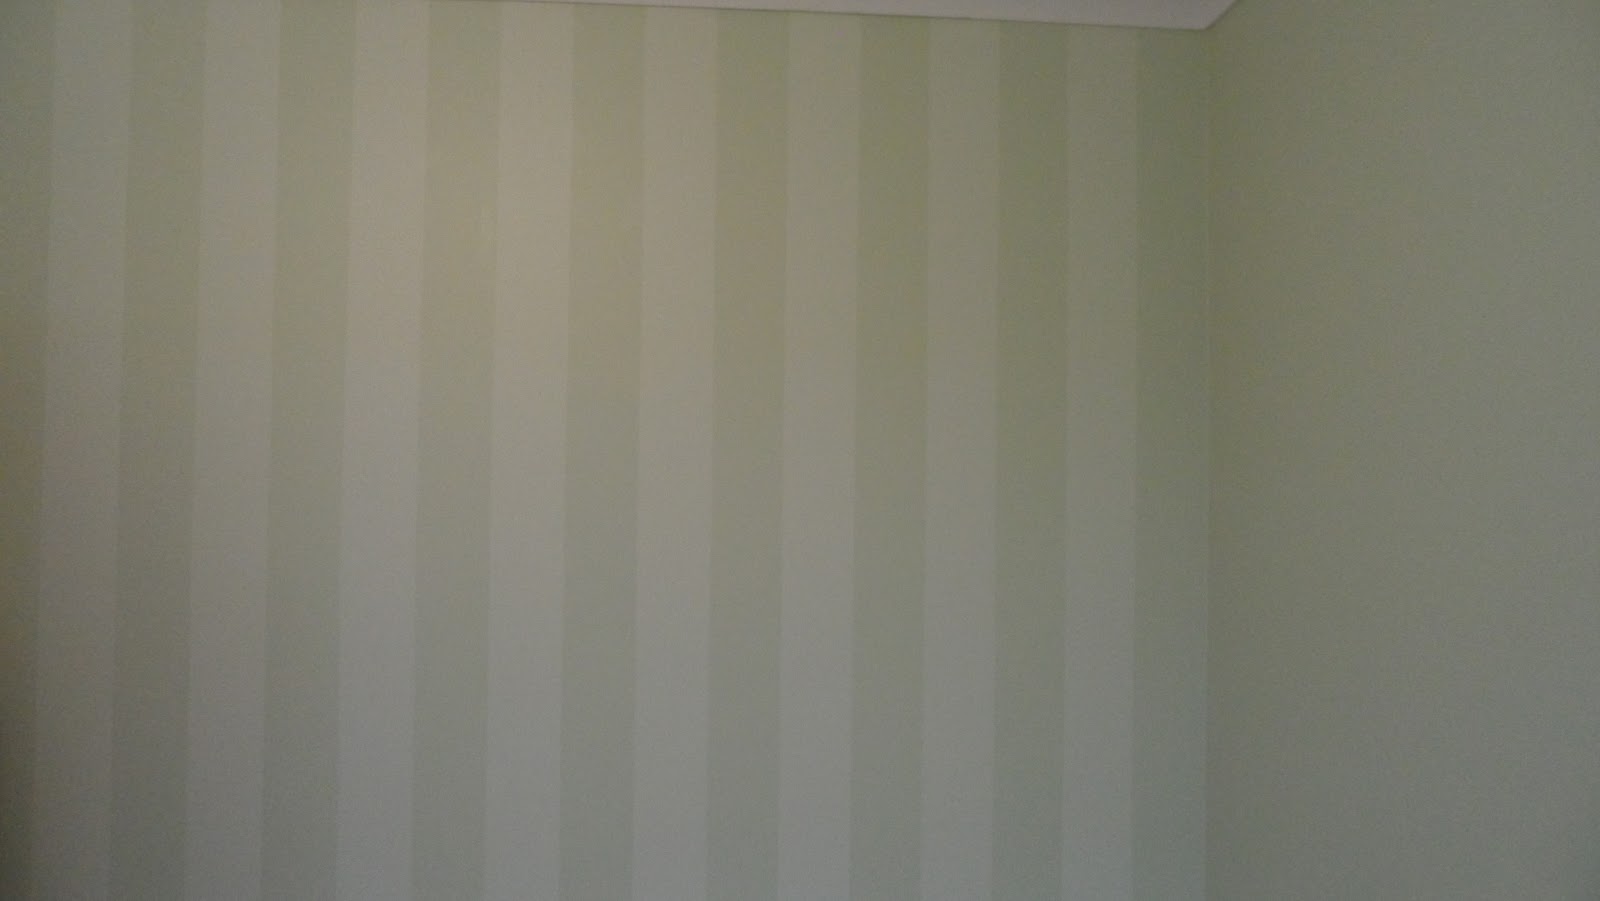
Once the whole room was painted and dry, We striped one of the walls, 


HOW TO STRIPE A WALL. 
{One Spotty Dog Style}


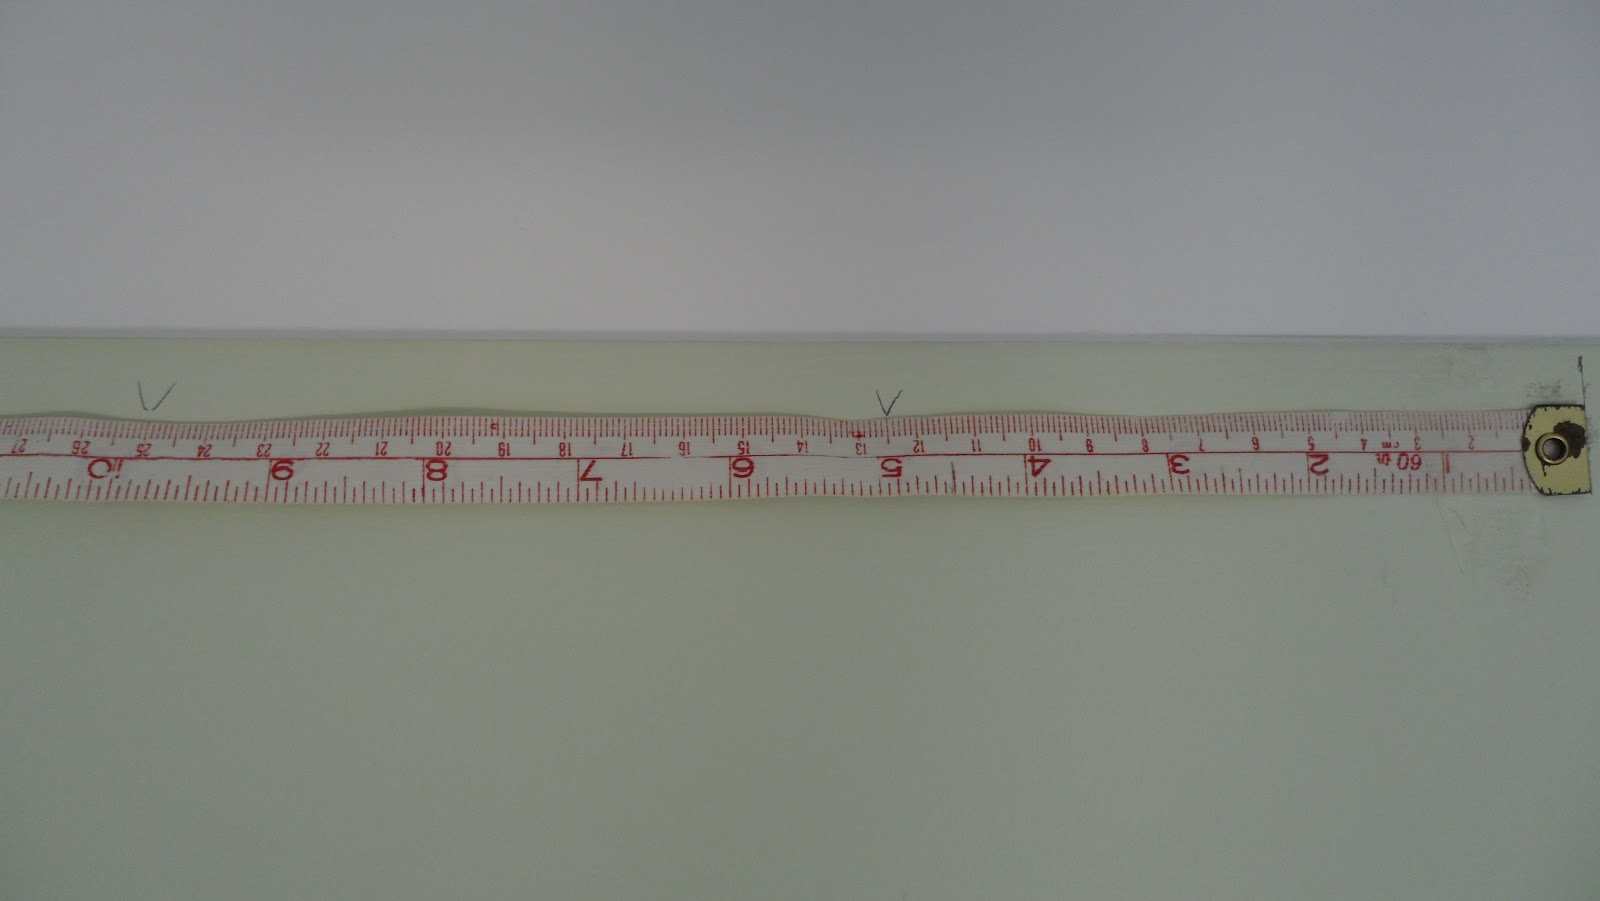
First we measured {Yes with my sewing tape measure} the size of the stripes. I did this to the length of the roller so that I could do one clean roll, which was 12.5cm.


We then added a low tack tape, pushing down the edge that was going to come into contact with the paint only to ensure that we would have the least amount of paint peeling off with the tape. {The taping was definitely the hardest part!}


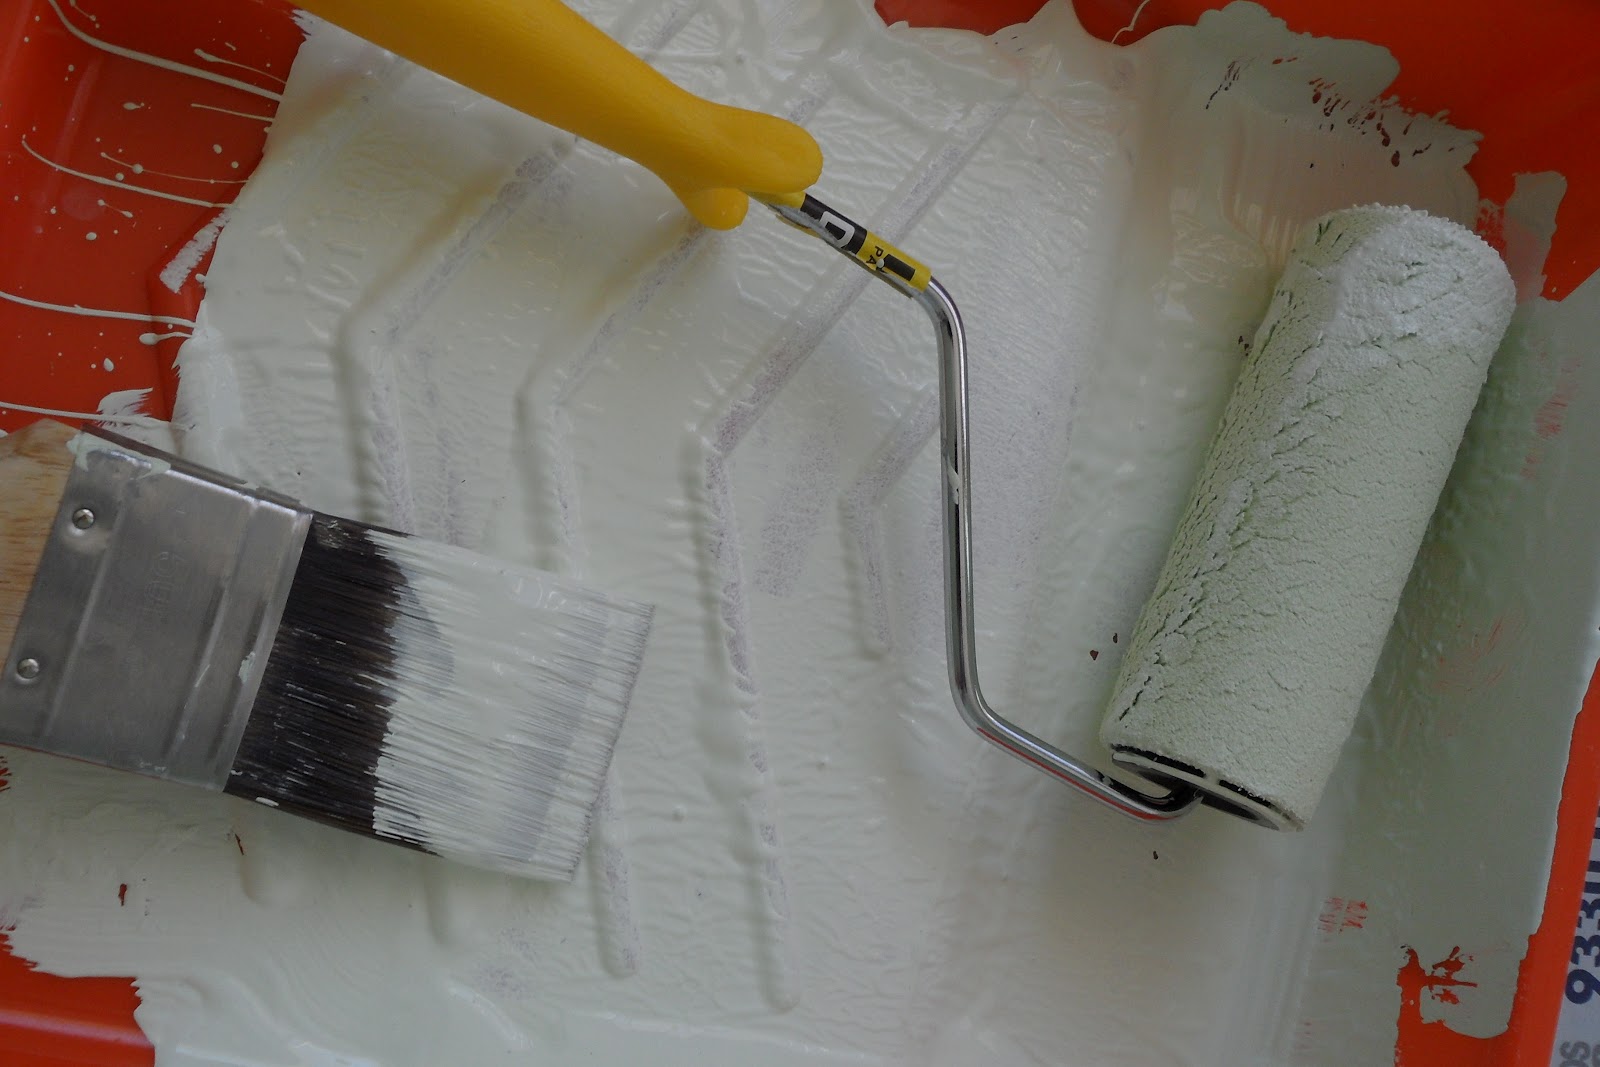
Then I rolled the paint into the taped areas.
{Tip: Pull the tape off while your paint is still wet. I did have a couple of touch ups to do, but nothing major.} 


Here is the finished striped wall:


 Until Part 3 . . . . . . . . .

Tash :0)

PS: If you missed Part 1, you can see it HERE


Saturday, September 15, 2012

DIY NURSERY Part 1

The Nursery has begun!!

We decided in the beginning that we were not going to find out the sex, that we liked the idea of having a SURPRISE! I hated the idea, "What about my Nursery?" How am I going to pull together a fun creative nursery that is uni-sex? BORING!  But I am glad that I have not found out and with only 13wks to go I will know in no time!!! {I think it is a boy tho!} So this will be a work in progress . . . . With regular updates right here!


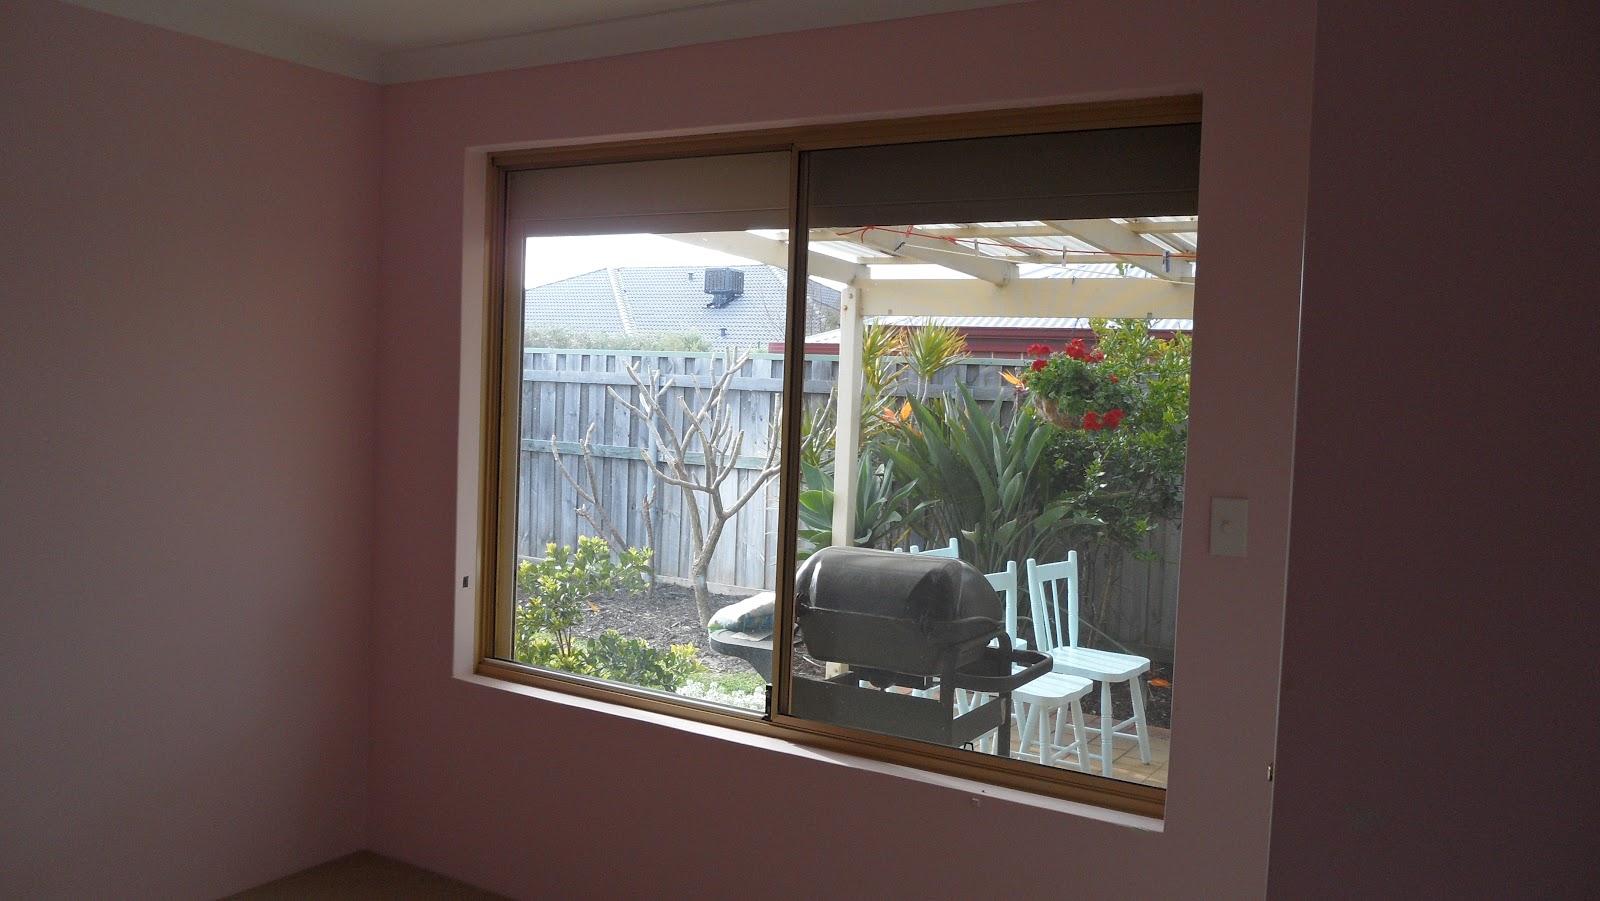
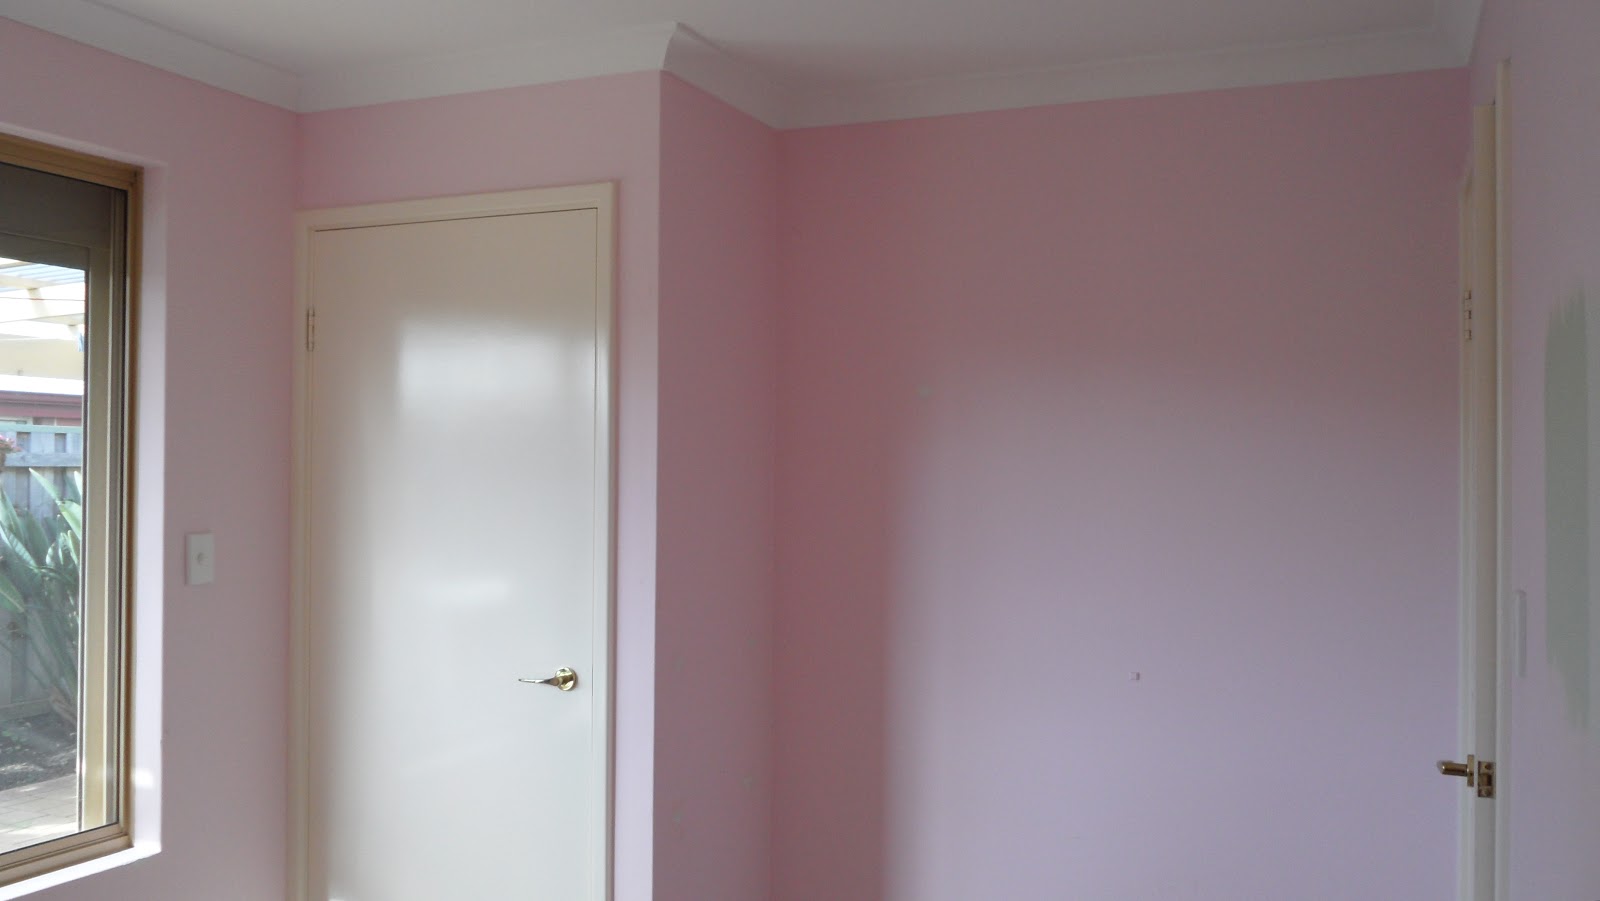
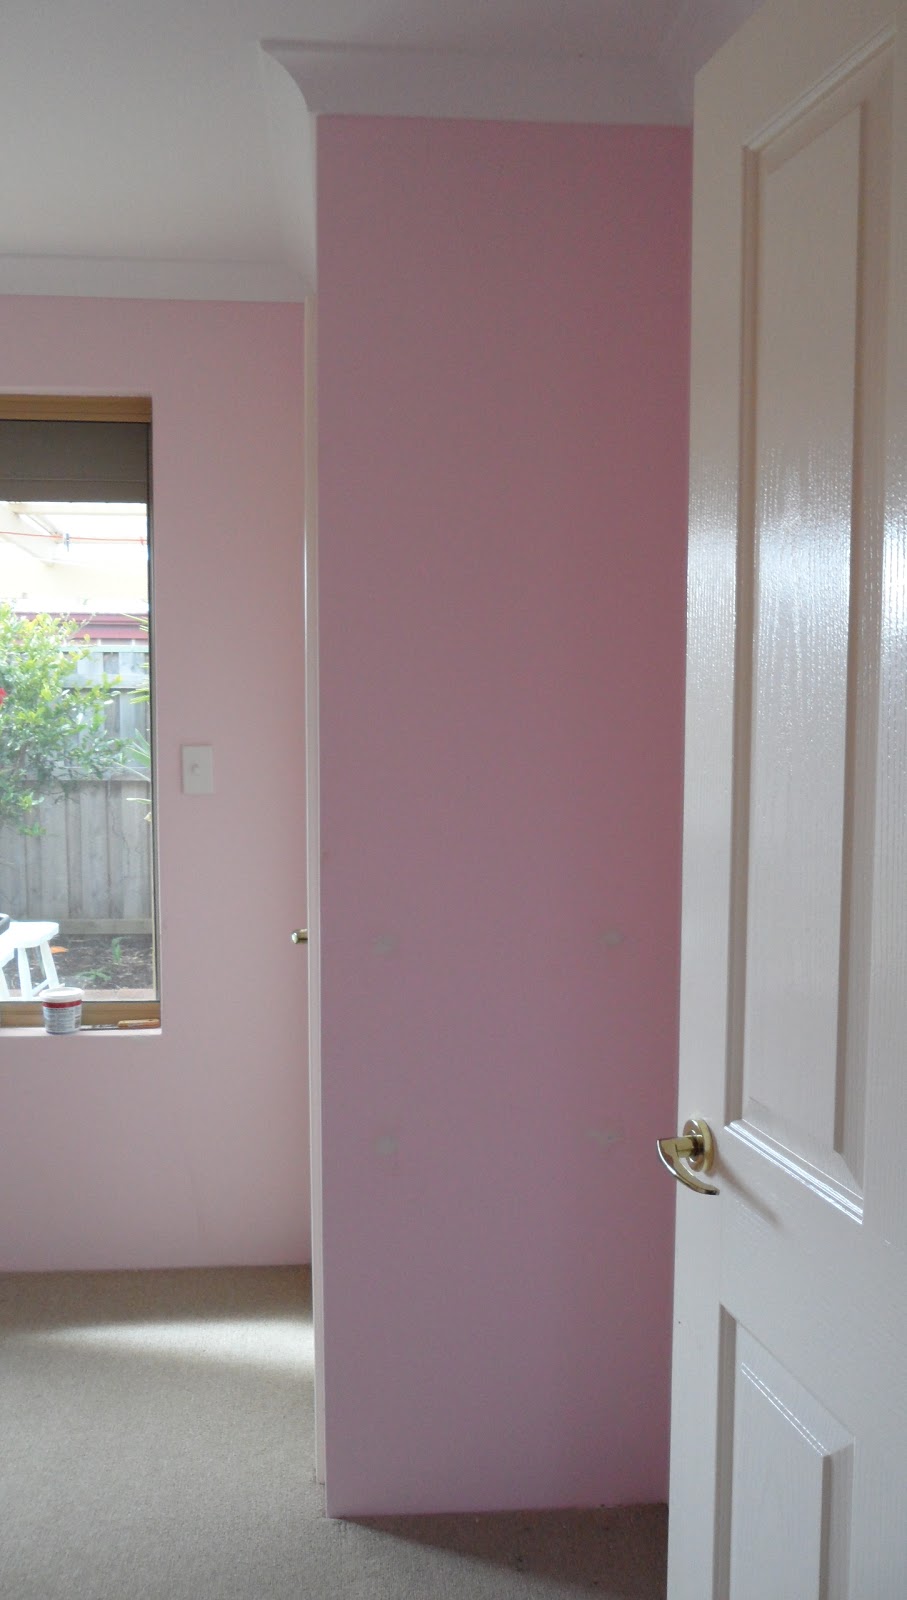
This was the room before we started . . . . 

{It was originally Miss M's room, {my stepdaughter, who stays with us every holidays and when ever we can arrange it.} but we moved her to another room a little bit further down the hall as you can see into this room from the kitchen which I like the idea of.}


Nice big 2m window.


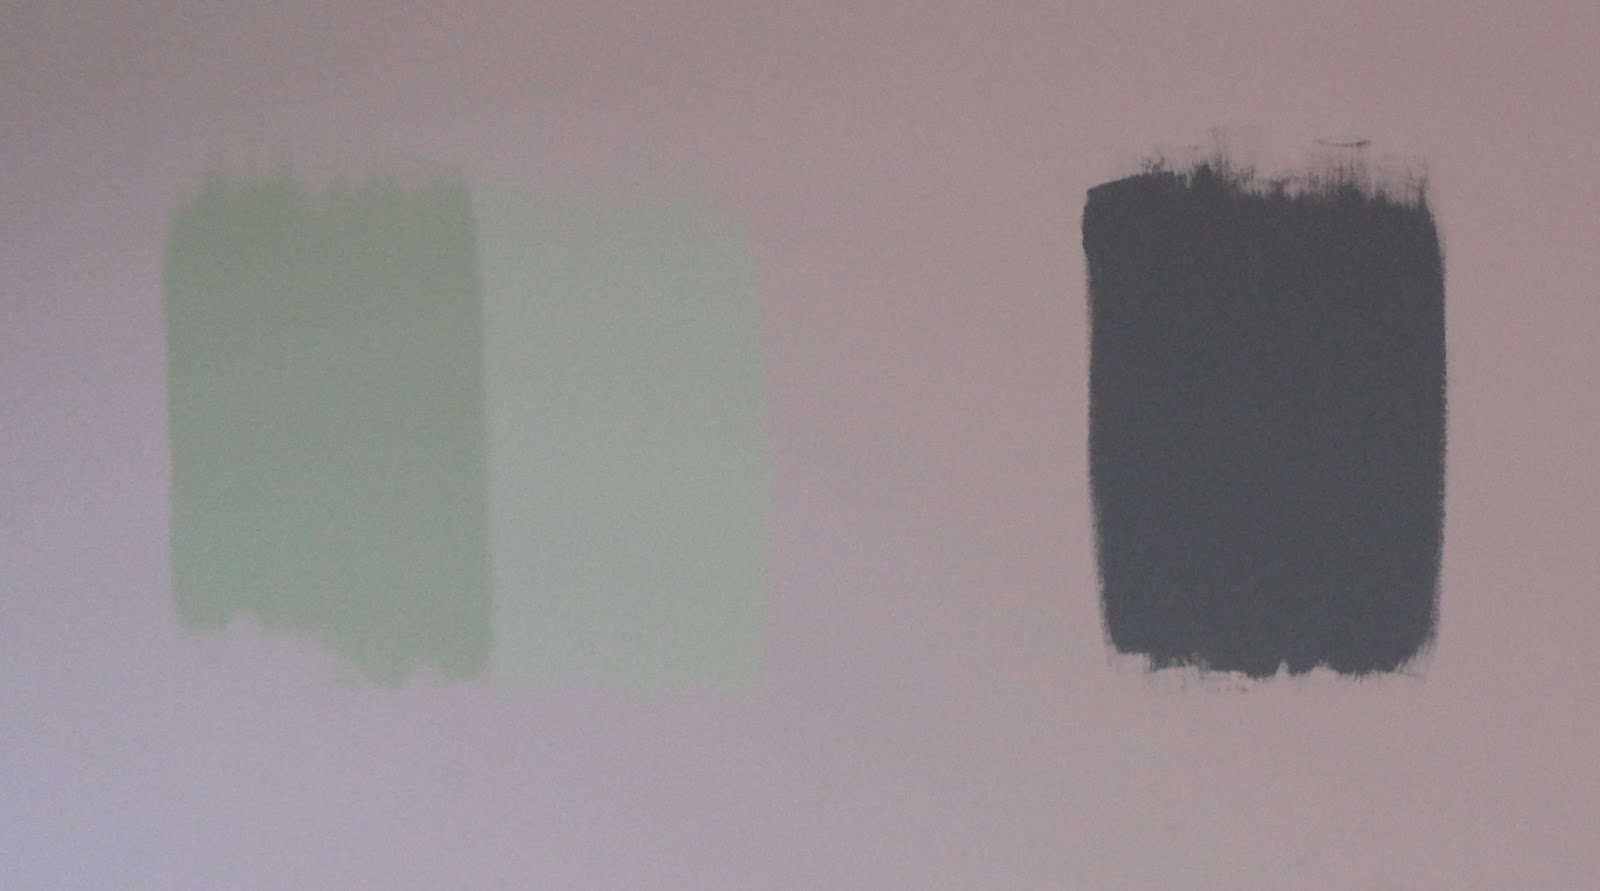
The next job was deciding what colours to paint the walls . . . . . . . 
{I didn't think the pink would cut it if it is a little boy}


I was thinking a earthy green but when I went to Bunnings to get the paint, this gray also became a contender . . . . .  .


We decided it was a little dark and are going to go for the greens.
{I want to stripe a wall, so the right is 2 shades lighter}

I will add pics soon of the process and the finished walls!!


Here is a sneak peak to some of my 'FINDS' that Im going to add to the room . . . 


 These are the curtains I'm going to use from Ikea
{But I am going to add a bit of my own touch to them, Including some lining!} 

EIVOR - $14.95 Pair


Hutch from an Oppy for $20 


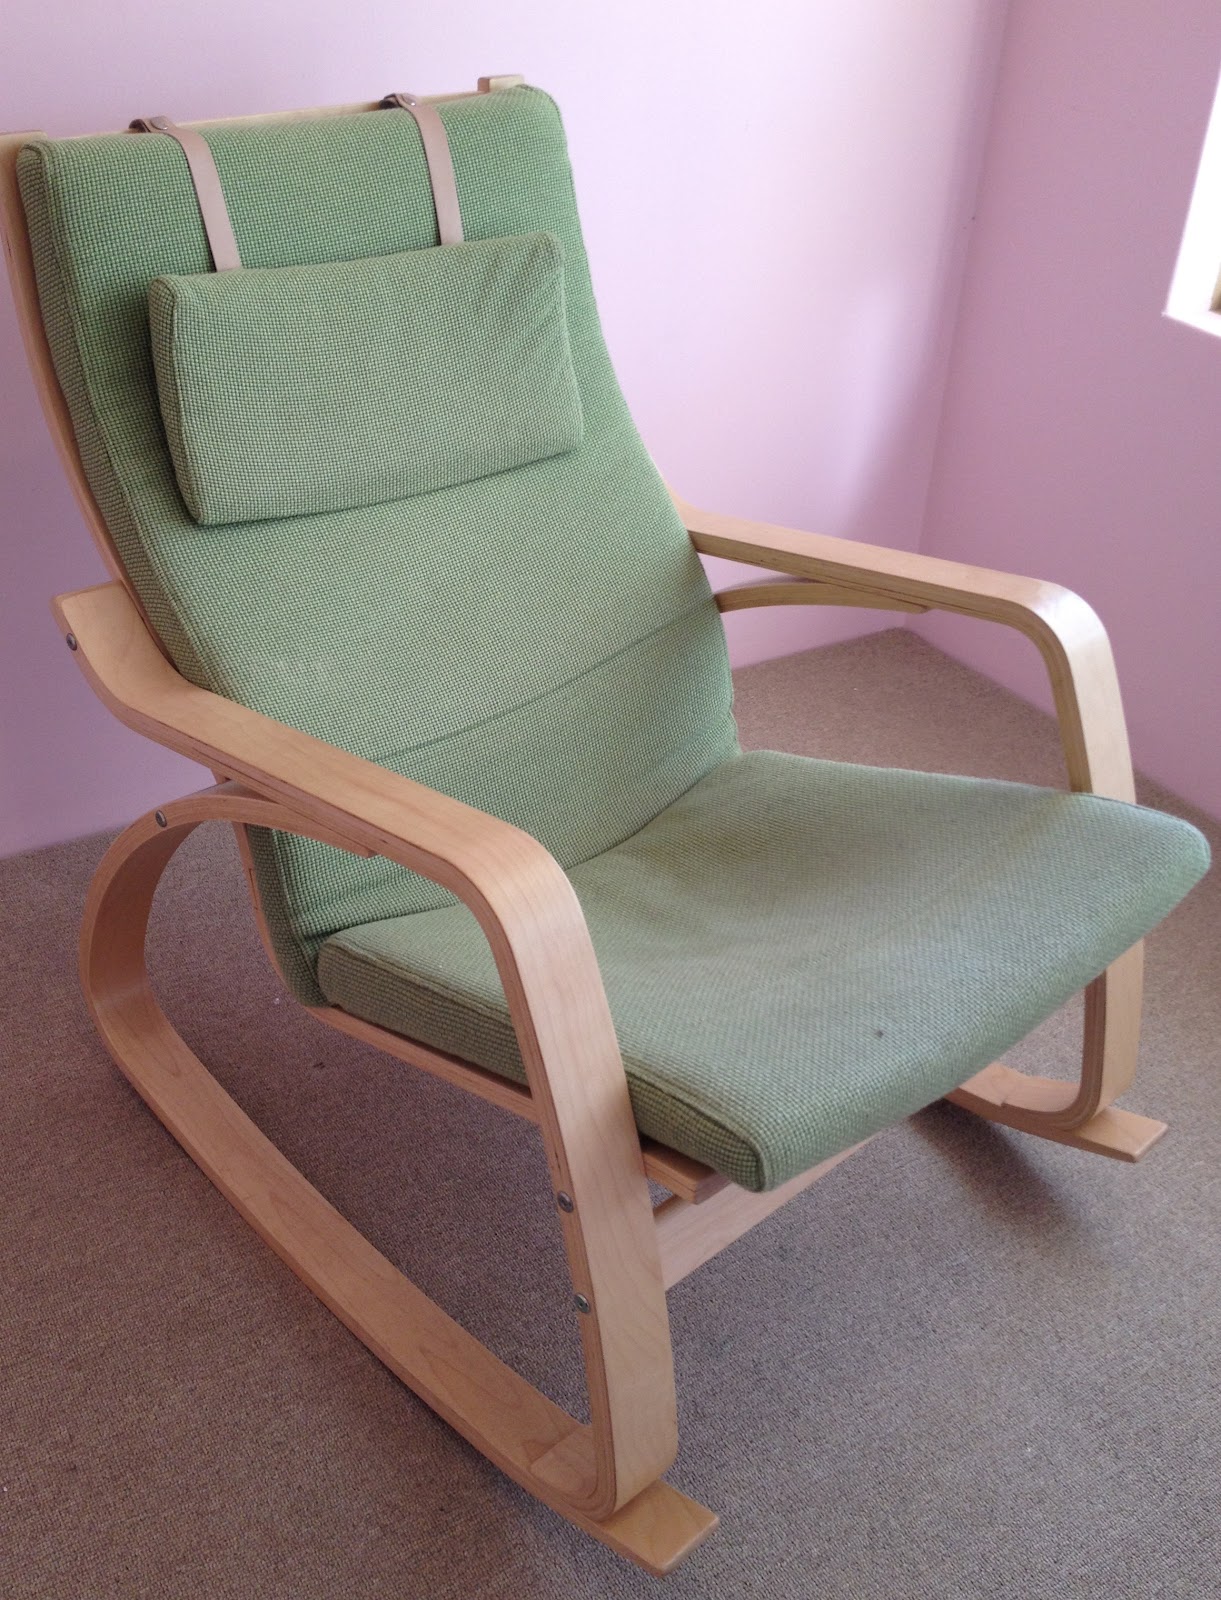
An Ikea Poang Rocking-chair that I got off gumtree for $40 
{I am yet to decide but I think I will cover the chair pad.}


Another Oppy find - $5!!


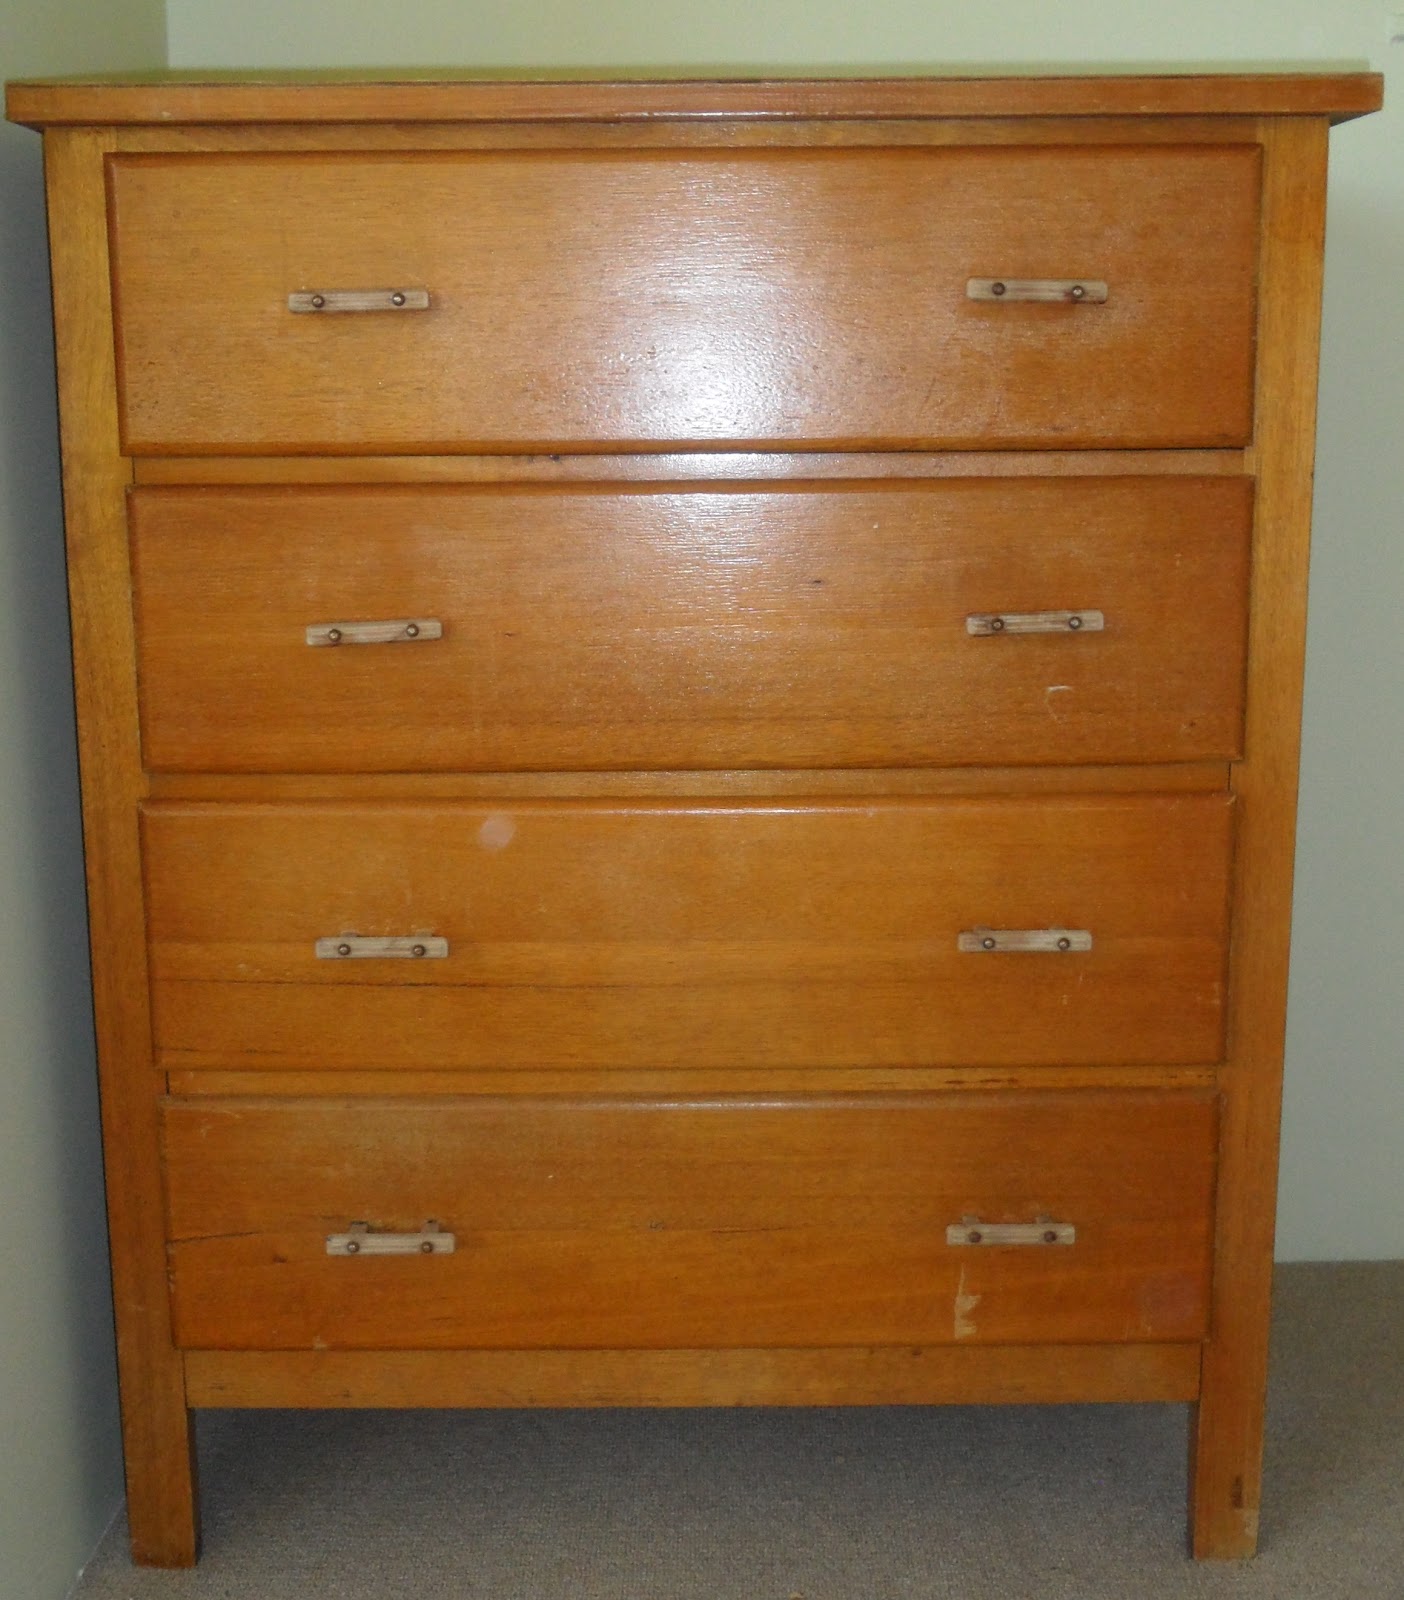
 And a $25 chest of drawers also from an Oppy!


I will keep adding to this post as the room progresses, Until then . . . . . Keep Smiling!

Tash :o)

Part 2 now ready . . . .HERE!

Wednesday, September 12, 2012

We are having a BABY!!


I am super excited that the time has come for me to take a step back from full time uni to embark on the next {wonderful} stage in my life!!  I will continue with my double degree in Nursing and Midwifery, but only part time, so I can spend as much time with our new addition as possible. 
We have decided to keep the sex a surprise, so come Christmas I will be the proud mother of a wee Daughter or Son! Yes unfortunately it is a Christmas baby. Due: 21.12.12. 
 {I say unfortunately as I would hate to have my Birthday the same week as Christmas so here is hoping that the baby decides to come early or that it is way to comfy in there and stays "in" a little longer!!} 


I have the nursery underway, but without knowing the sex it is going to be a work in progress, My next post will be DIY NURSERY!! So keep an eye out!


Here I am at 22wks. 

And . . . . . .

Here is our wee dot at our 20wk scan:


Tash :o)