Thursday, May 2, 2013

DIY NURSERY - End Result


I hope you enjoy. . .


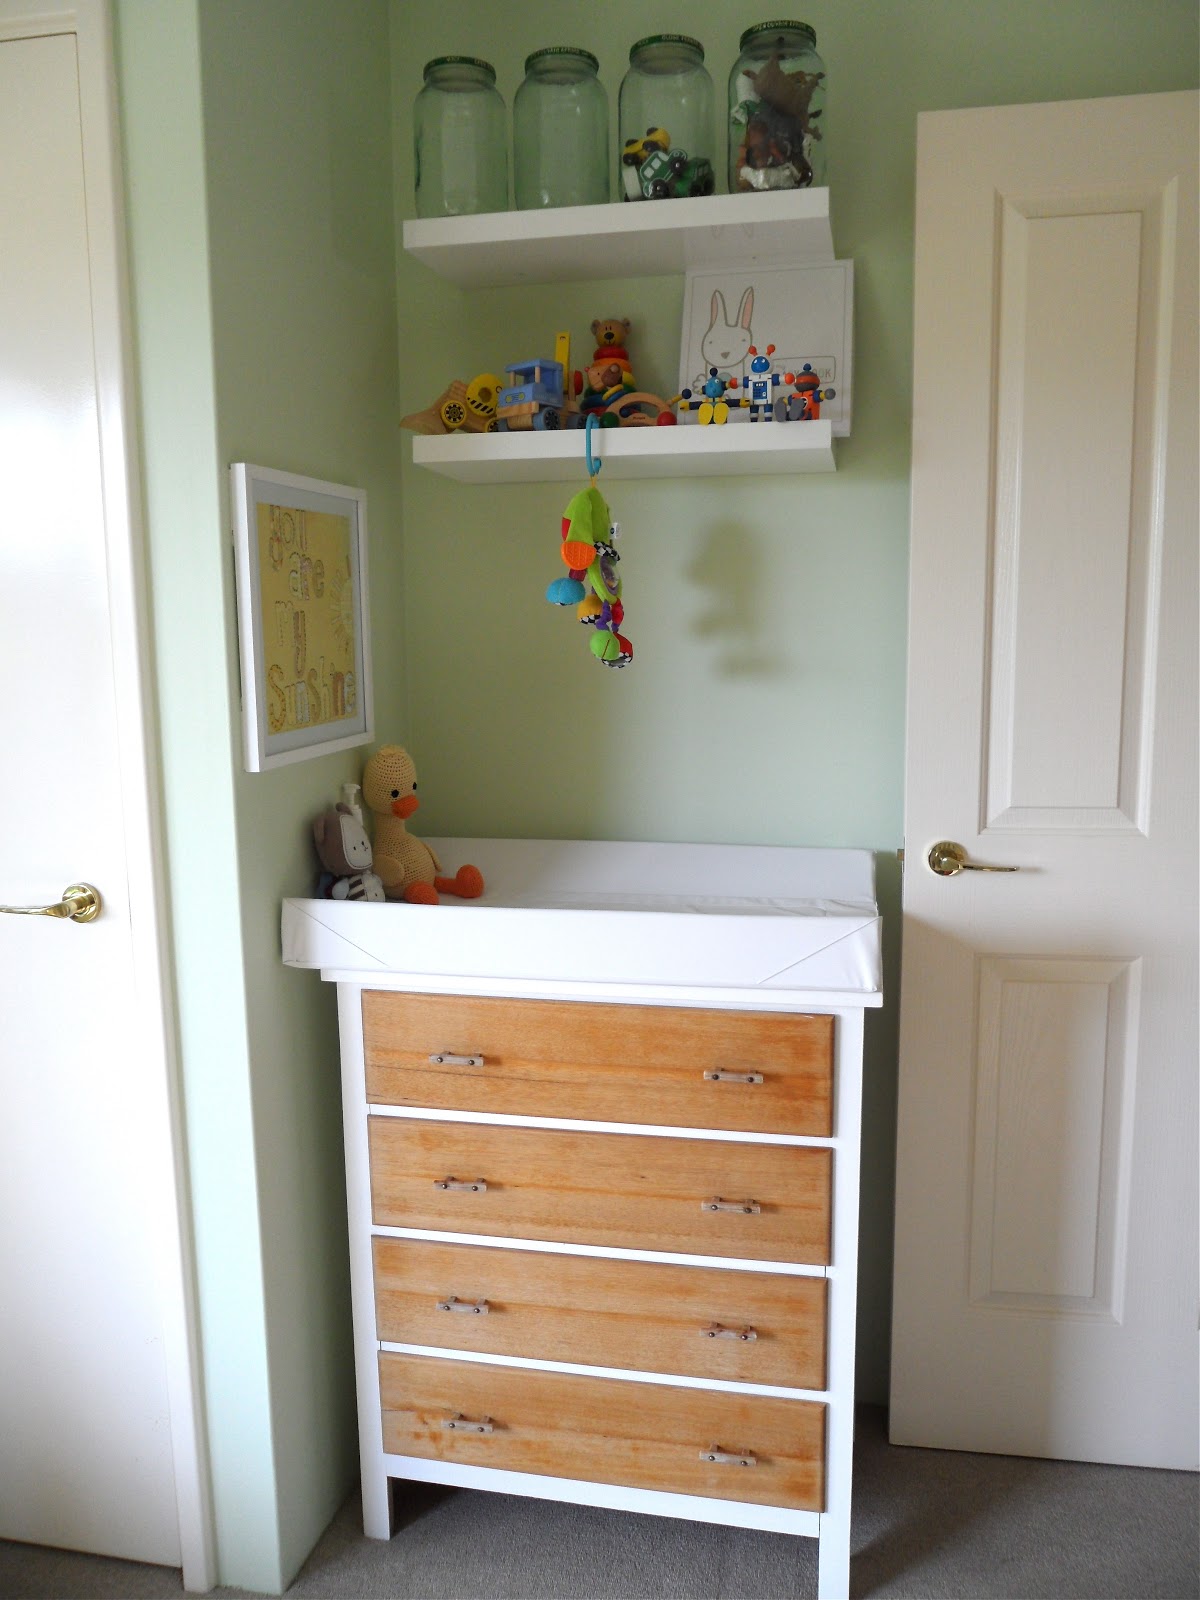
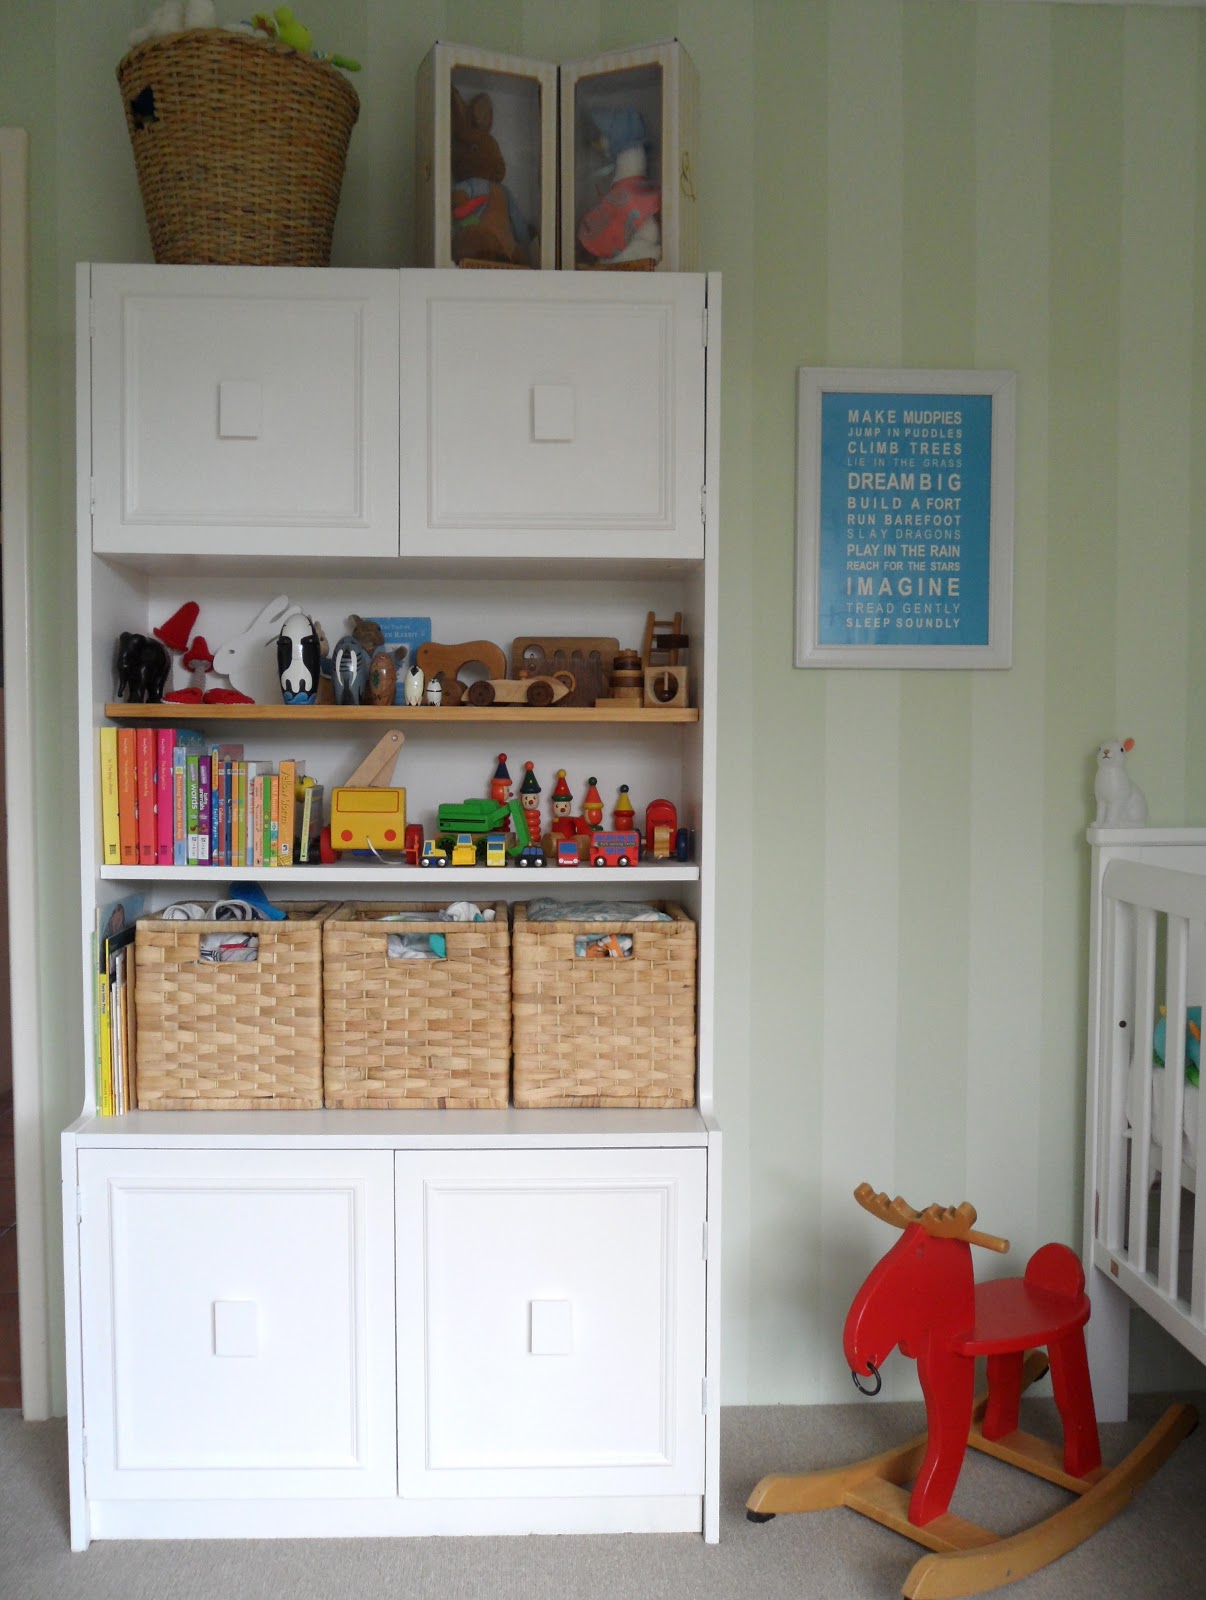
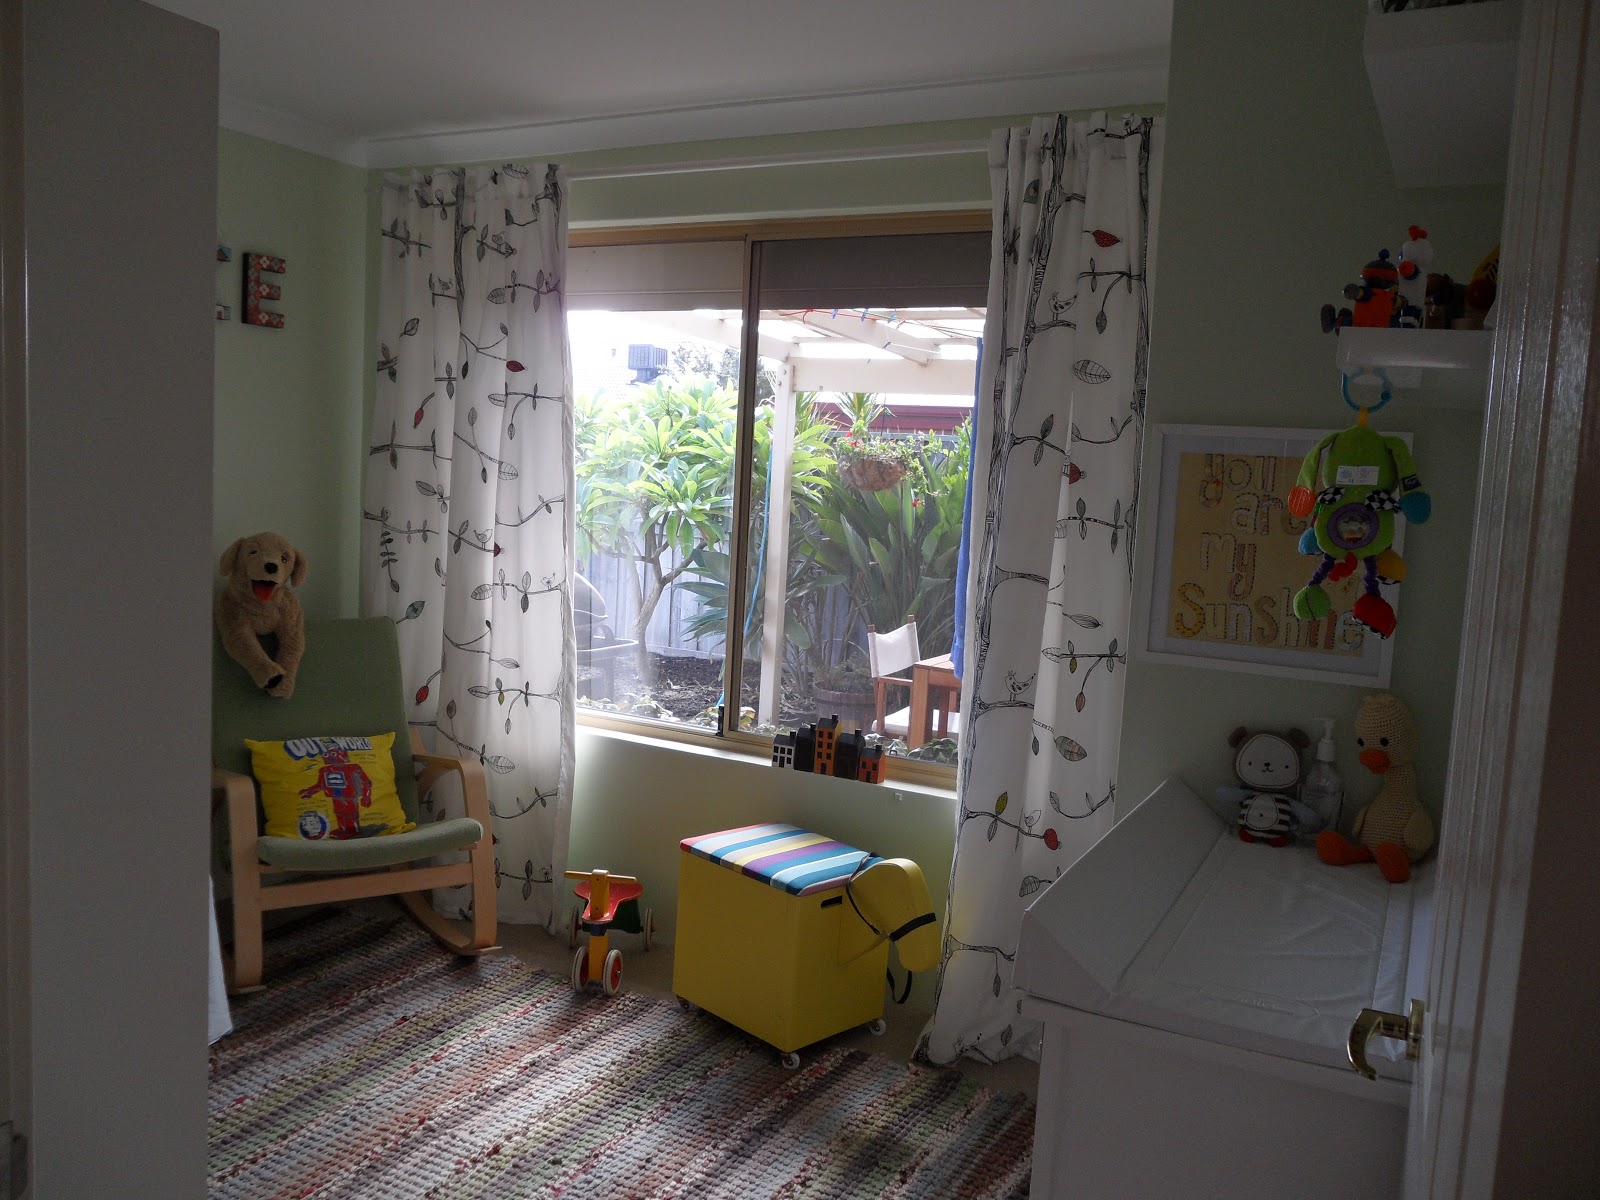
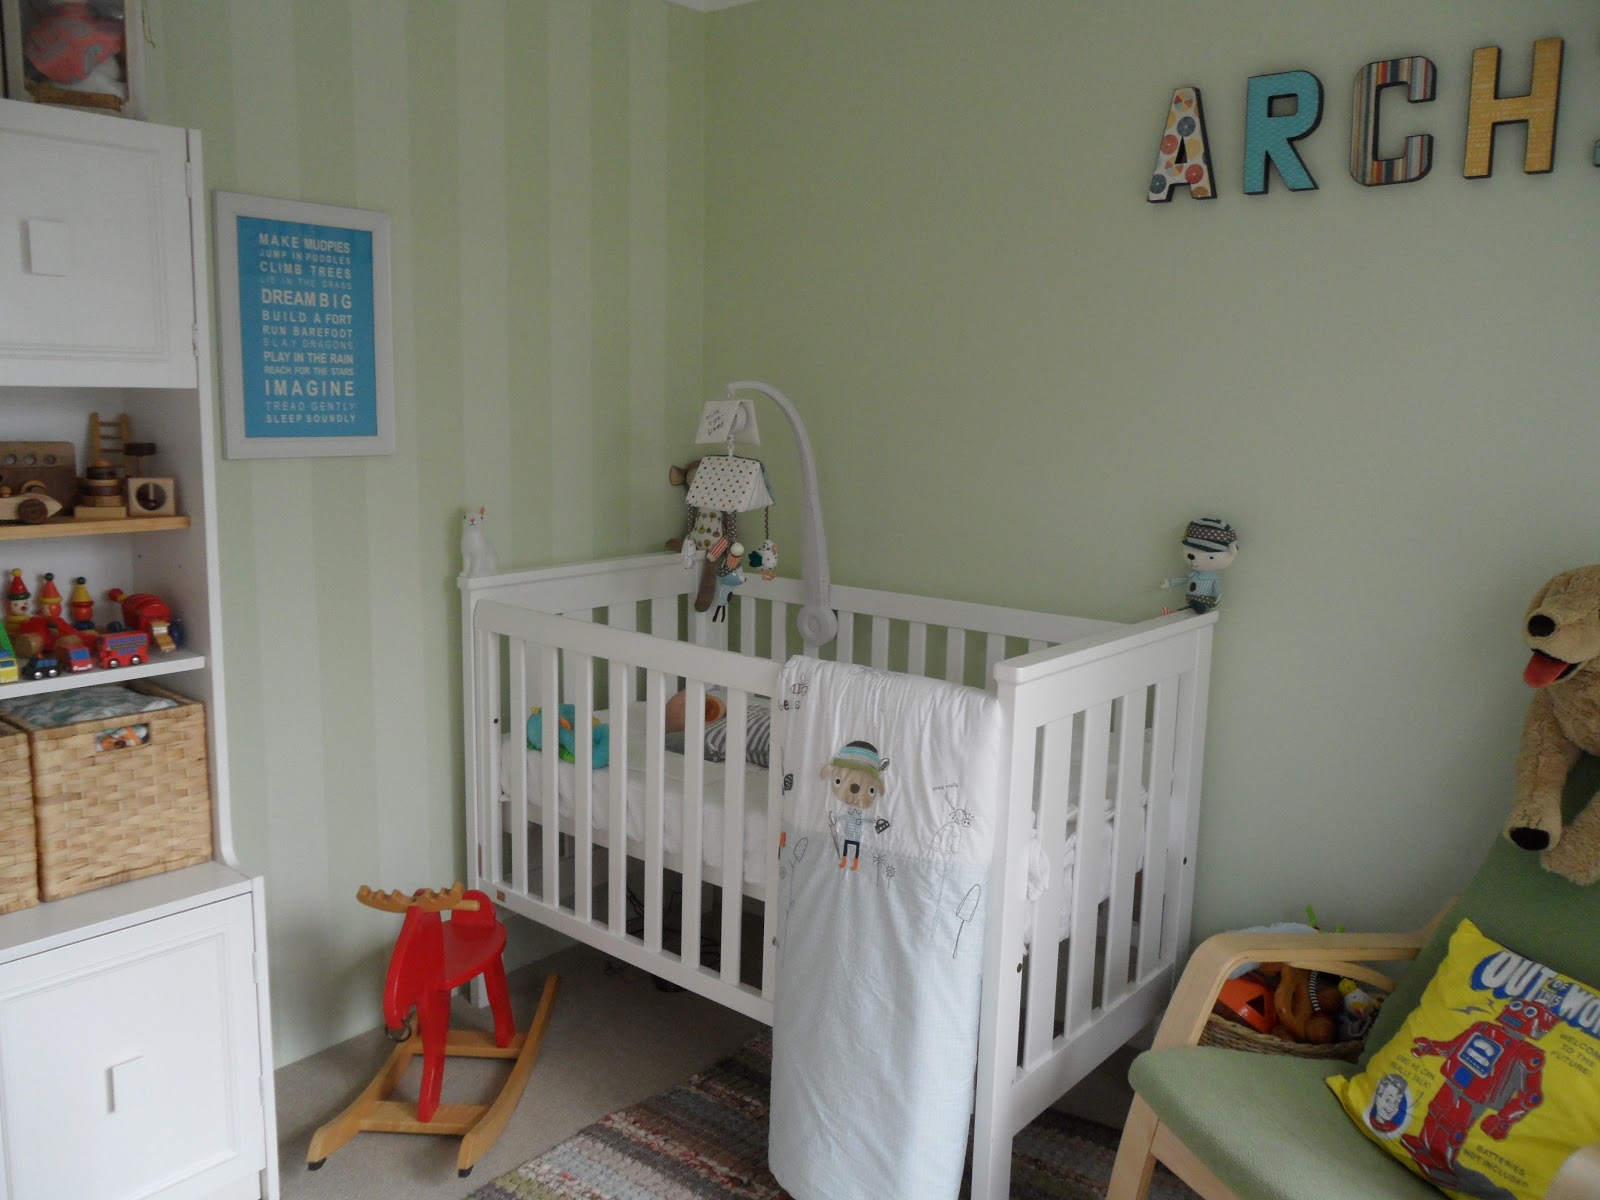
Change table/drawers. - Nappies/wipes etc are kept in the top draw out of sight.

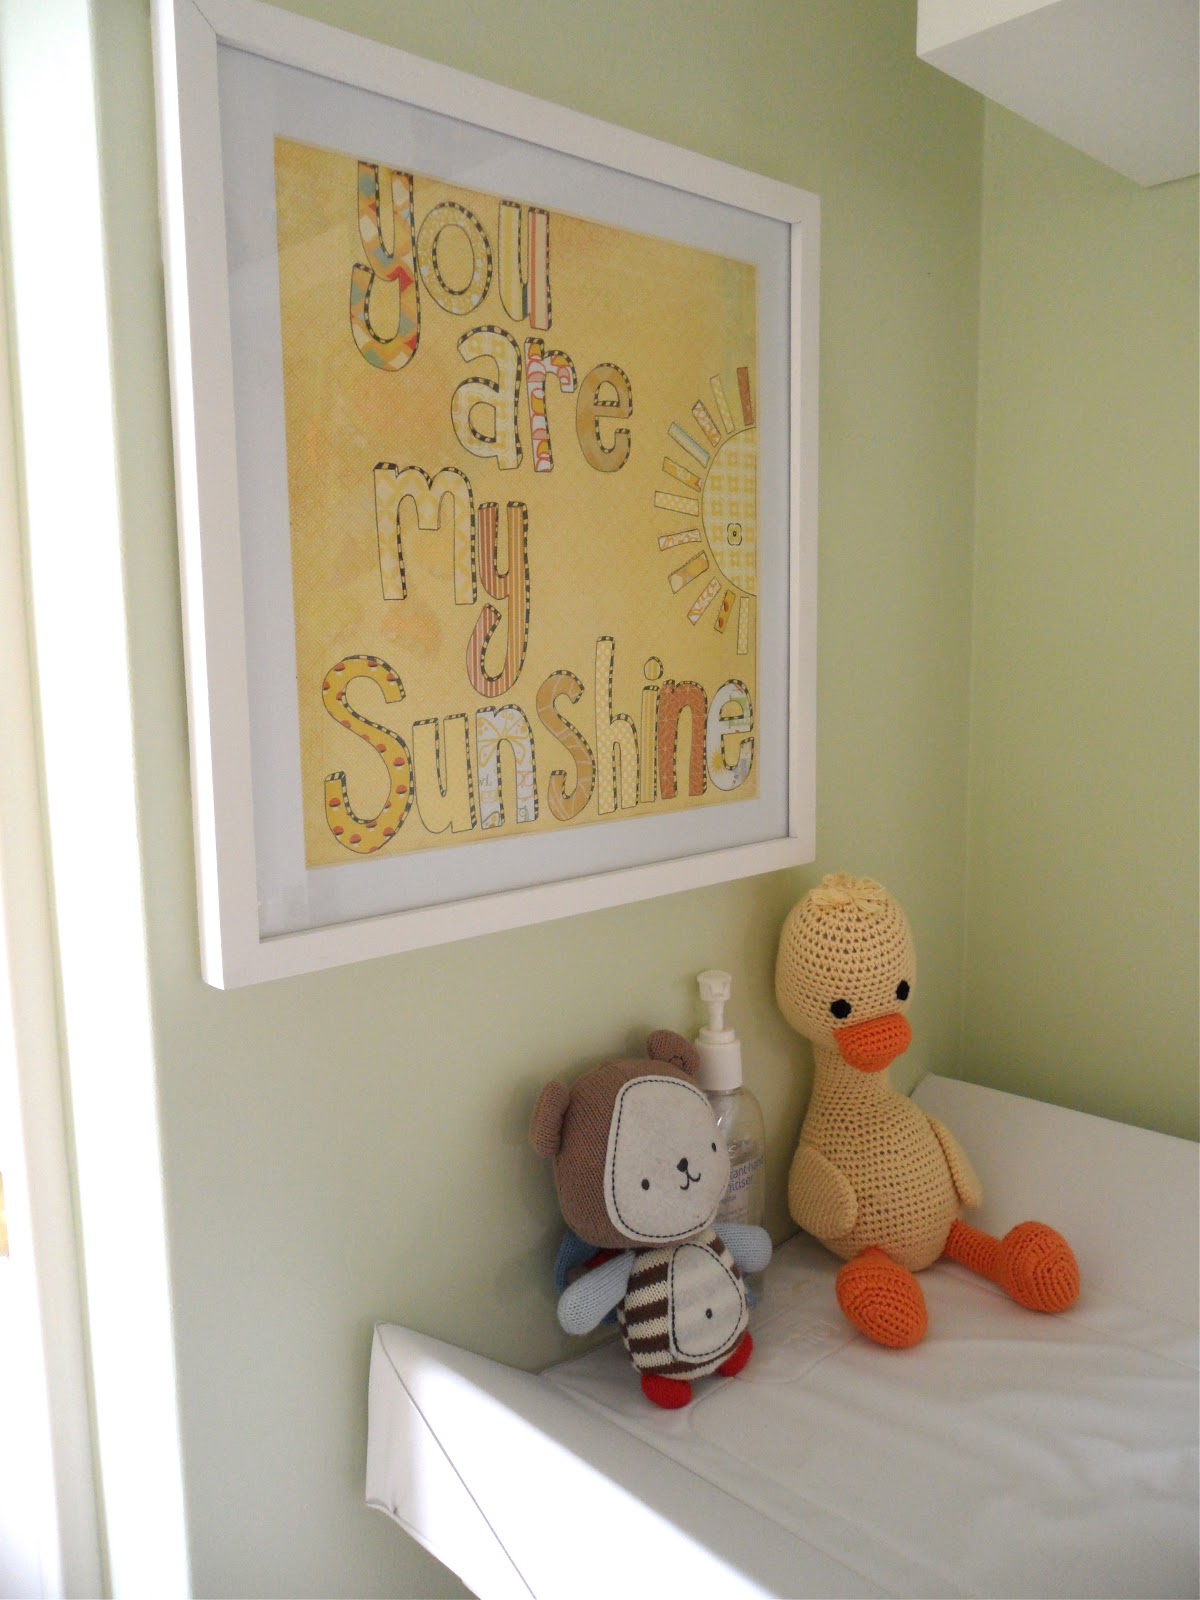
You are my sunshine picture created by me.
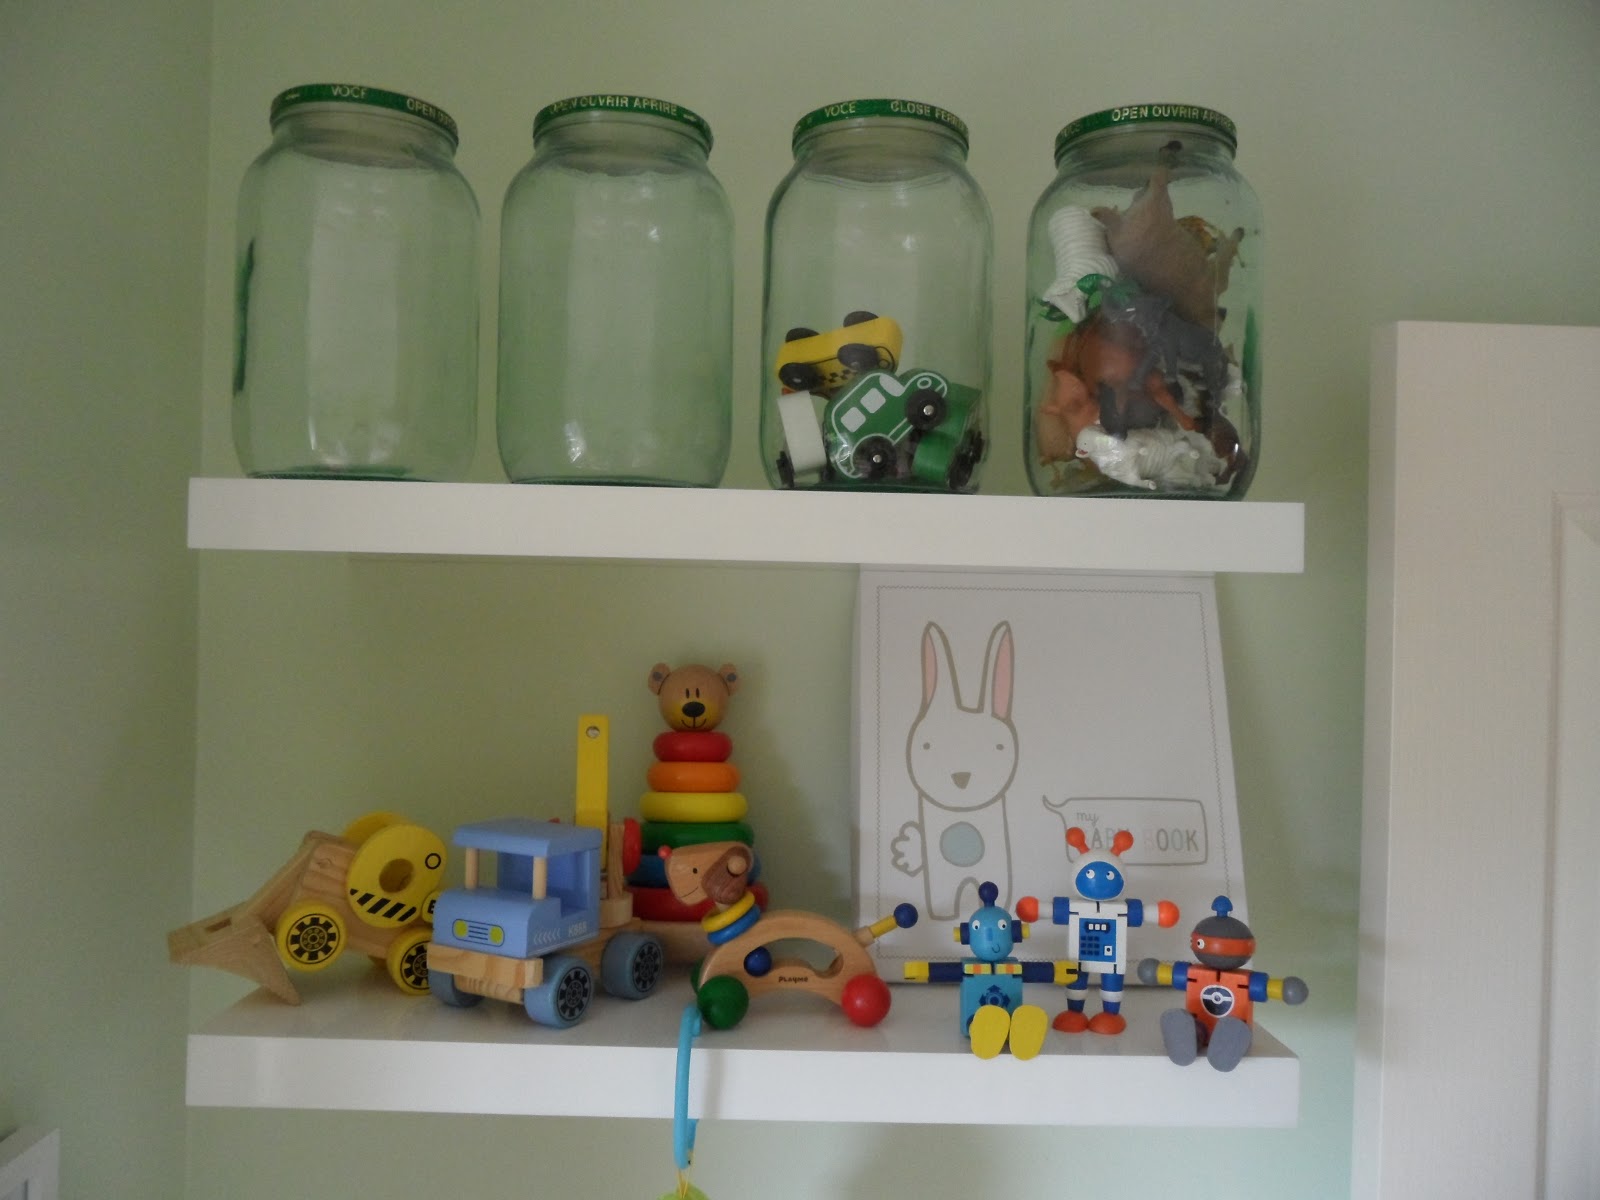
Toys from Archies Aunties. Crochet duck from Crochet bambini 


Jar were an oppy find! . . .LOVE THEM!
Other wooden toys gifts, oppy finds. Baby book from Kikki-k

Moose from Ikea. {but I got mine from an oppy for a 10th of the price. Shhhh}

Handmade wooden toys in top right from Wooden It Be Lovely. Great quality and awesome prices!


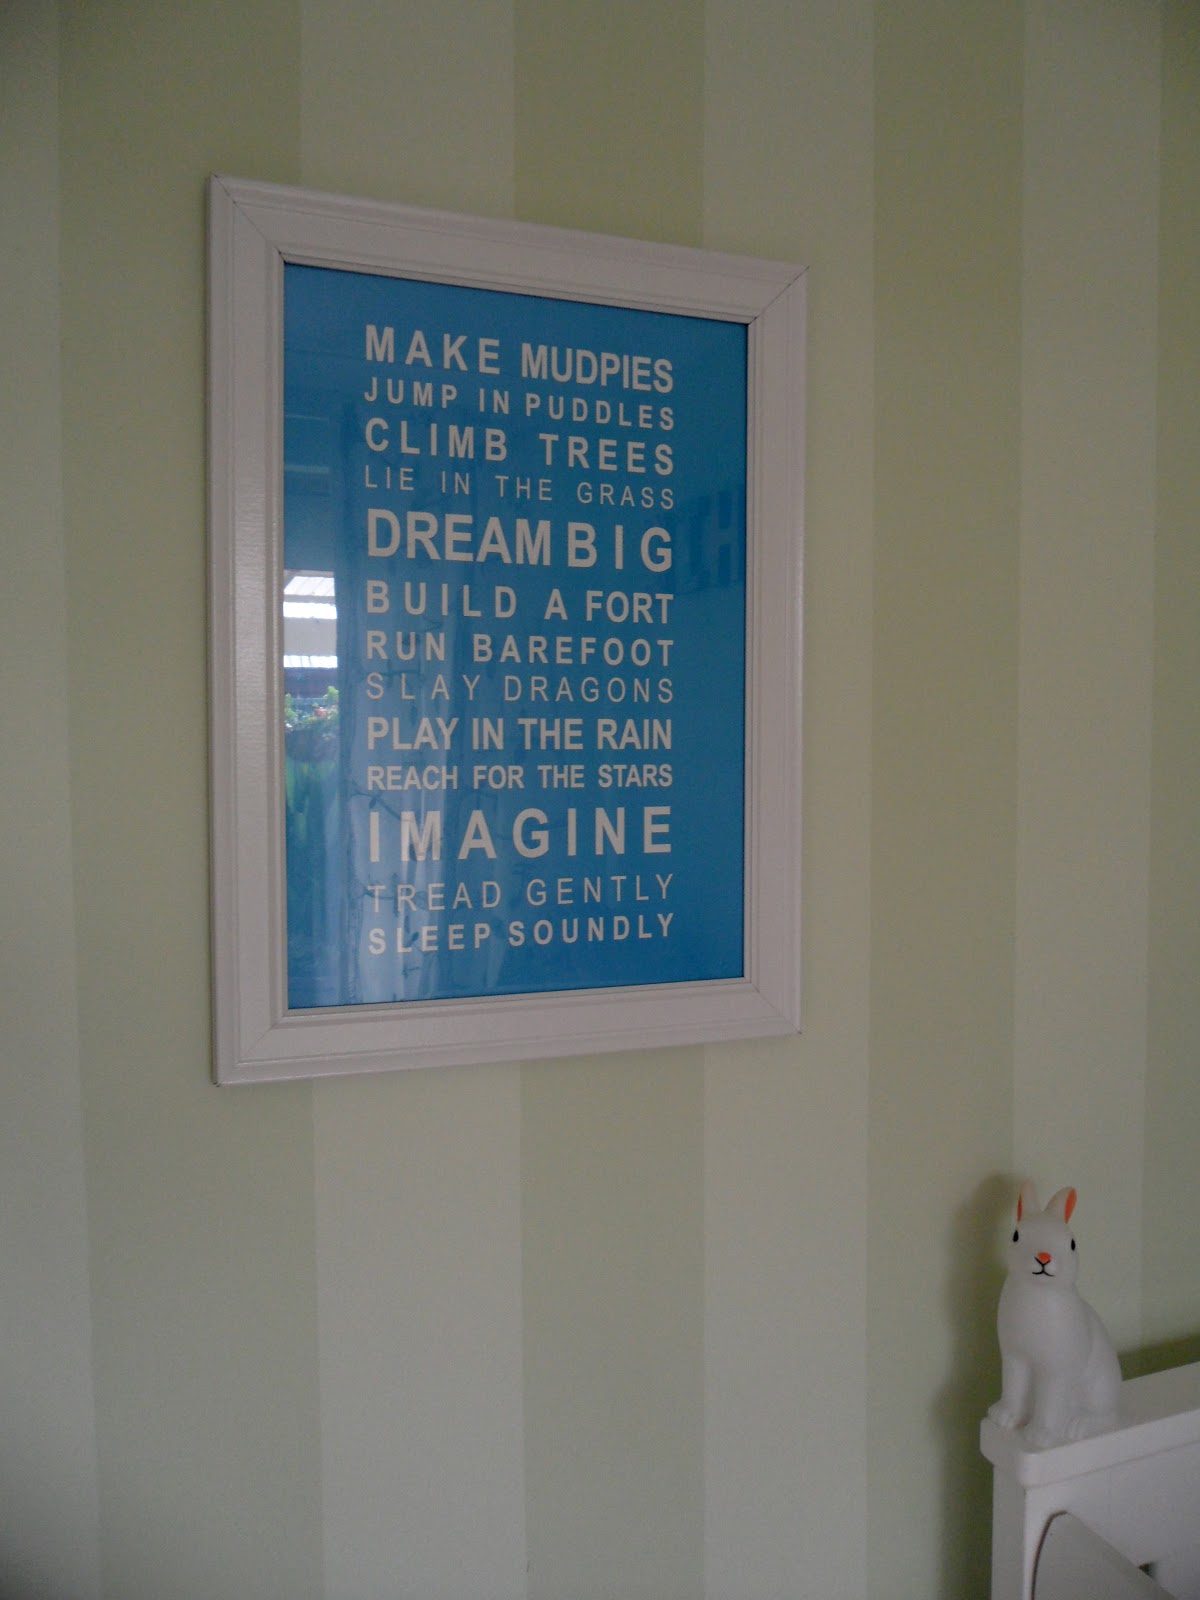
'Bus Scroll" print from Archies Aunty.
You can buy both the print and the rabbit night light from Rudy and the dodo

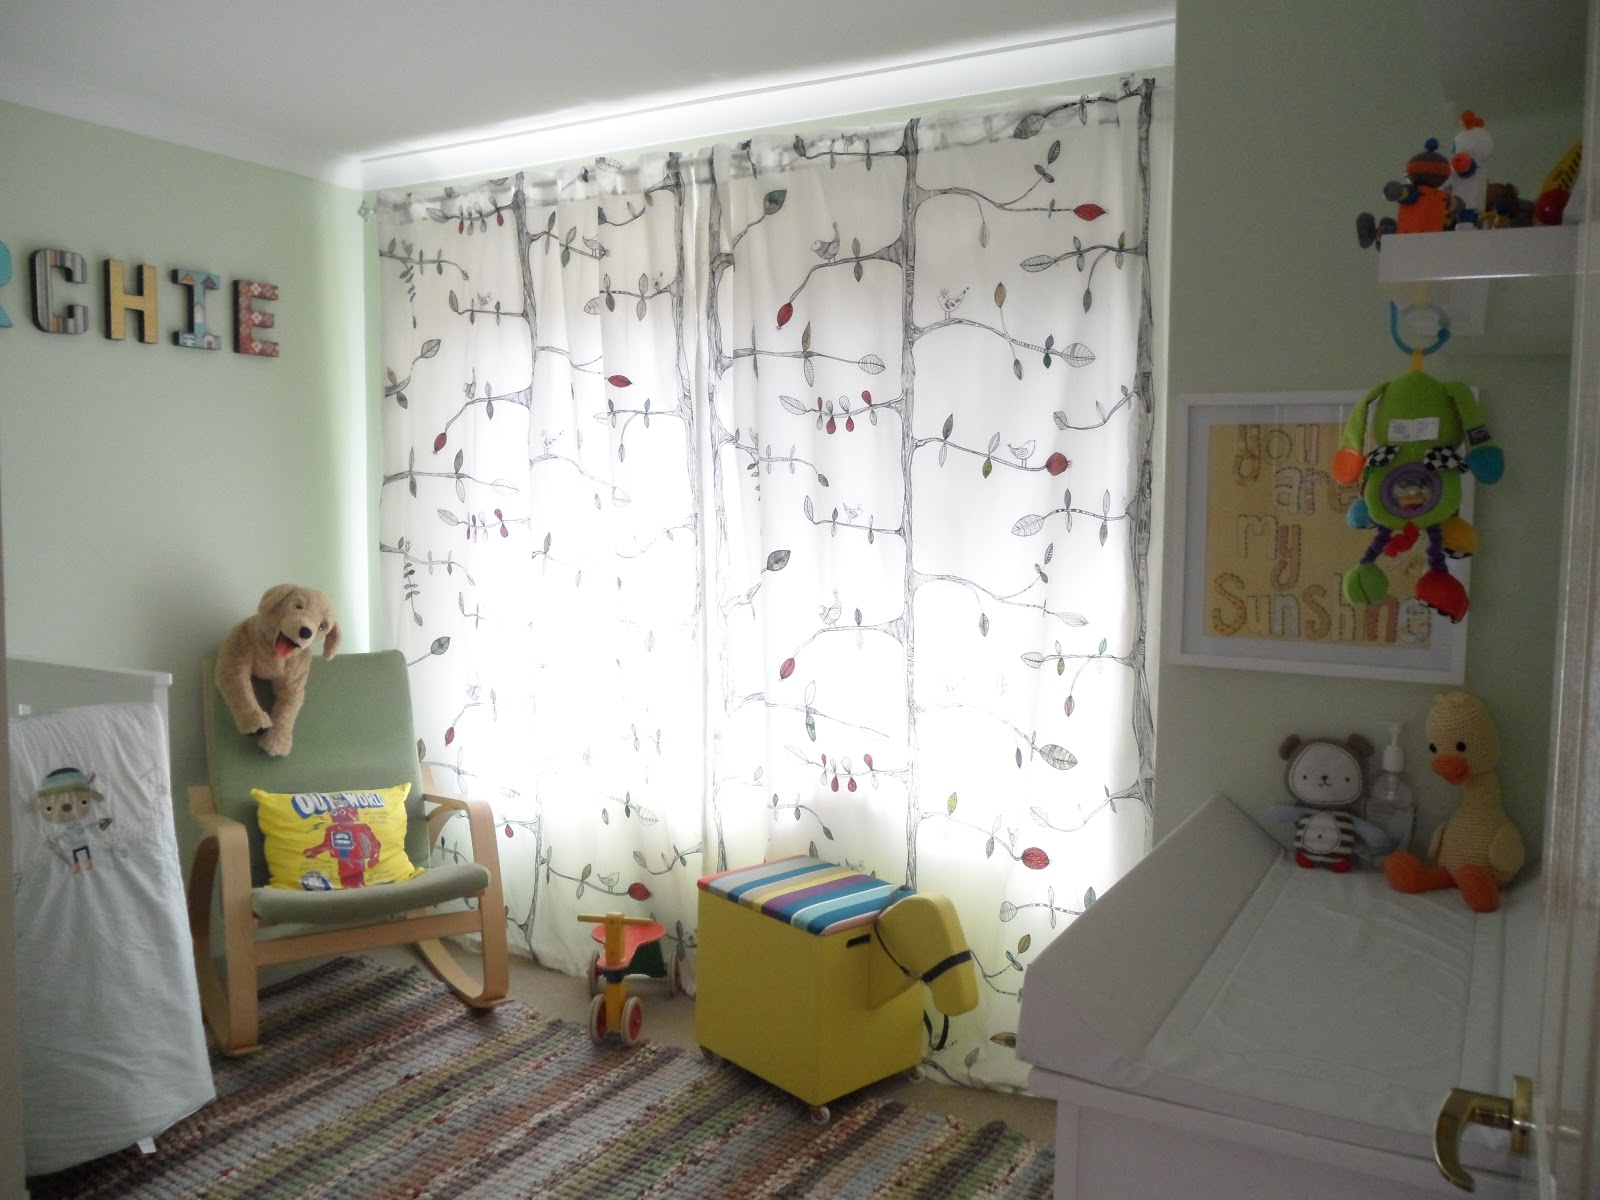
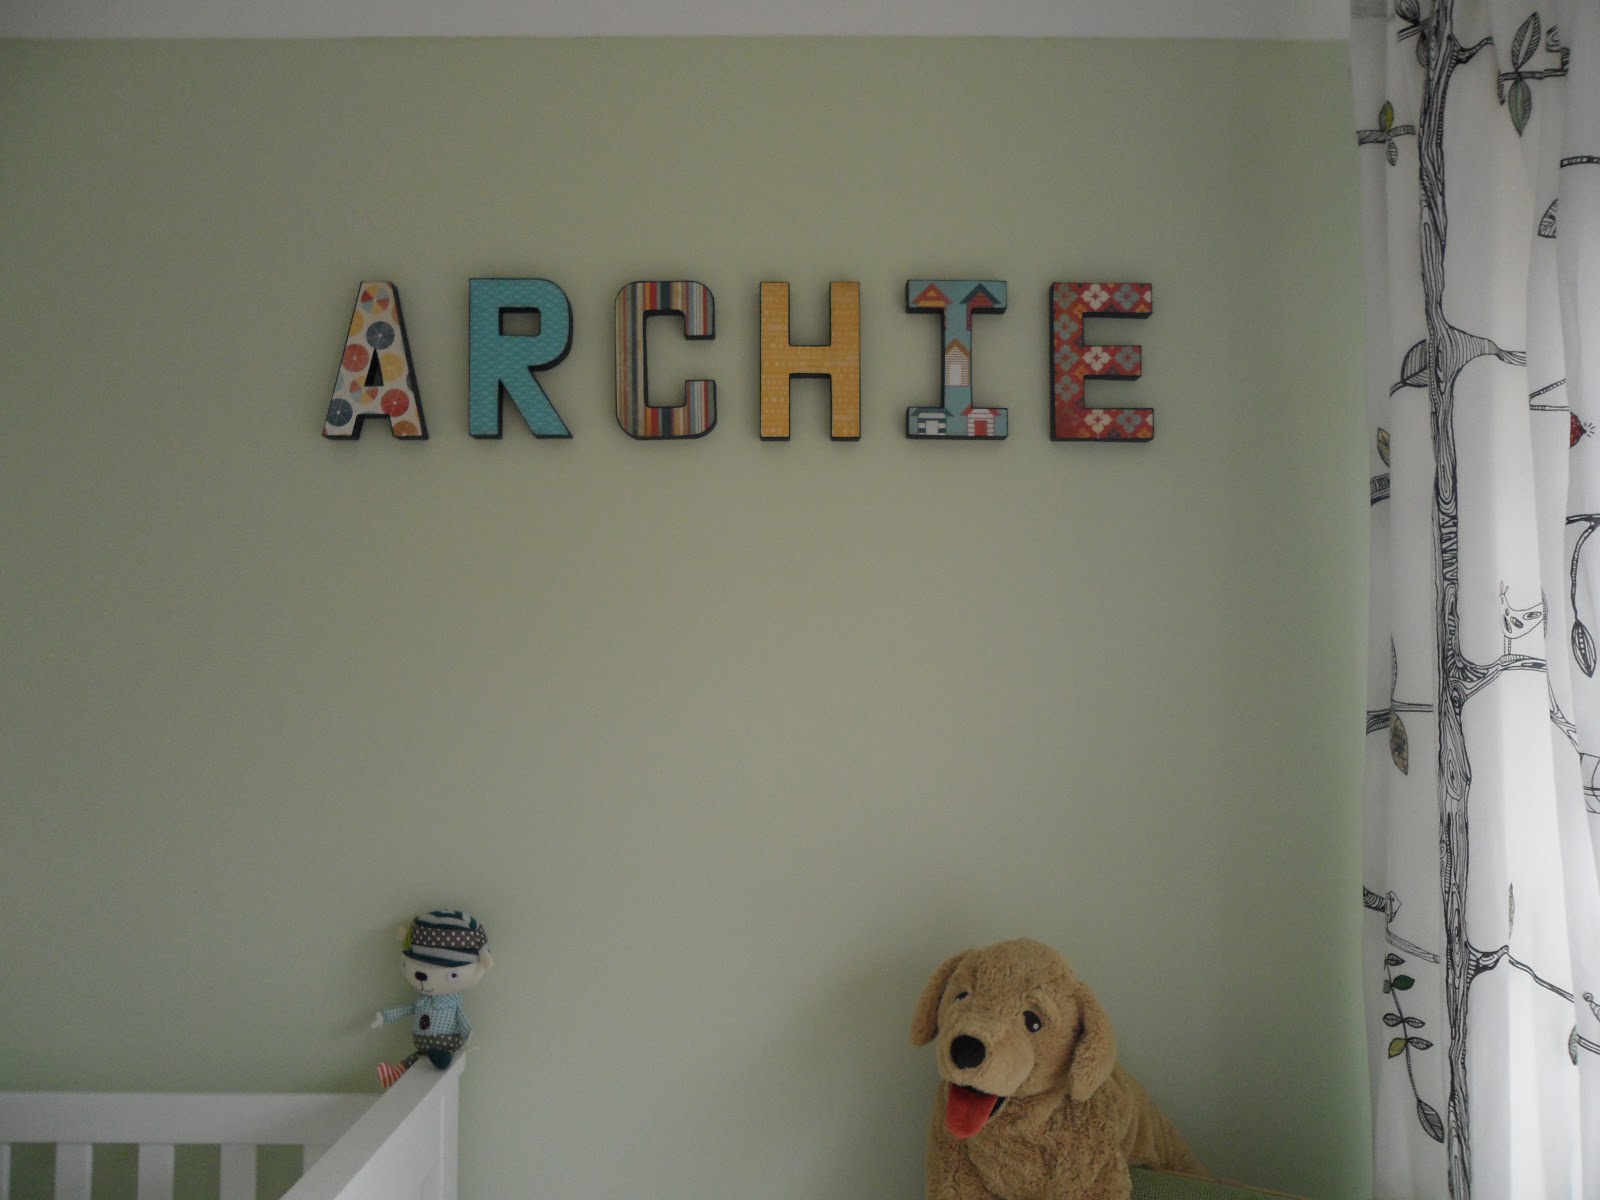
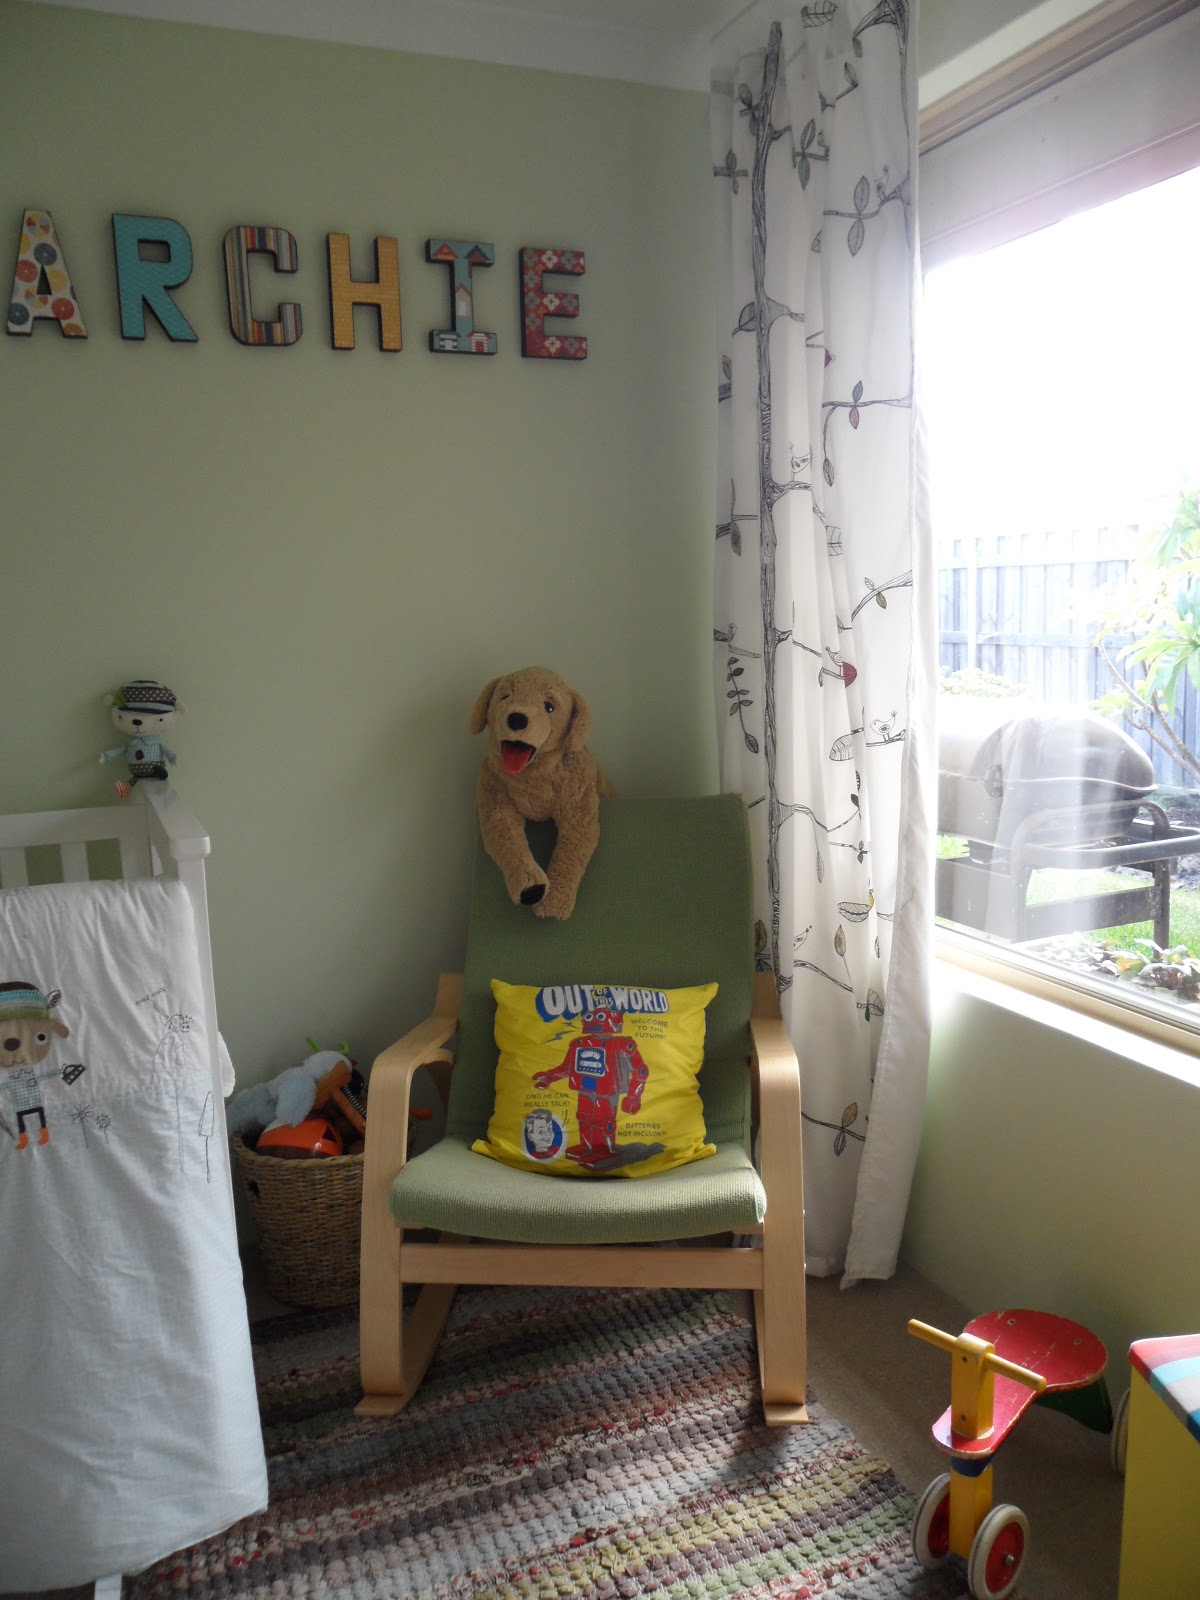
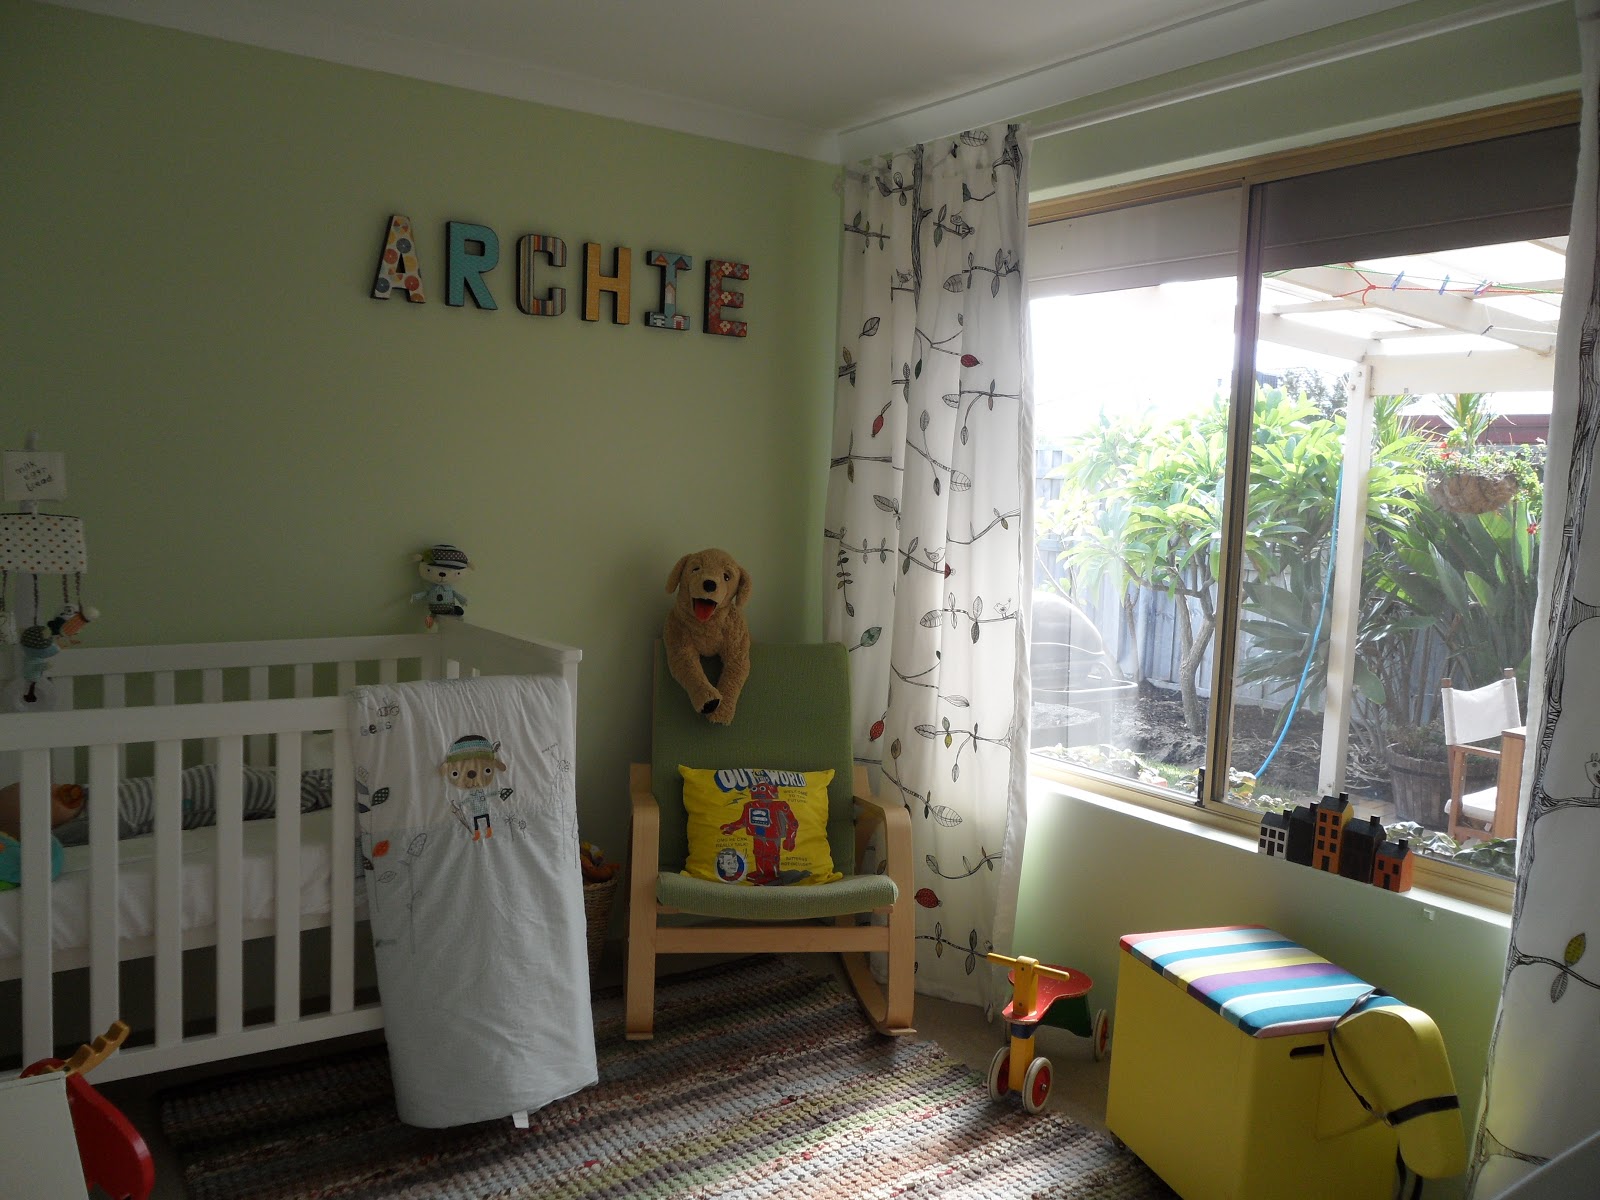
A.R.C.H.I.E wall art. Made by me. {See how HERE}
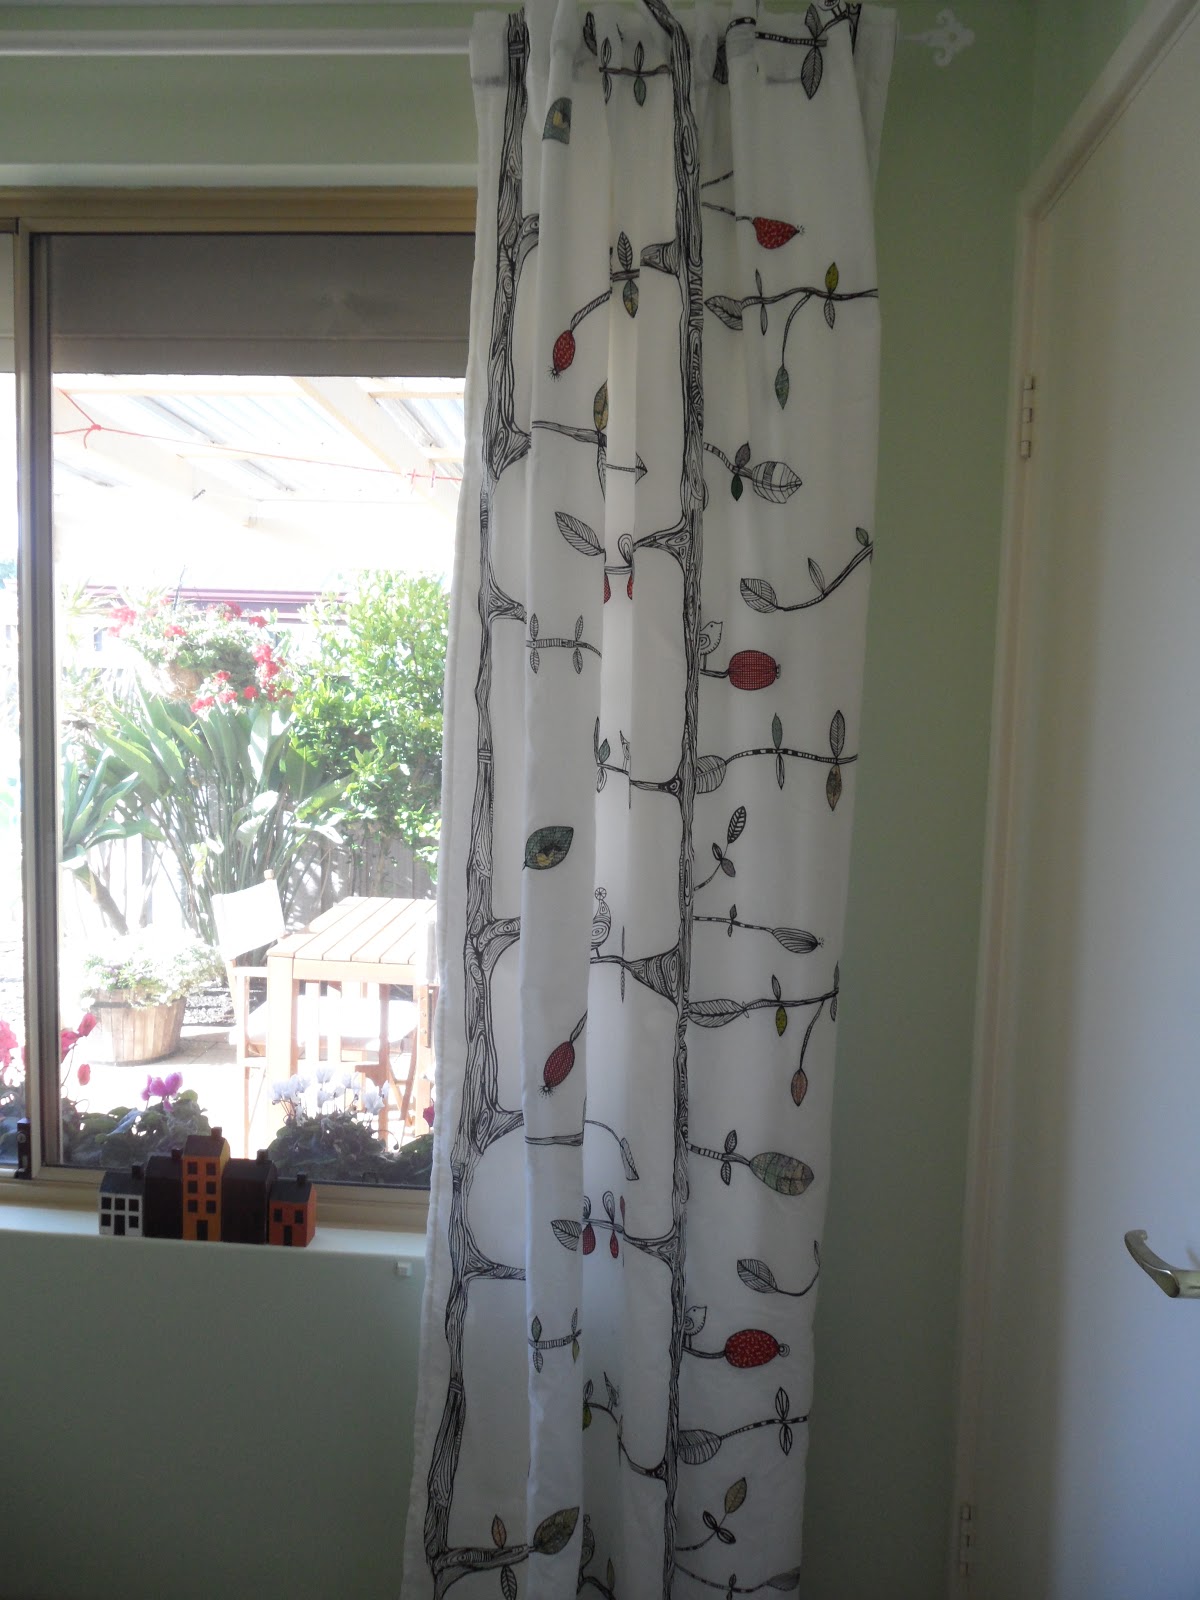
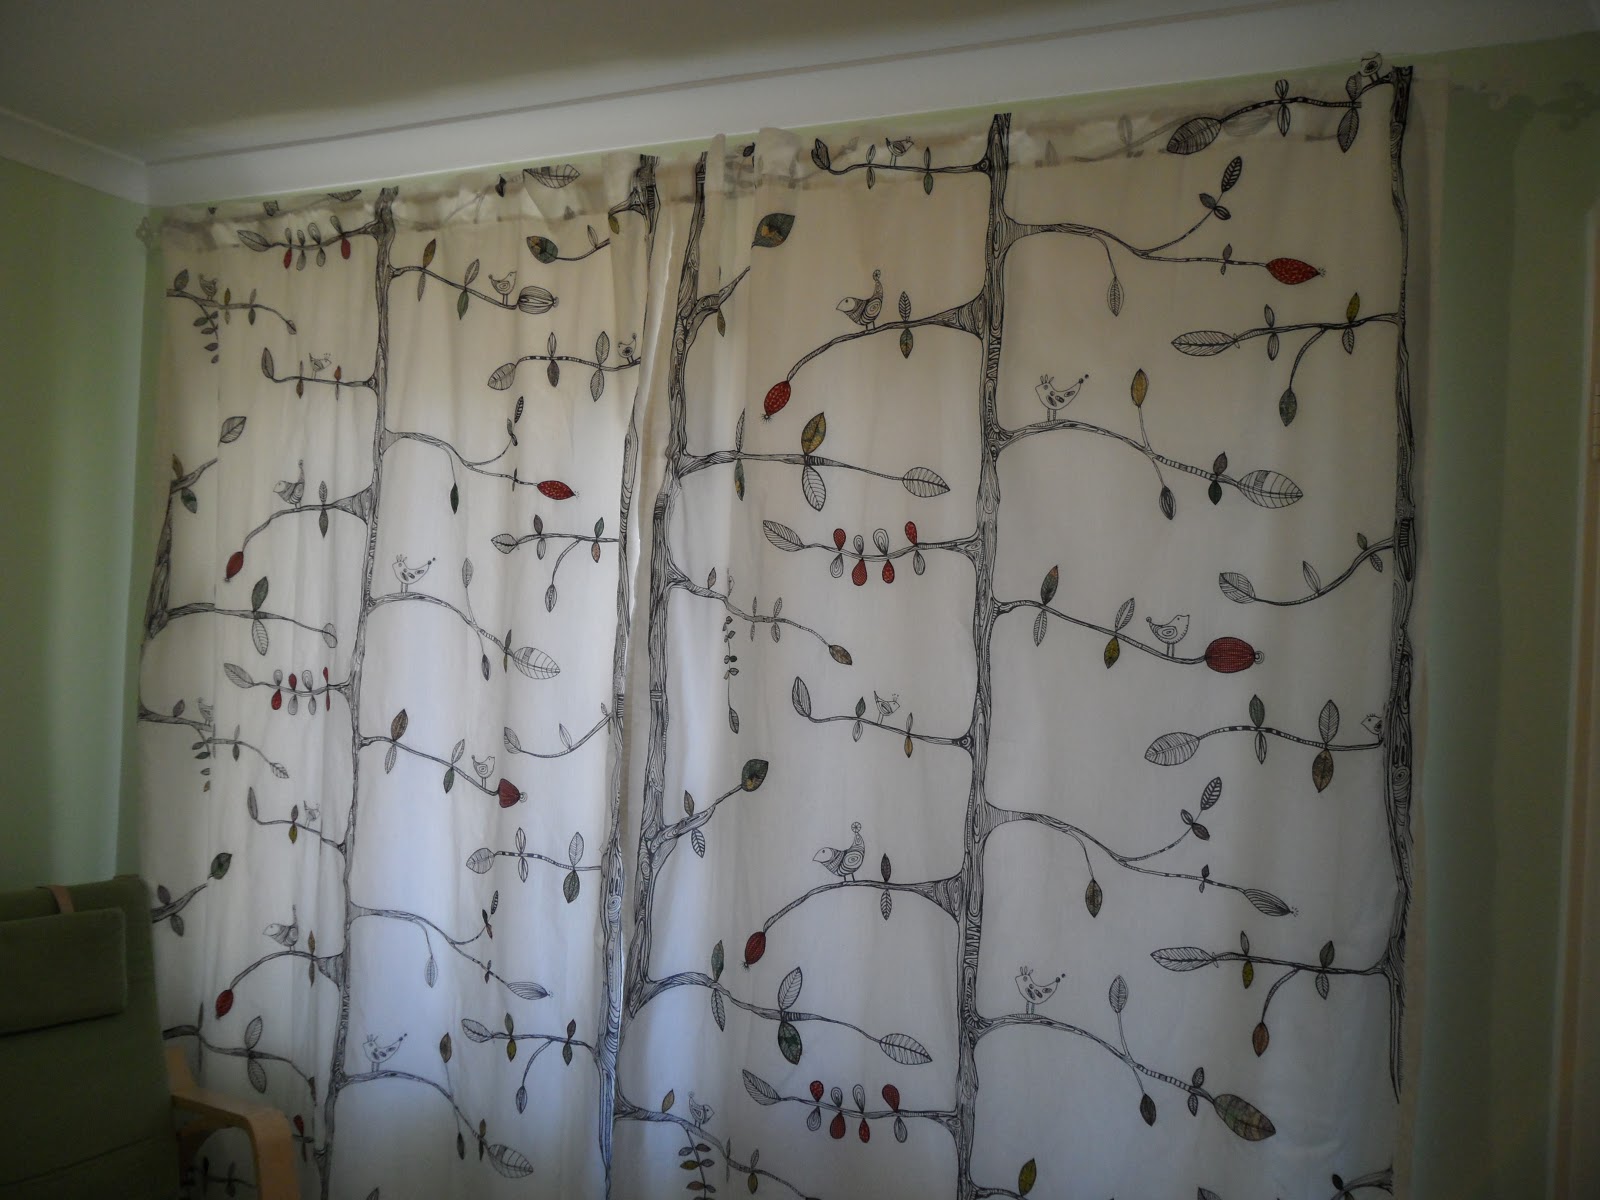
Soft toy dog {Present from Grandma and Grandad}, Chair and Curtains -Ikea.
I got the chair 2nd hand and I added a personal touch to the curtains. You can see how HERE
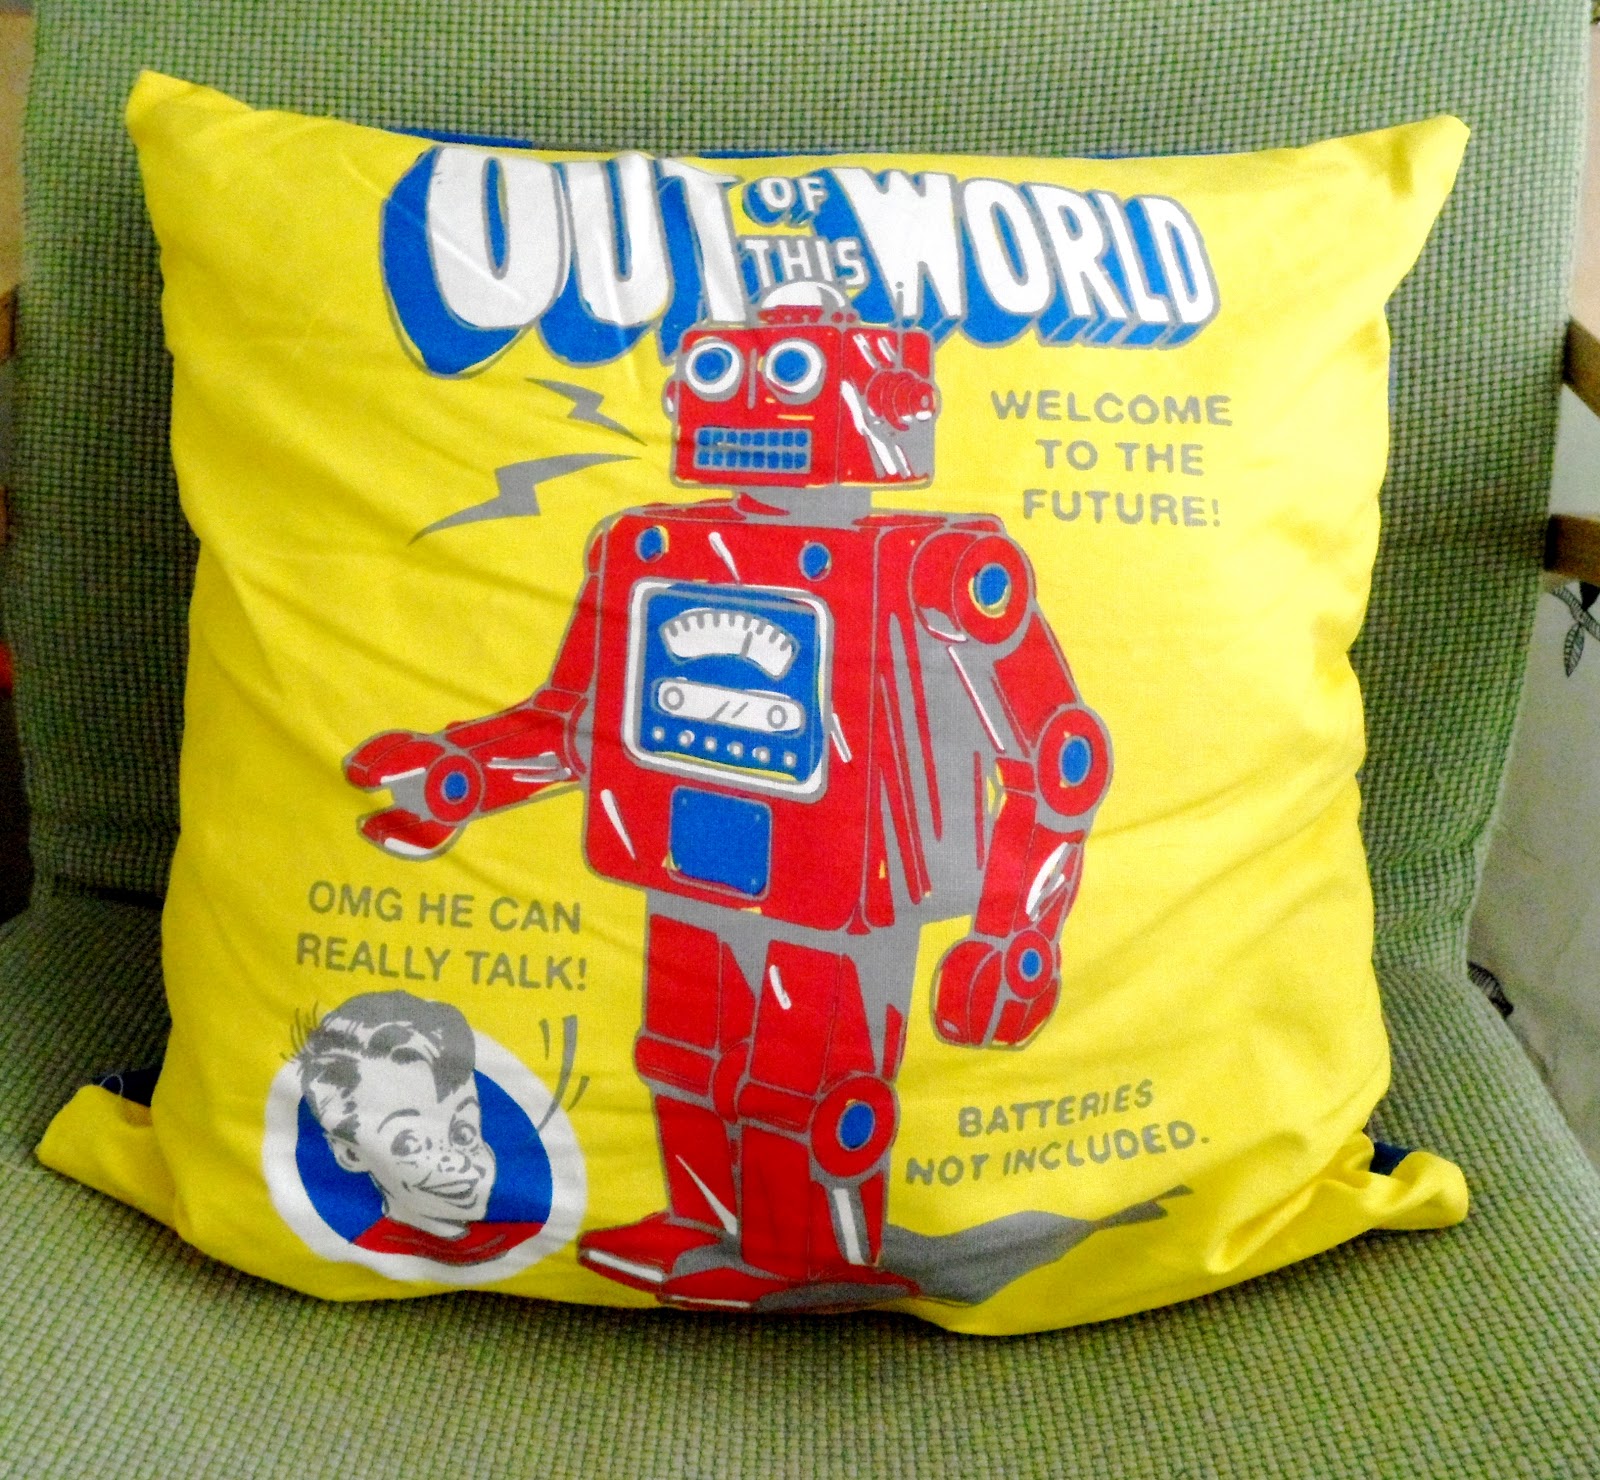
Little bike - Oppy find. Cushion from Typo.


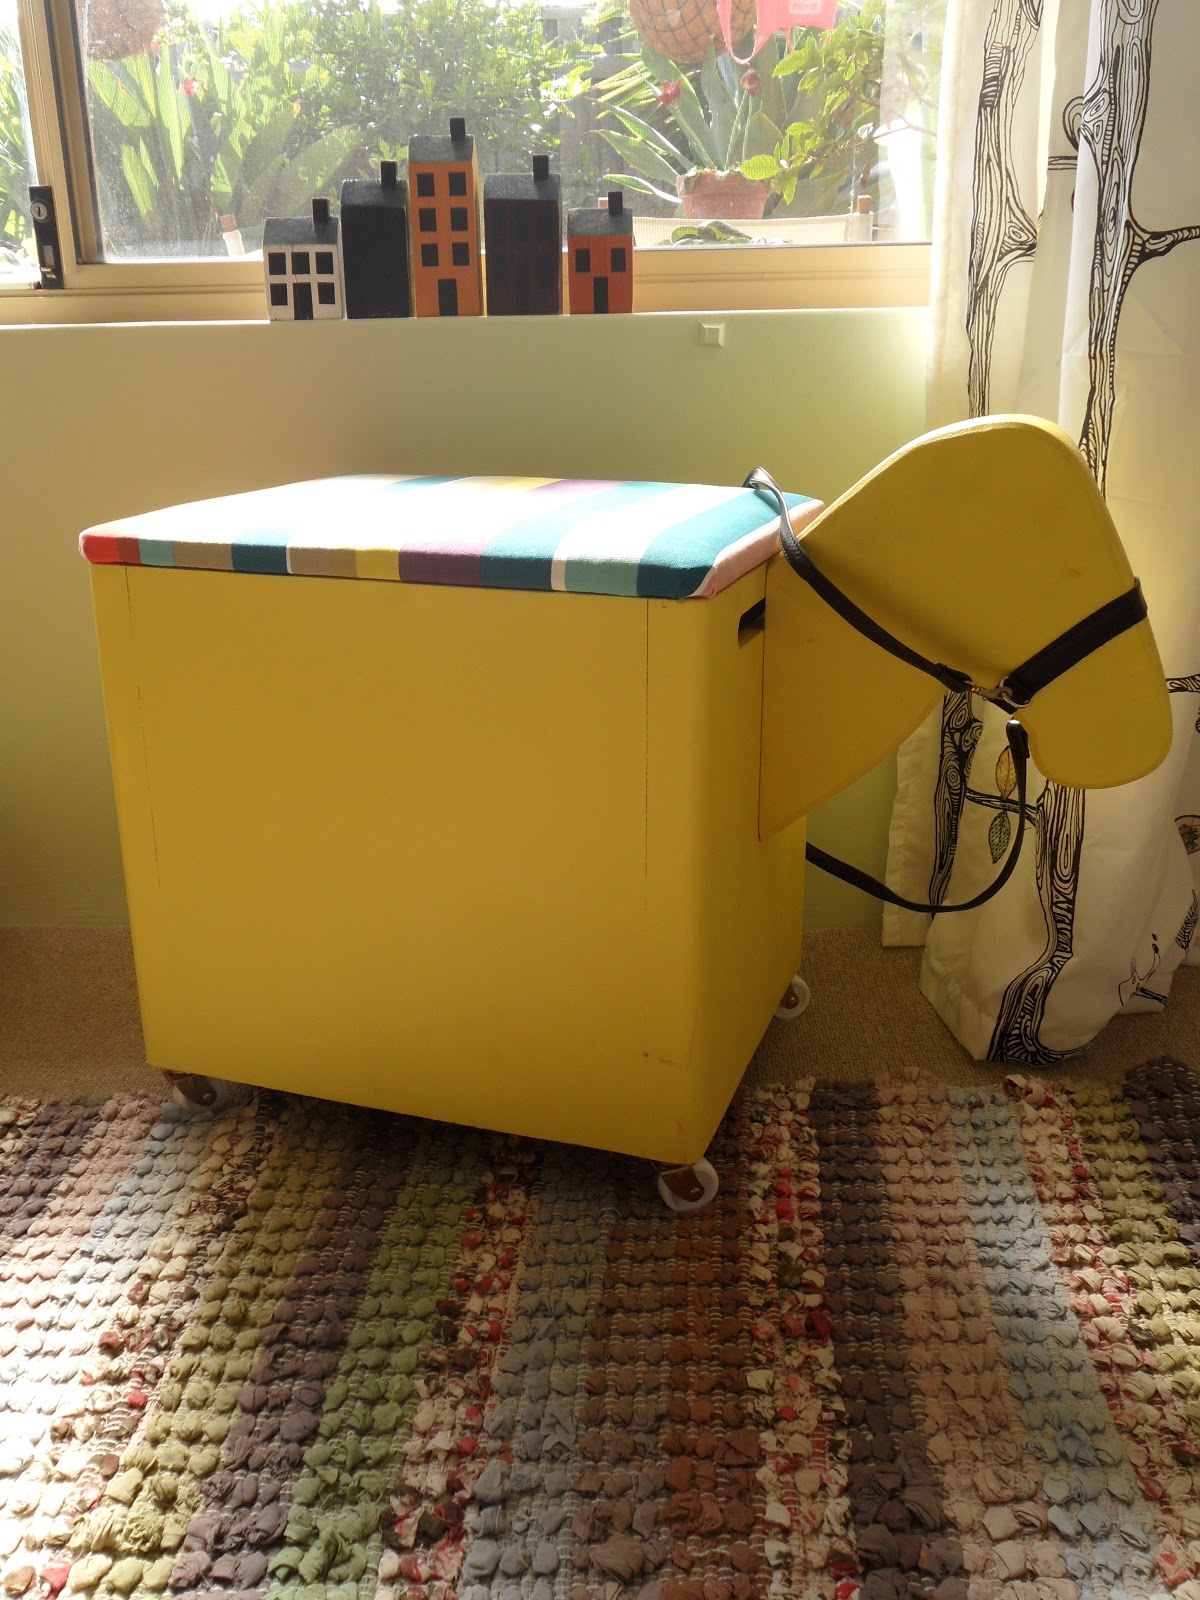
Horse - {Minus ears opps, yet to add}  Do you remember this wooden box?
Archies clever Grandad made it into a horse, Grandma painted it and I covered the lid and made the bridal oh and I am the one that is yet to make the ears! {shhhh don't tell Grandma and Grandad!}
The little houses are from Five Little Monkeys. {A long time ago}


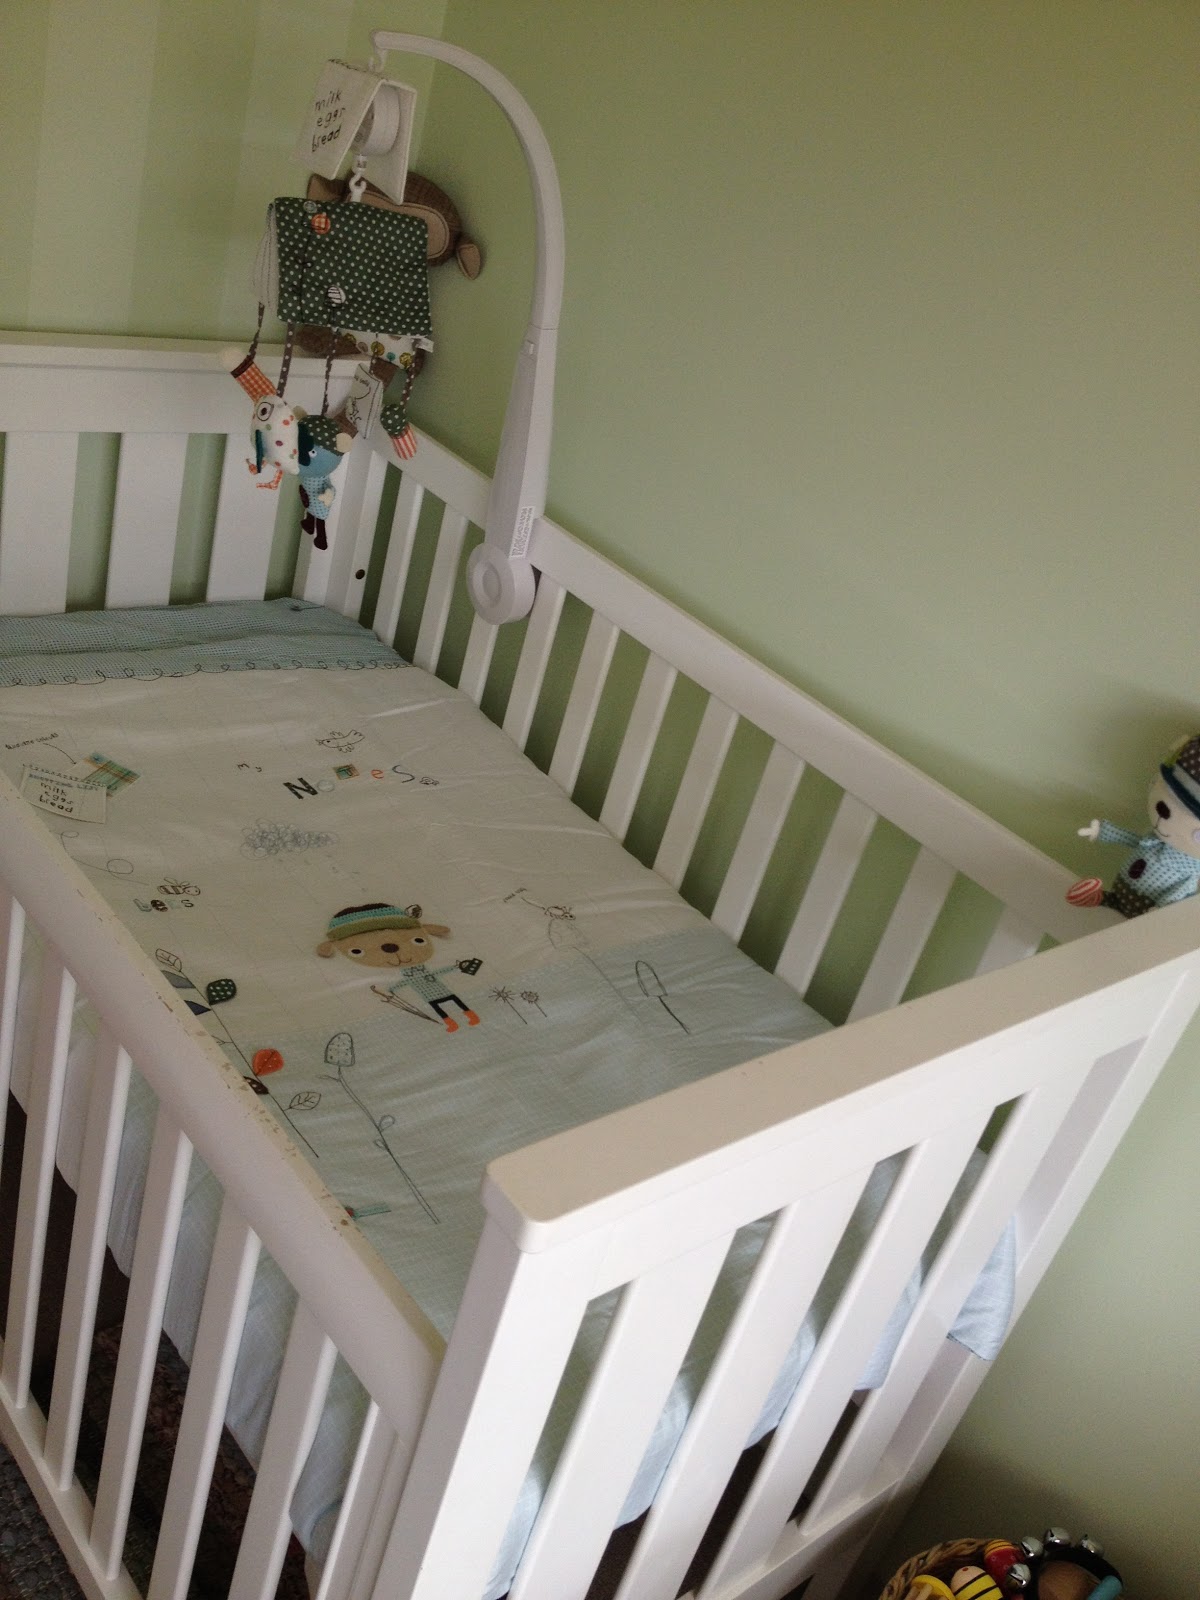
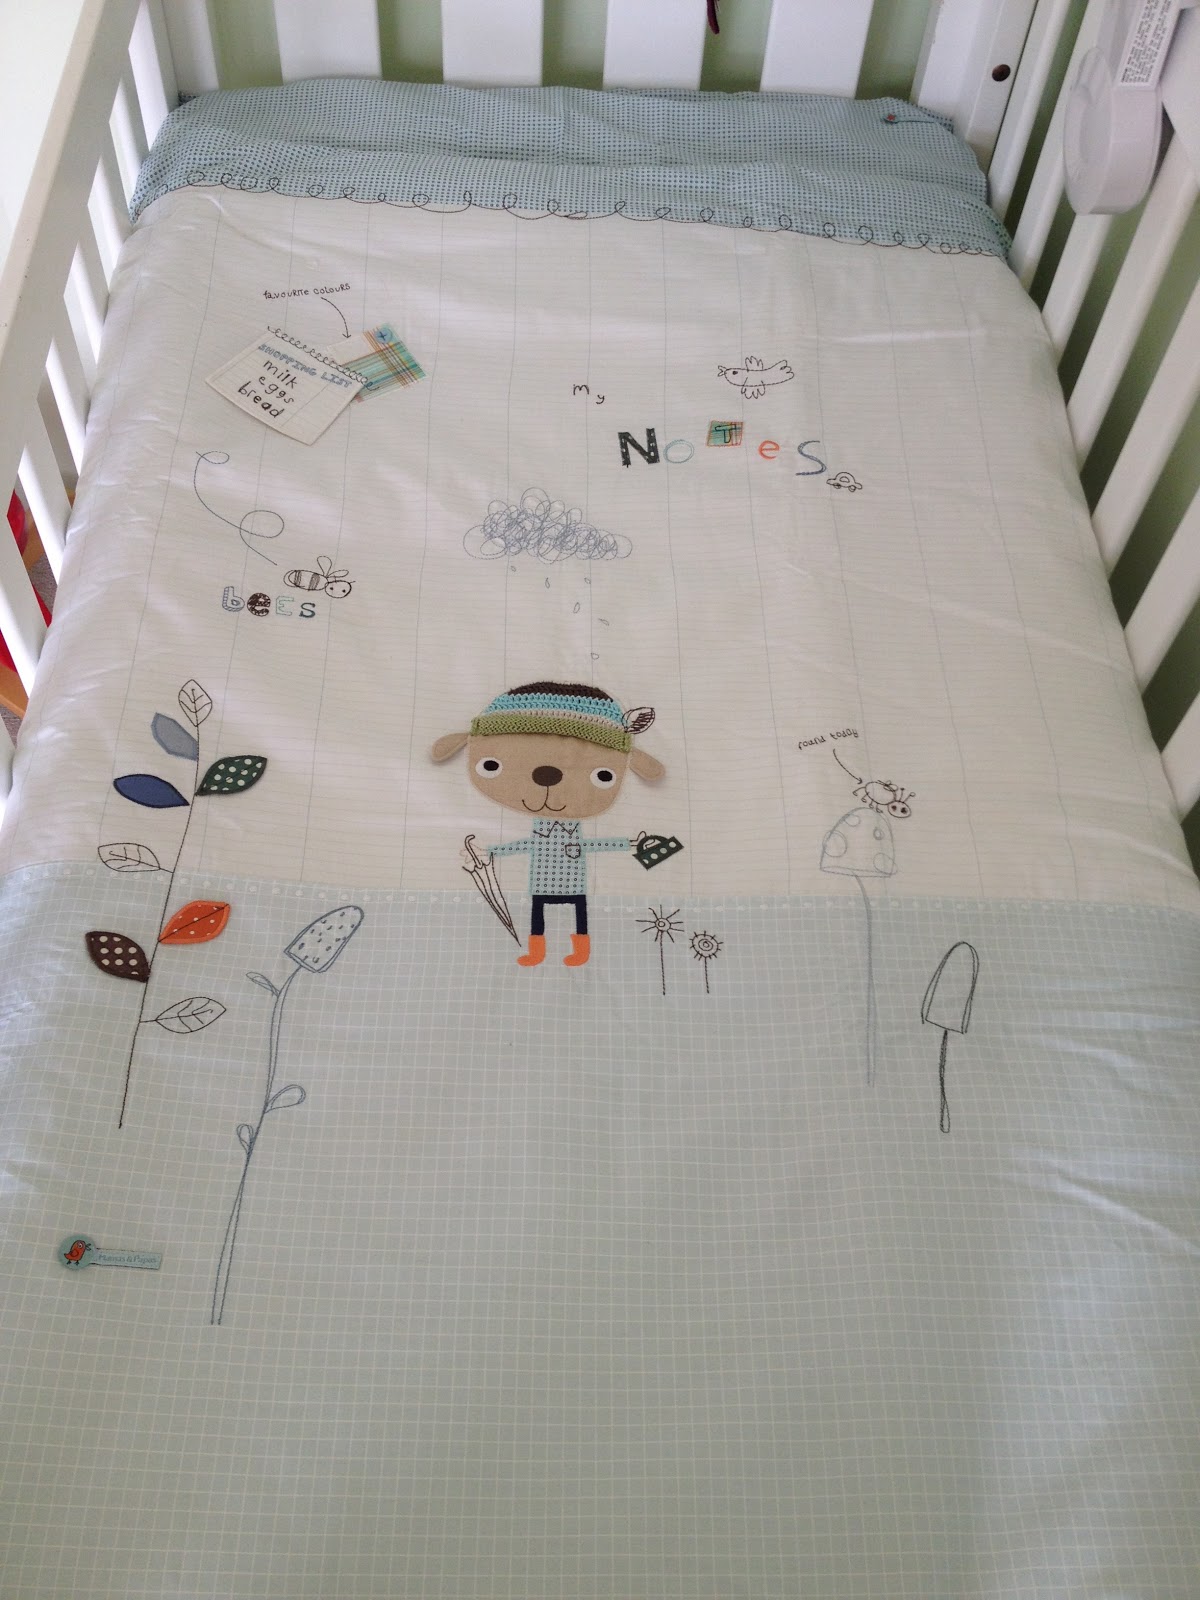
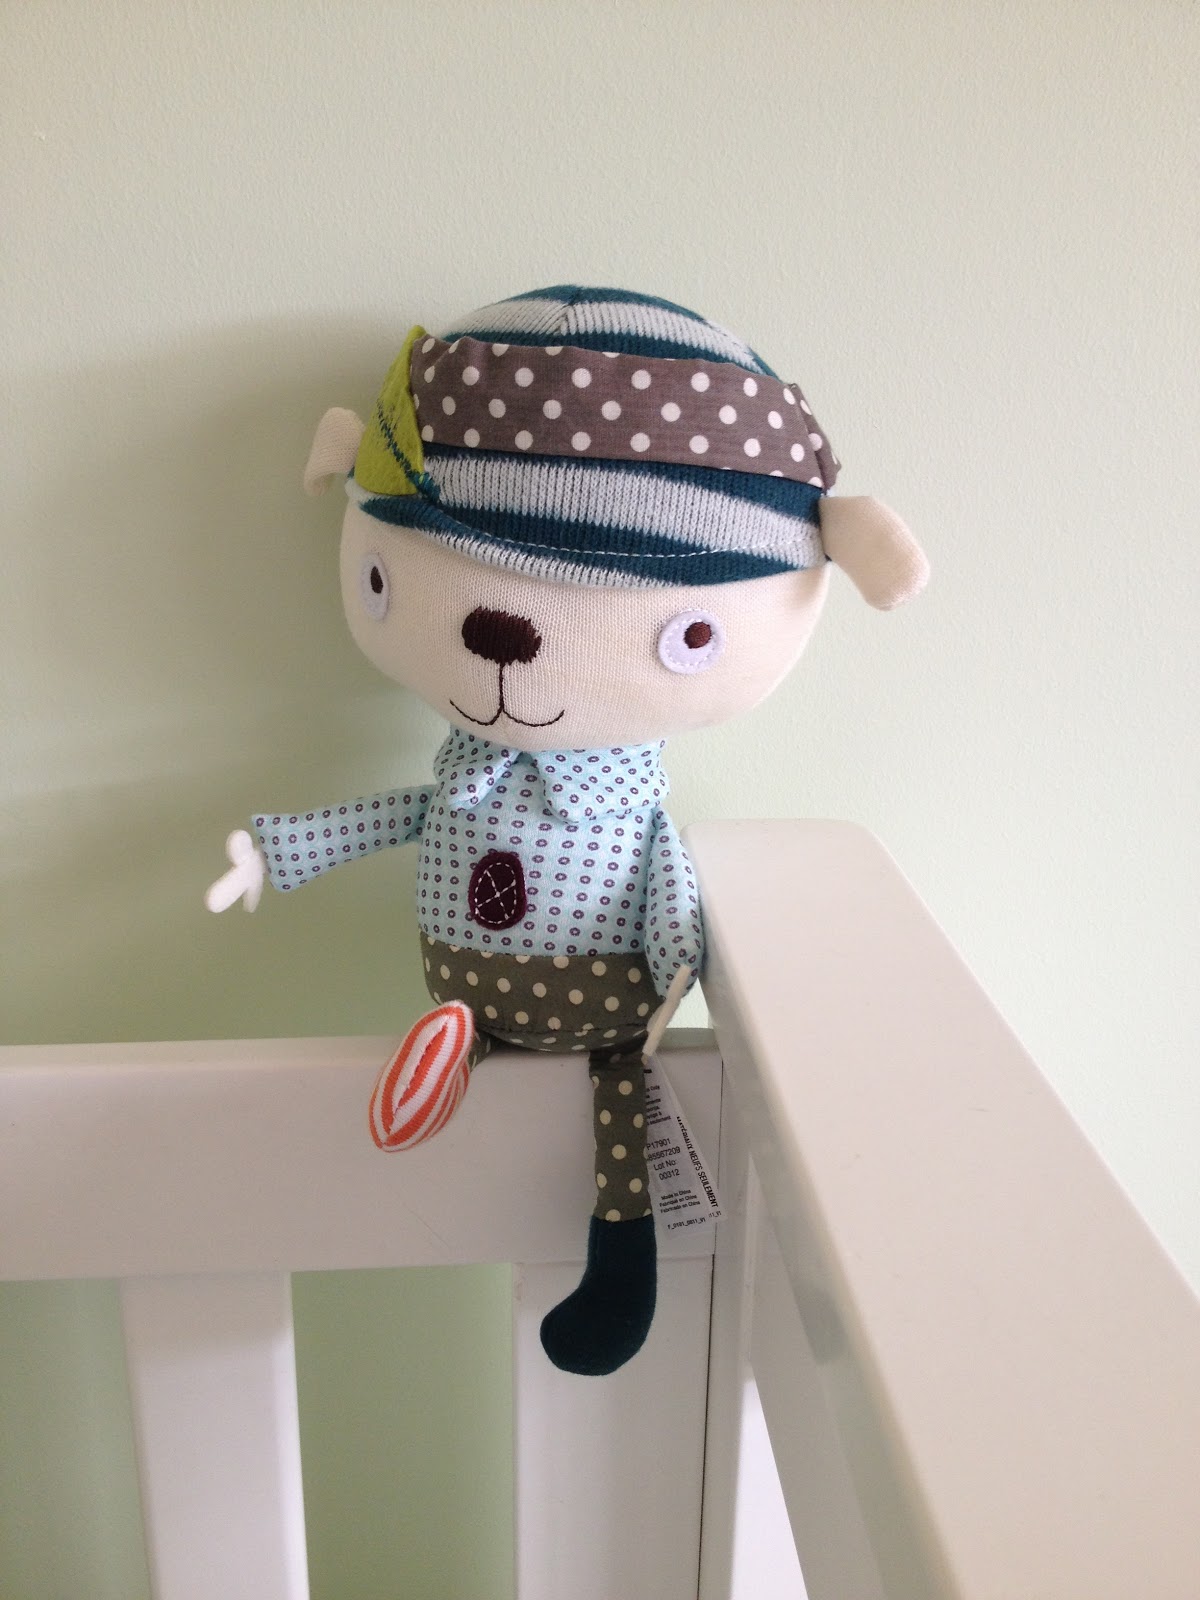
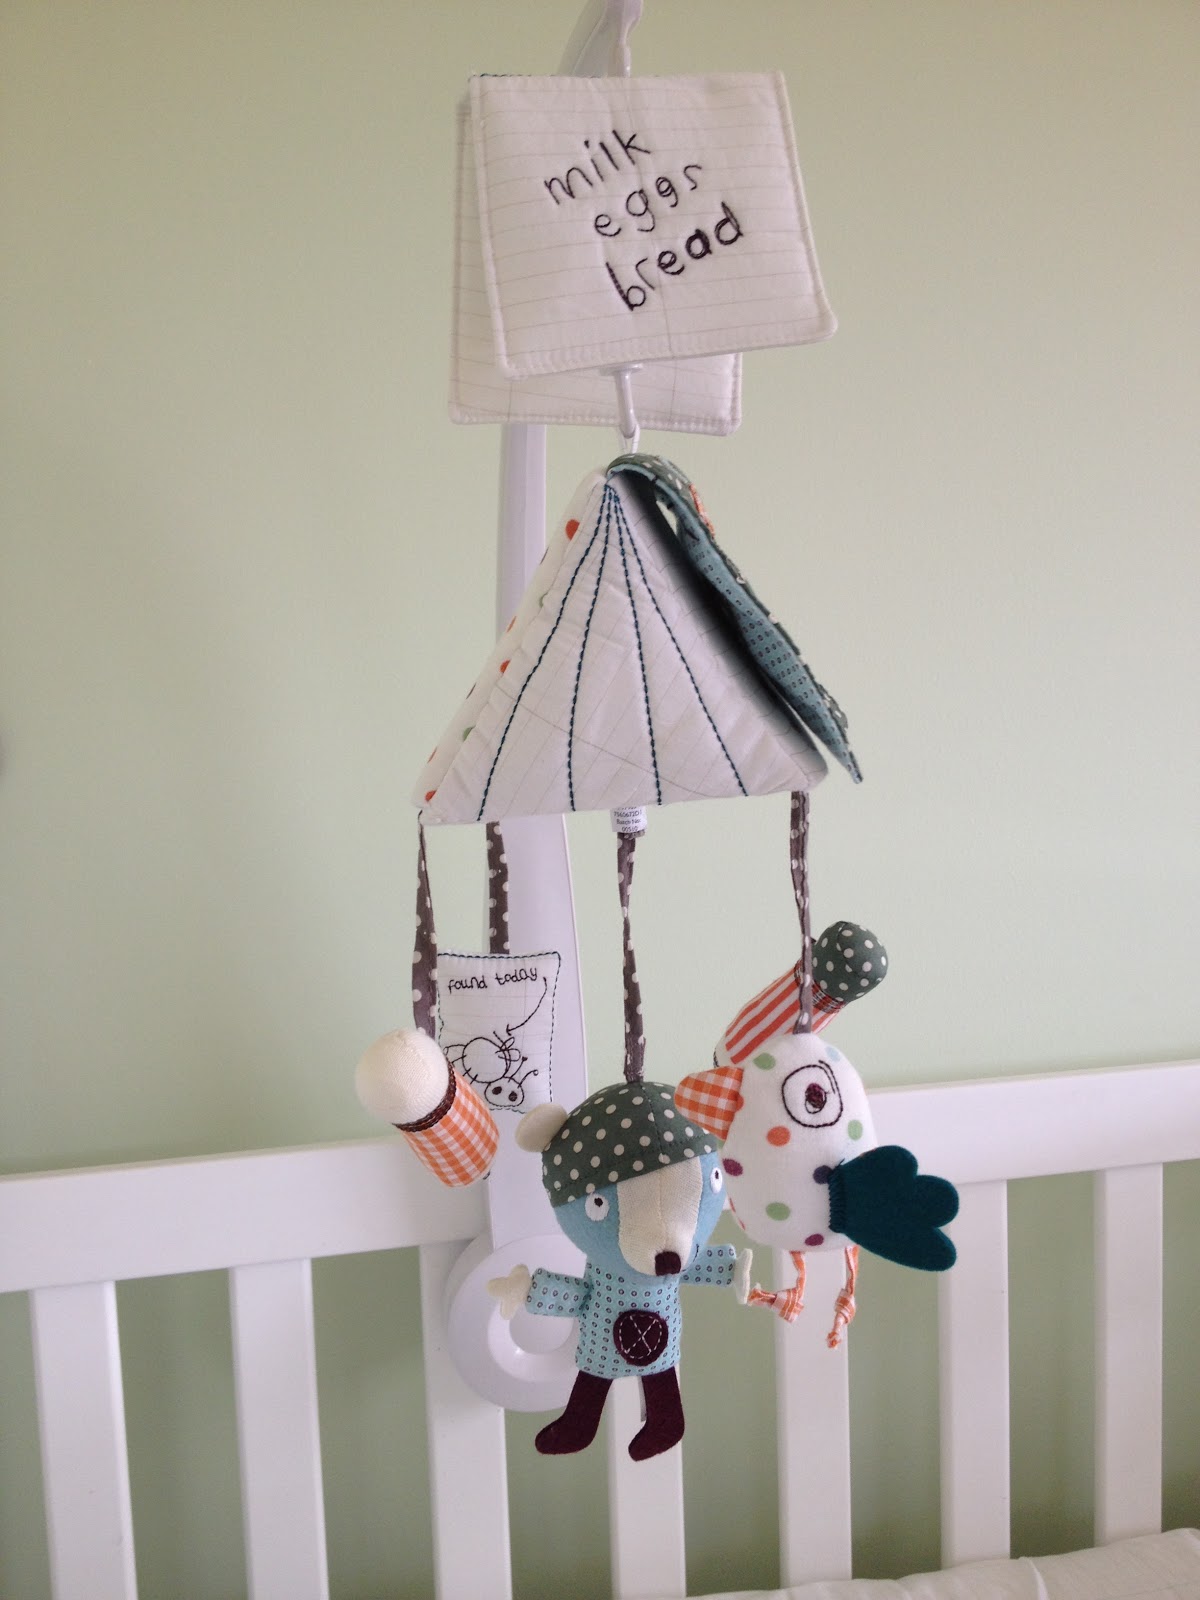
Scrapbook - Boy Cot Set by Mamas and Papas.

Matching Rattle Soft Toy 


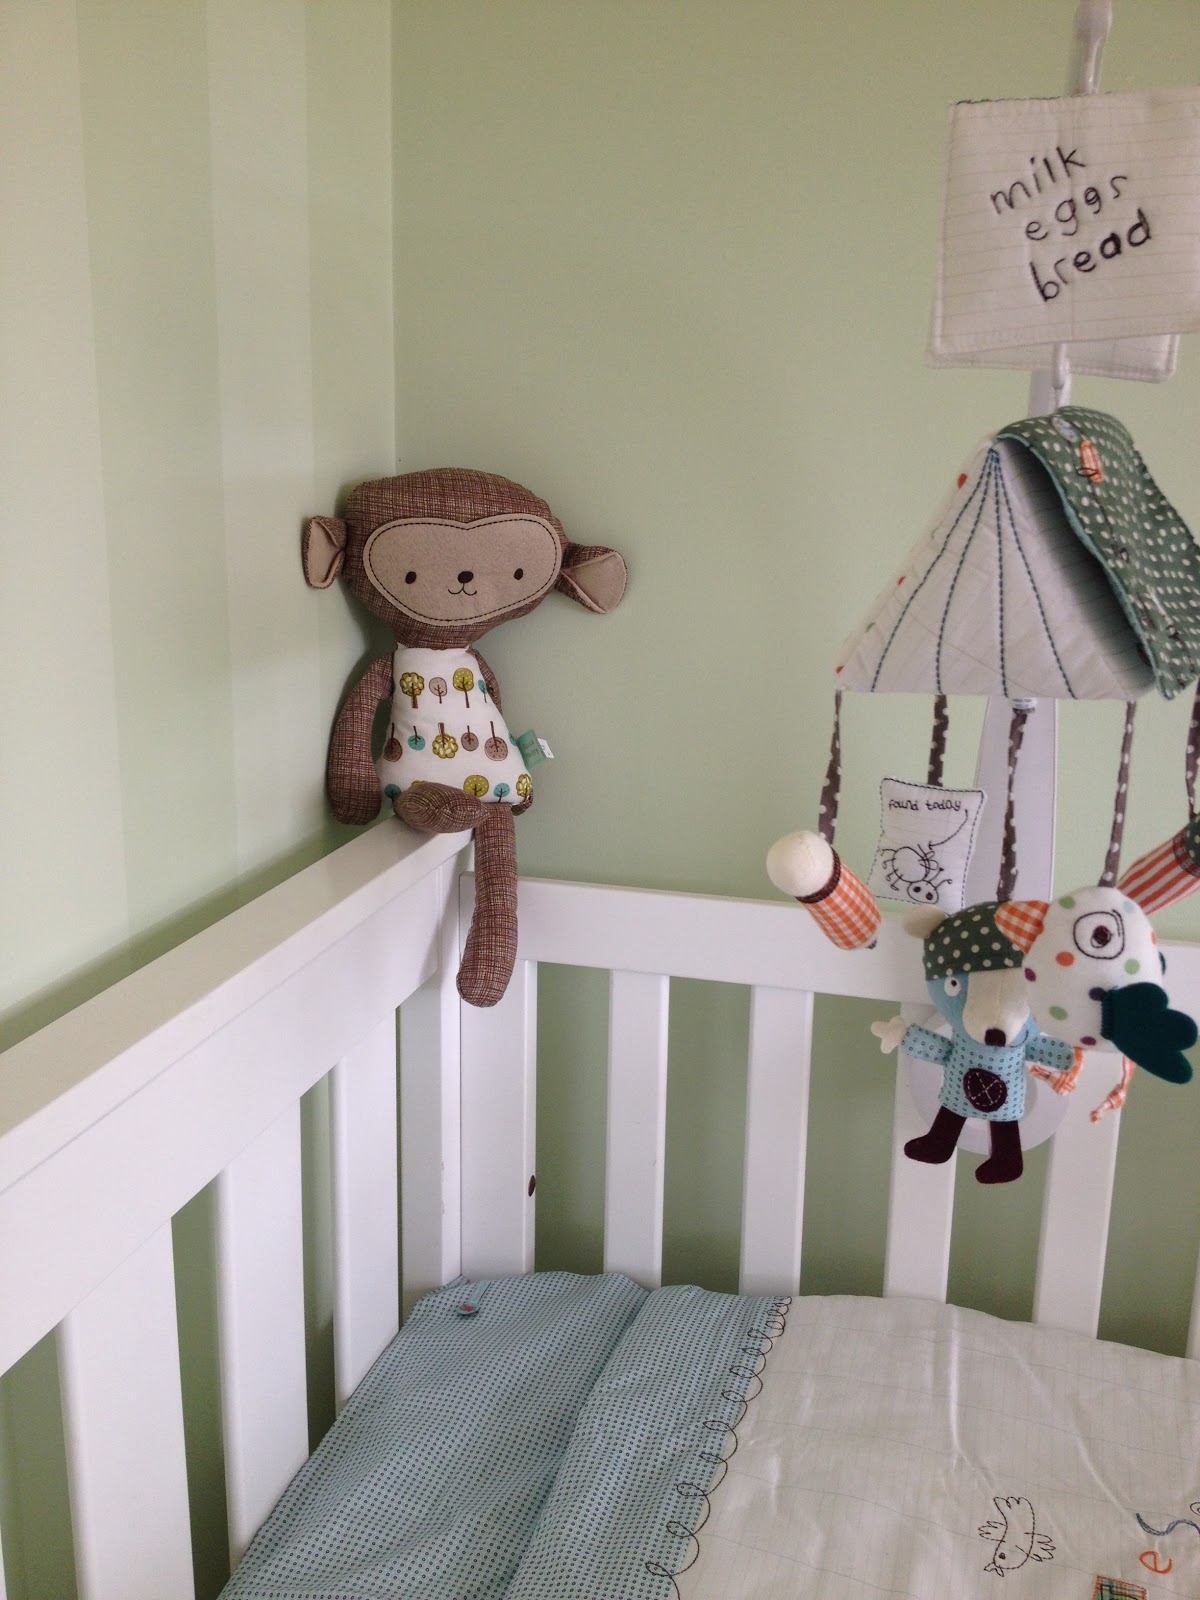
  Rocco Monkey was a gift from Archies cousins.

Tash :)


Wednesday, May 1, 2013

The Wee Man is now 4 months old!. . .

I can't believe it!!


What a crazy 4 months it has been, that I wouldn't change for anything, bar maybe a day here or there, Why?

1. I have had moments when I wish that it was still just me. {Mean I know, only for the ease of it really, ie when it is late in the evening all I want is chocolate and I can't just jump in the car and go get some. (did I mention my husband works away?)}

2. Oh and the days that I wish I could sleep ALL day!

3. and feeding myself . . . is it to much to ask for a HOT cup of tea or dinner on time!

I have adjusted now to all of this ^ and he is only going to be little for such a small amount of time so I am treasuring it. He is the best baby that I could have asked for. {Does this mean I am in for it next time?} He has the nicest nature, is a cruiser and always has a smile!

Here are a few of my favourite pics from the last 4 months.


Saturday, November 10, 2012

How to applique leaves onto your curtains.
Here is the process of appliqueing the curtains. 
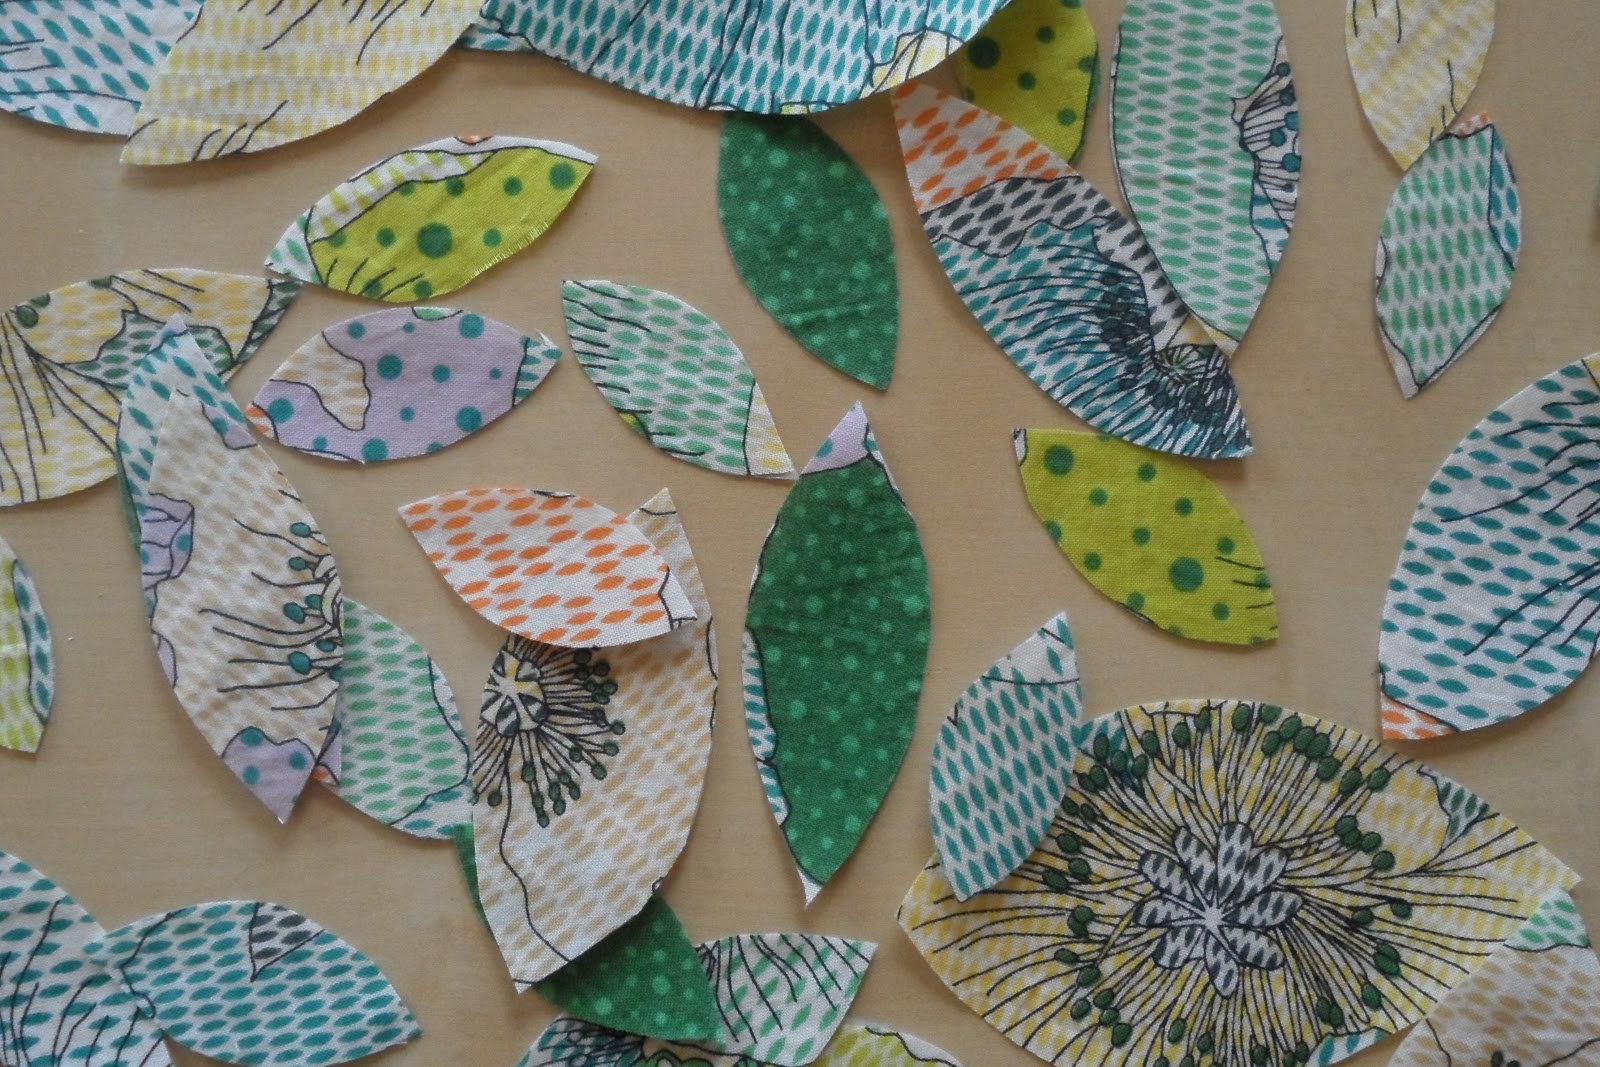
{If I had of thought at the time how long it was going to take me to sew around all the appliqued leaves I probably wouldn't have done so many, but I do LOVE them, so it was well worth it.}

I started with a set of Ikea Eivor Curtains;


STEP 1:
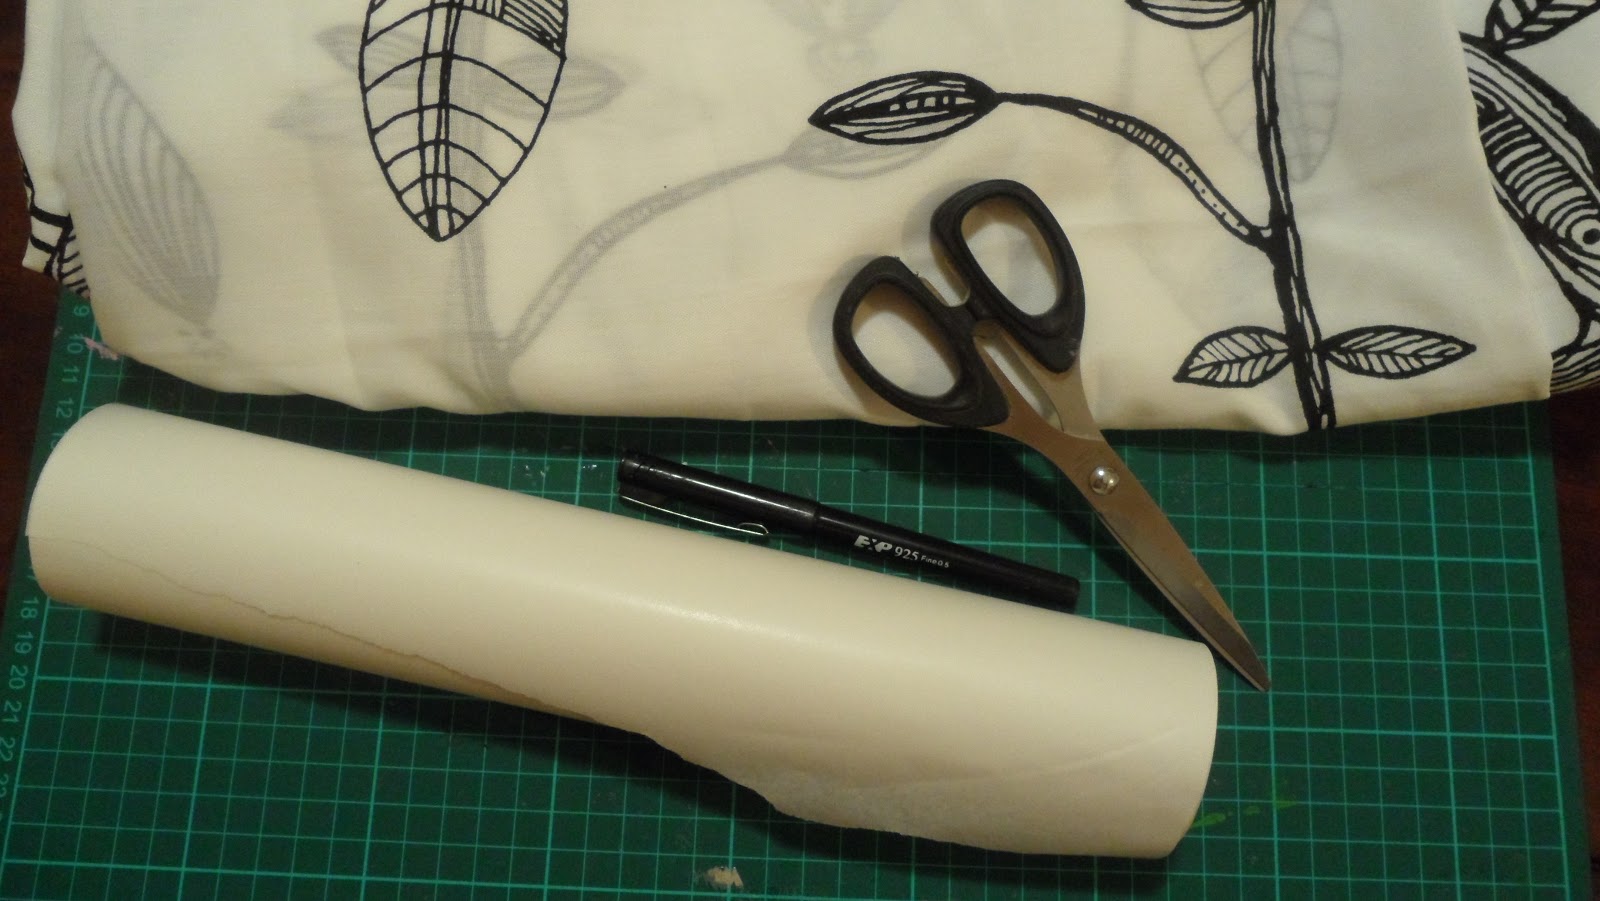
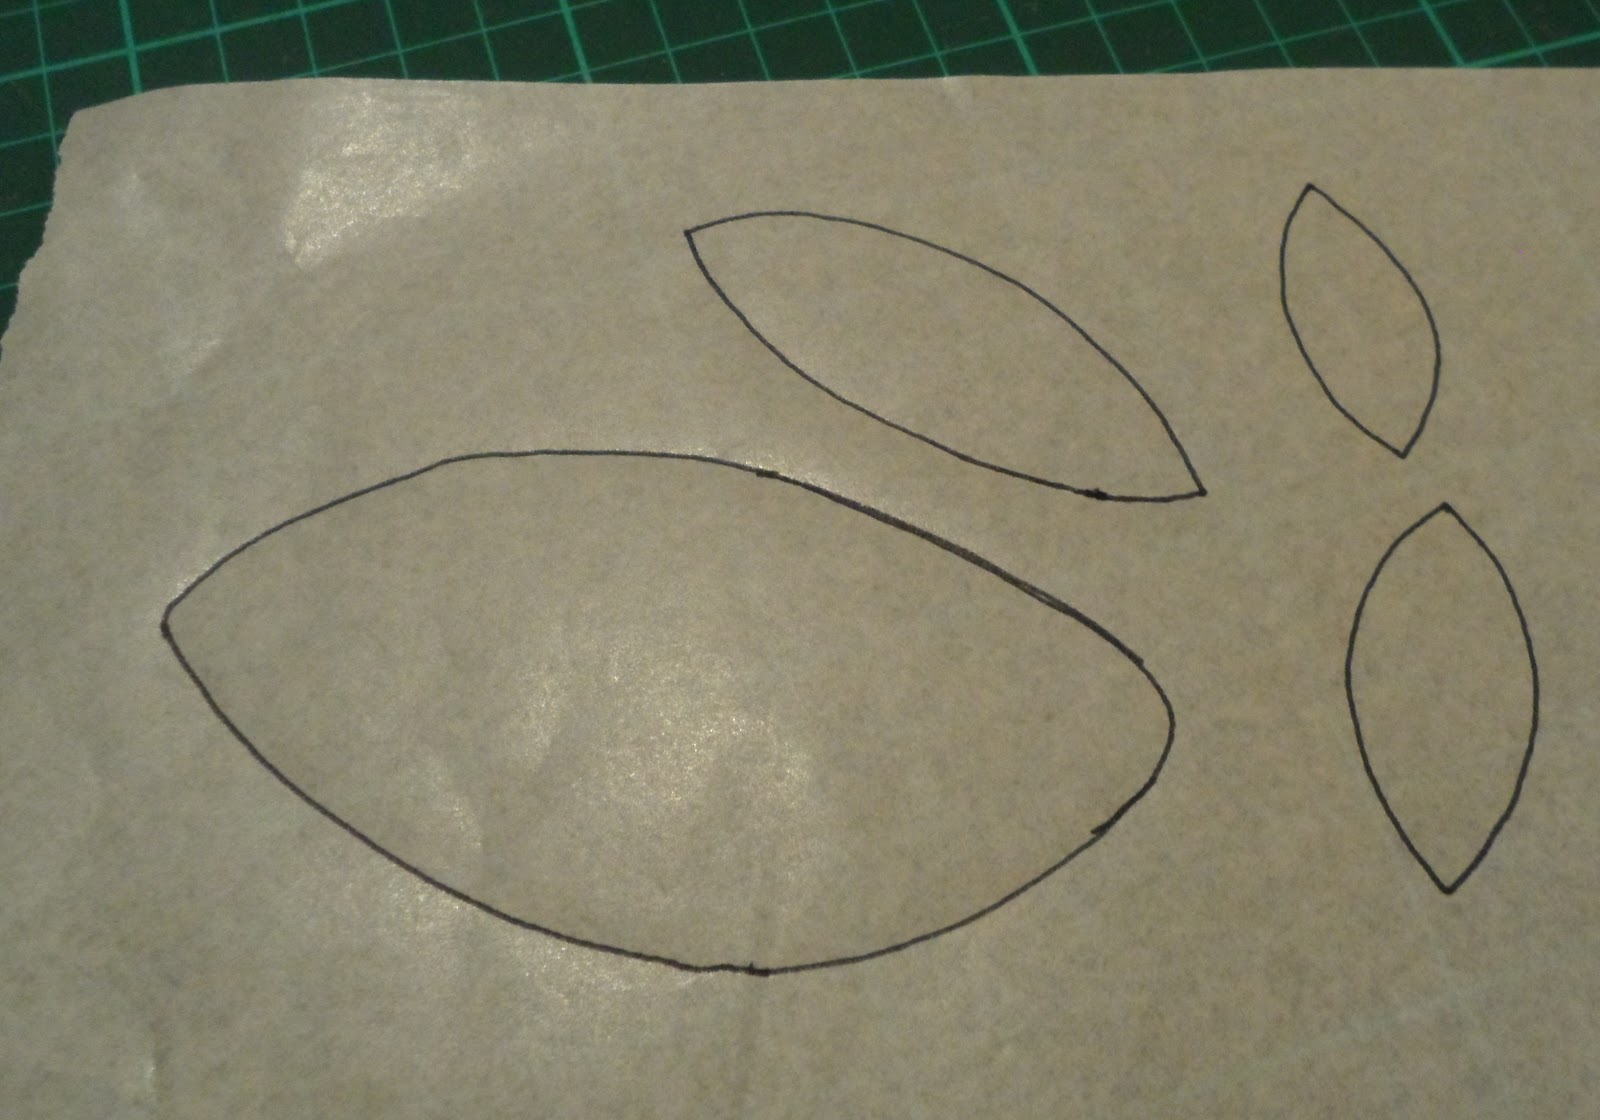
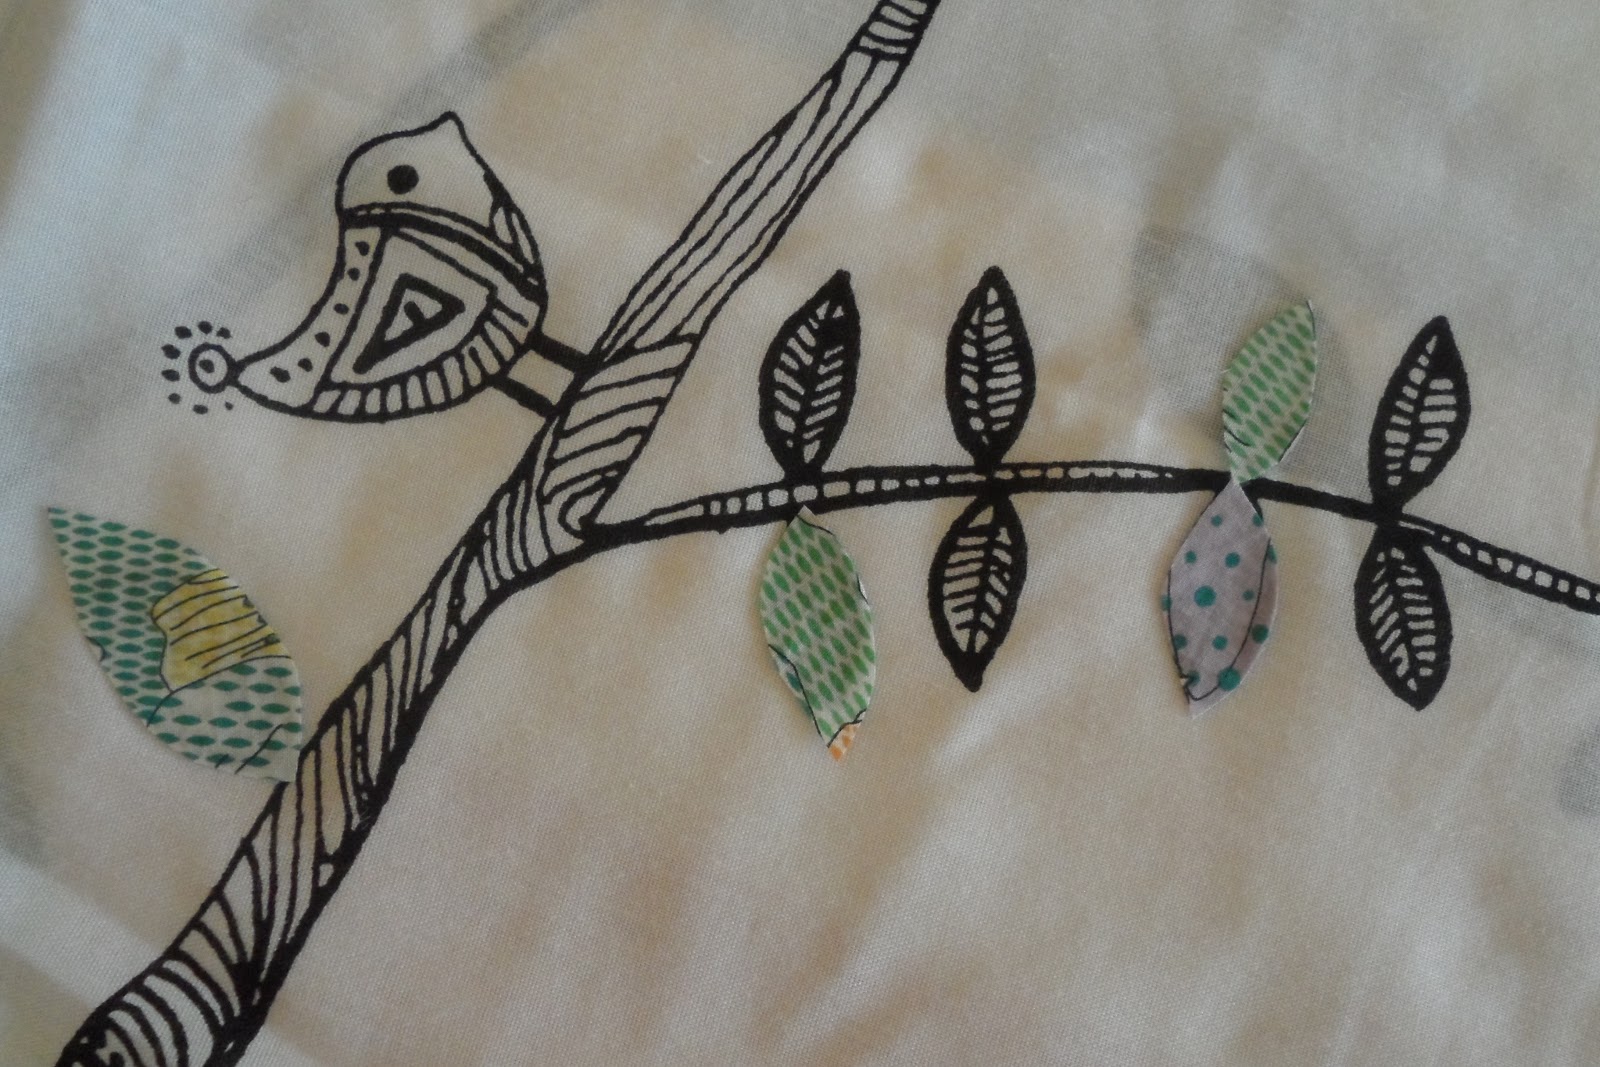
Make a template of the leaves you want to applique.


I used baking paper and a fine tipped marker and traced around the leaves on the fabric.


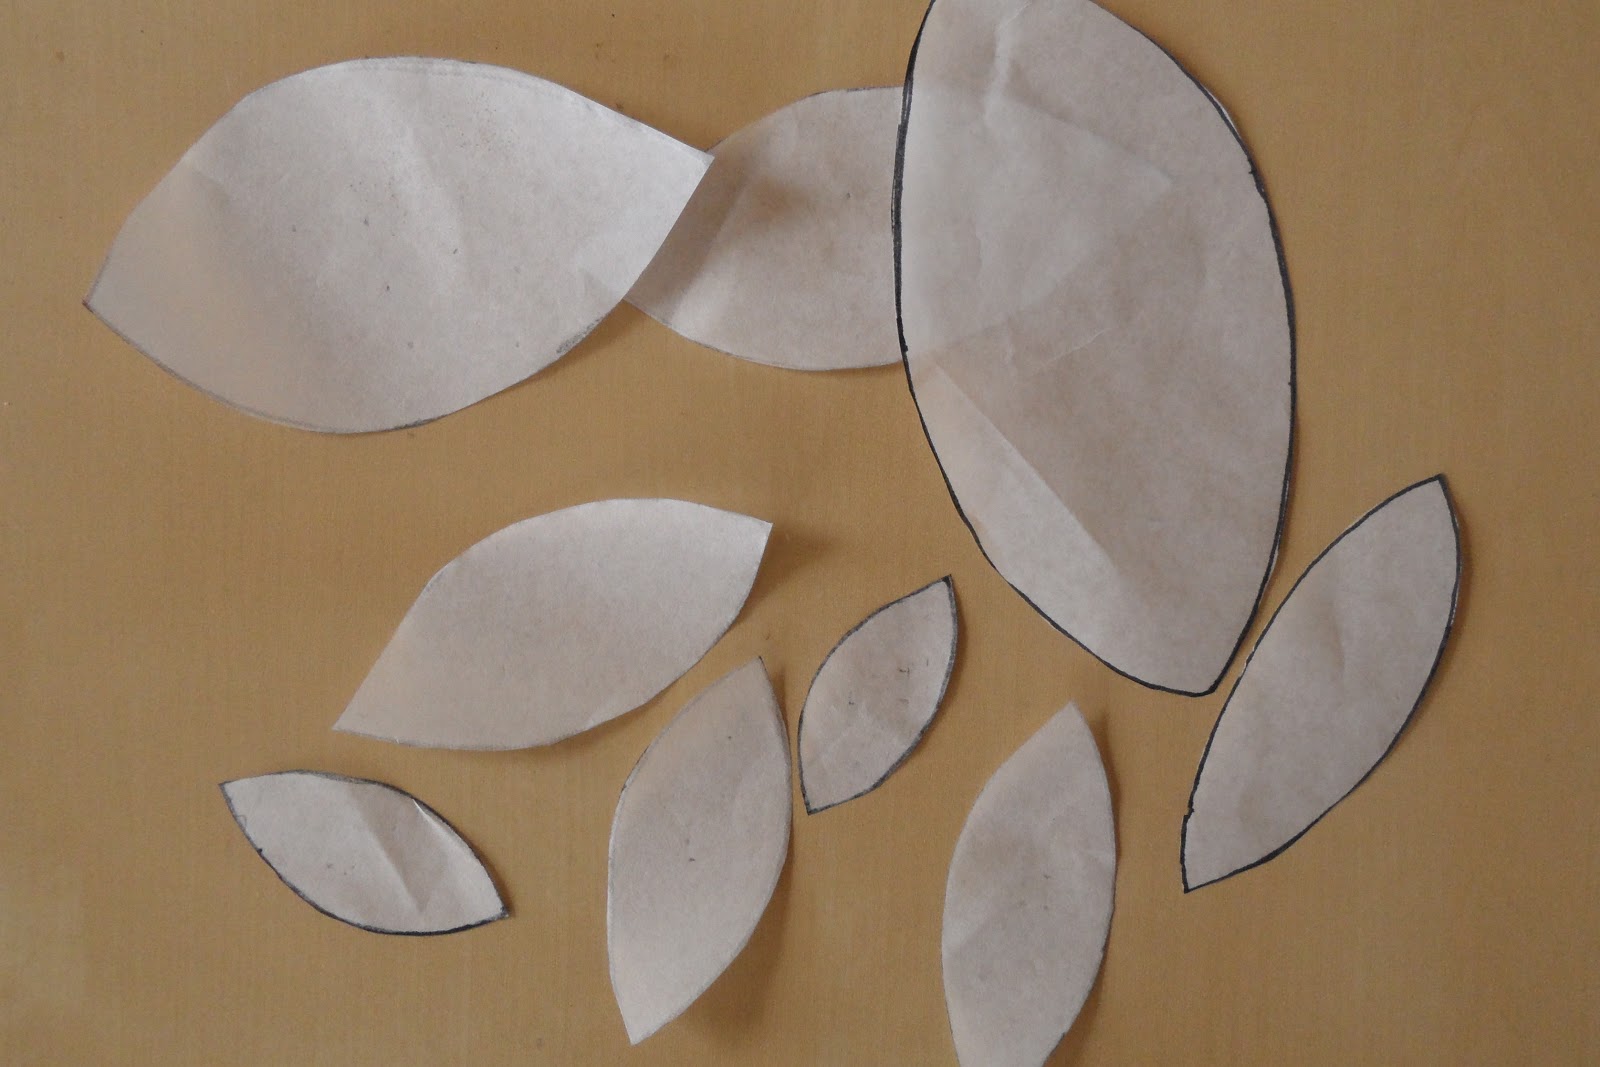
Once you have traced around them, cut them out.


STEP 2: 
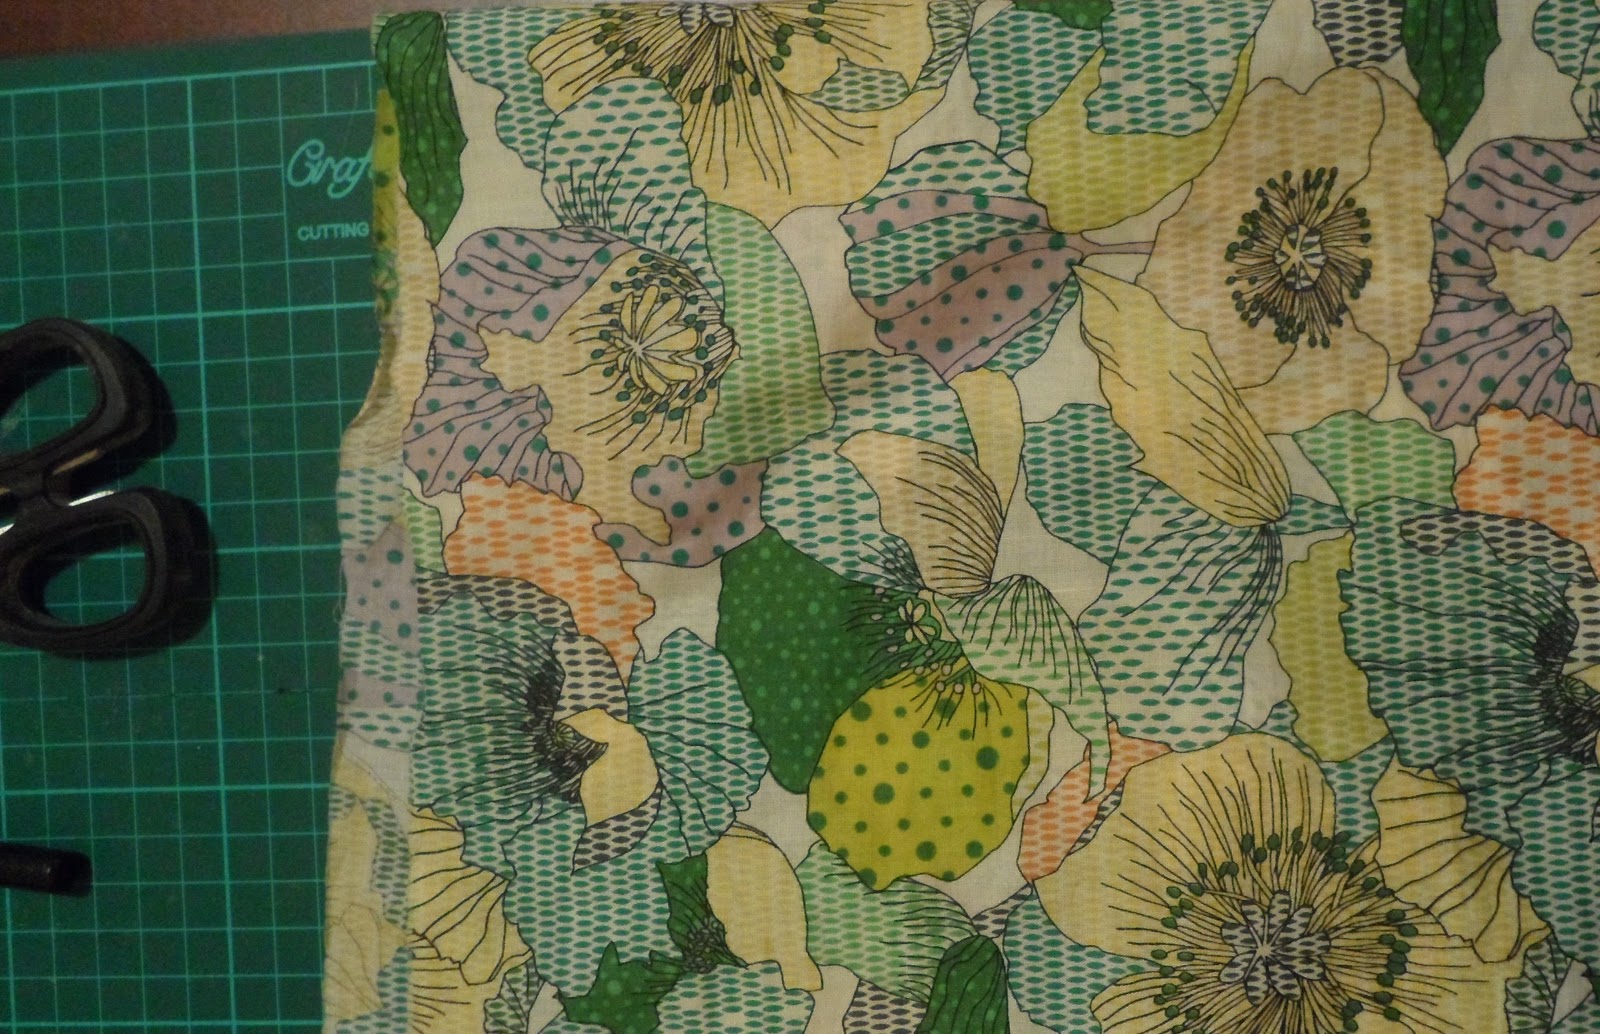
Choose your fabric.


I don't remember the name of this fabric, but I got it from Spotlight. I also used a red spots and red flower fabric for the berries/flowers.

STEP 3:
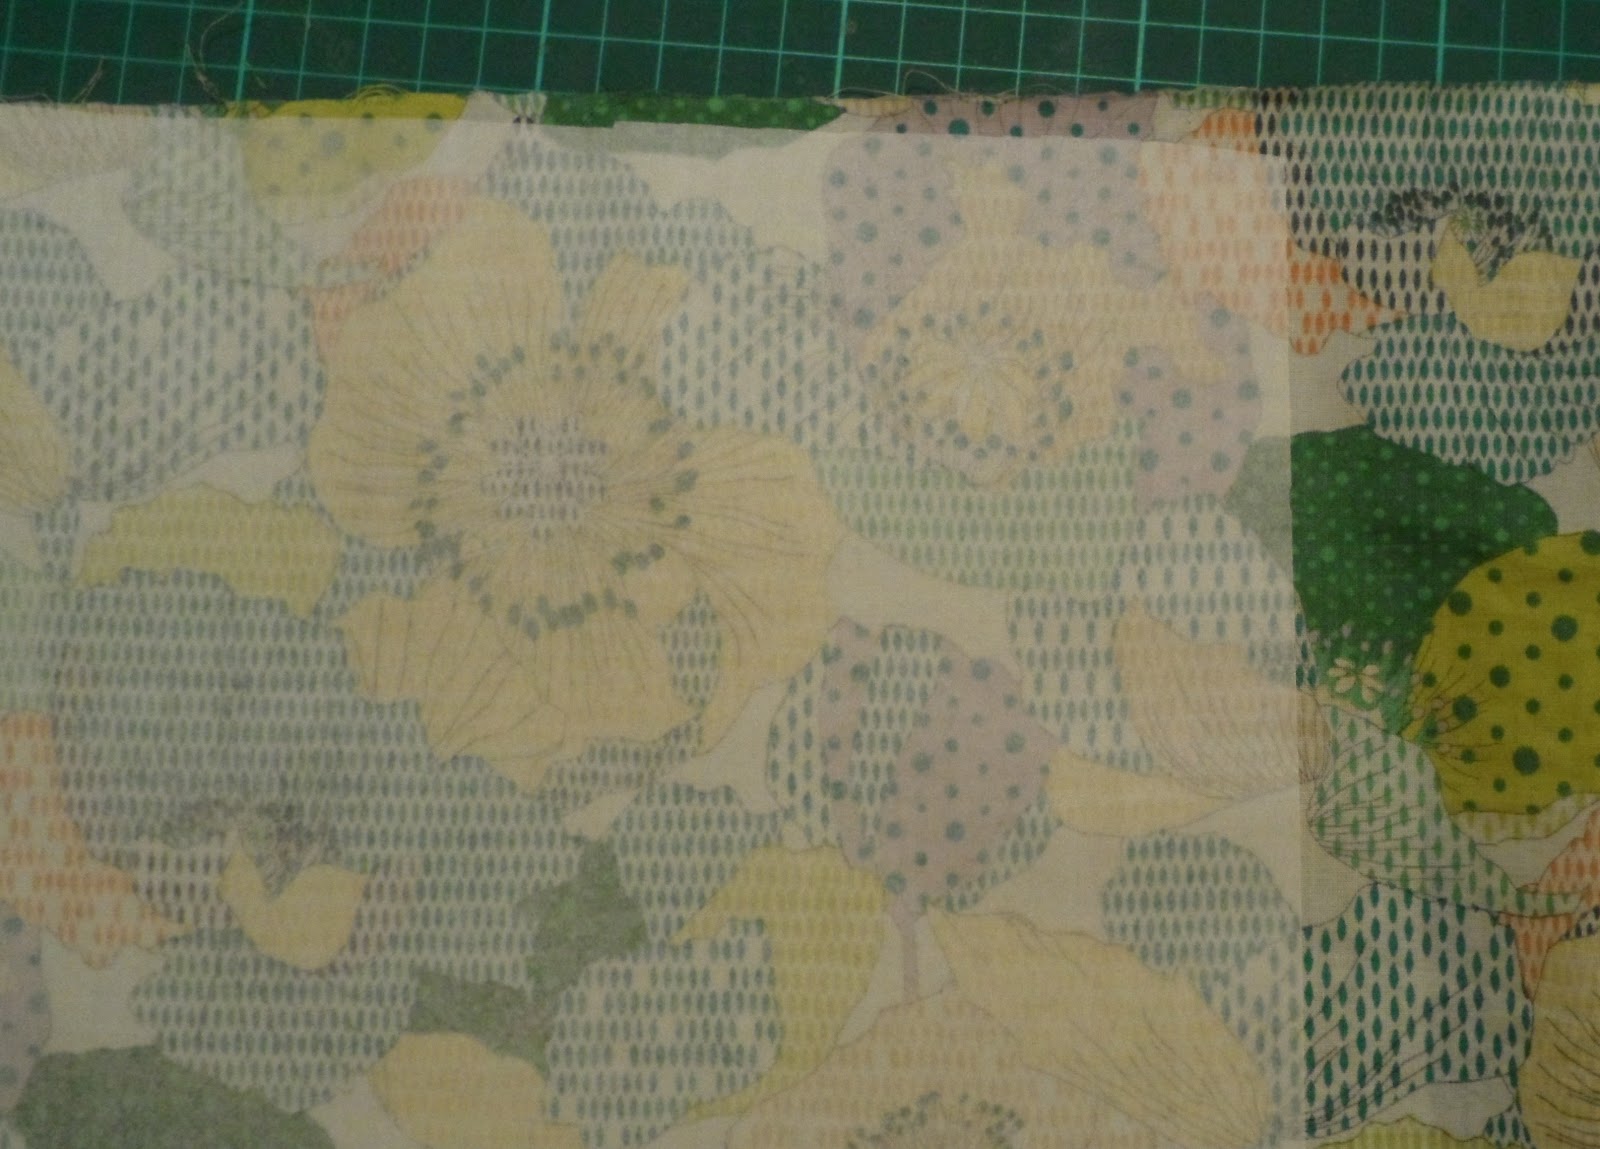
Iron Visa-Fix to your fabric.

{Visa-Fix some might ask . . . . .  . .You know the stuff that melts and sticks two fabrics together before you sew, sort of like hemming tape, but you can get it off the roll. ie in larger pieces.} 
For those of you that have not used it, you get it fabric stores, in my case, the dress fabrics section of Spotlight and it has a backing paper. You iron it your fabric on the paper side and leave the paper attached.

This is the Visa-Fix ironed on.

STEP 4:
Trace leaves onto fabric.

Use your template to trace leaves onto backing paper on fabric {remember to place your template on UP SIDE DOWN! so that when you cut it out the fabric will be the same as the leaf on the curtains}


STEP 5:
Cut your leaves out of the fabric.


Now you should have a bunch of leaves of varying sizes and colours {depending on your chosen fabric}.

STEP 6:
Iron leaves into place on fabric.

Remove the backing paper and place down on your fabric in desired position. Turn iron onto heat setting for the fabric and iron straight onto leaves.

STEP 7:
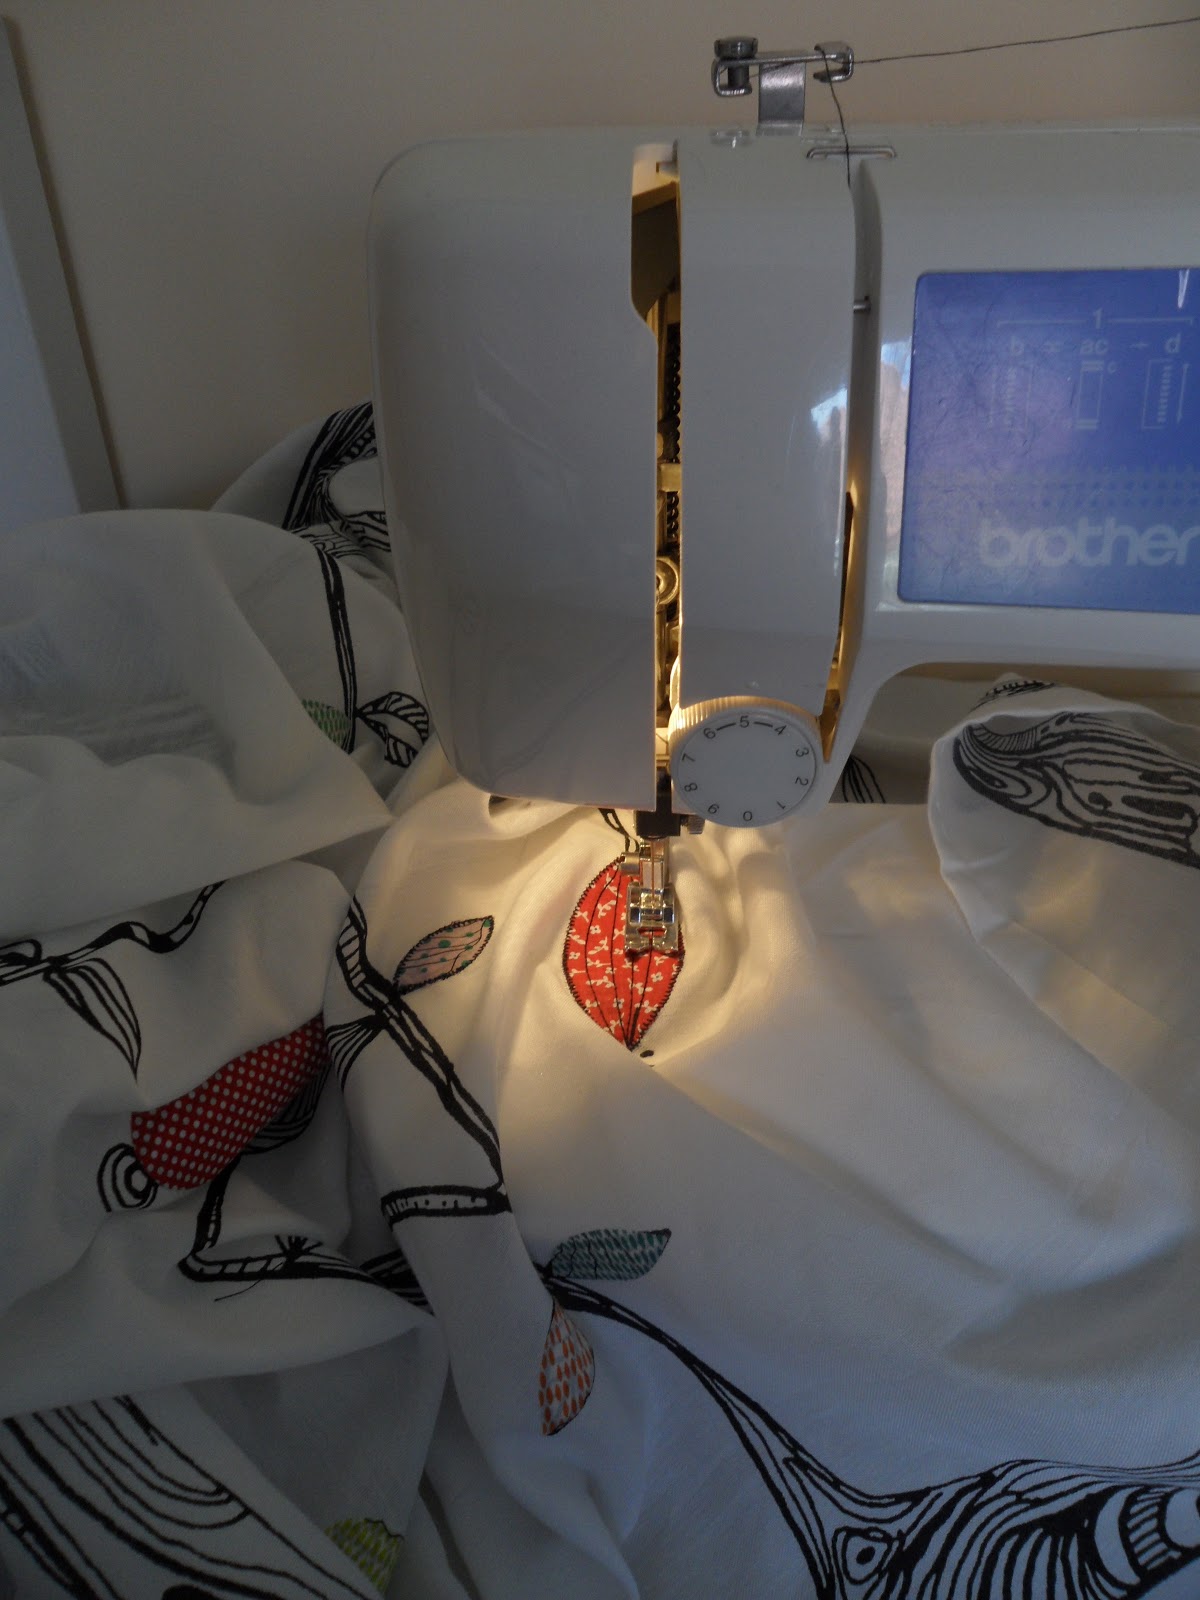
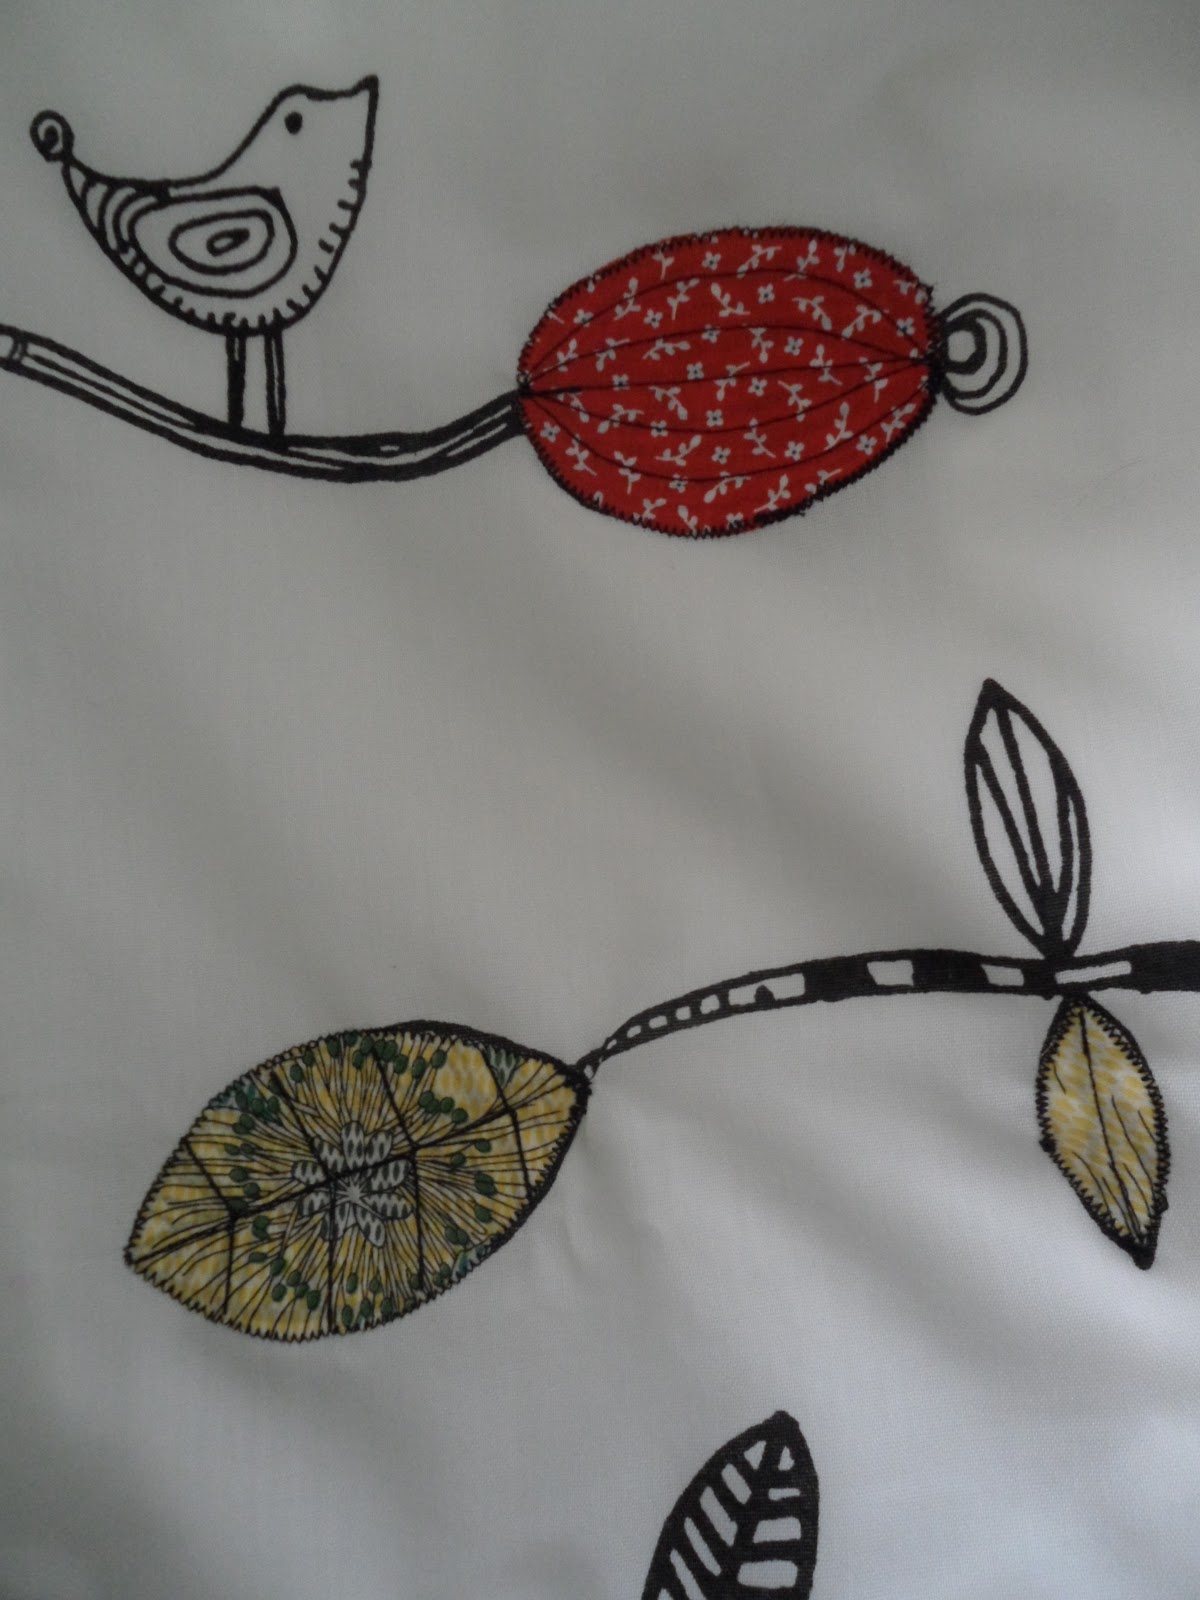
Sew around leaves and berries/flowers.


You can be as creative as you want with your sewing, I used a number 2 zig-zag around the outside and used a straight stitch so sew in vain's. 


AND HERE THEY ARE:


If anyone ever makes any I would love to see them!!!


Tash :o)


DIY NURSERY Part 4

WE HAVE CURTAINS!

I have finally finished and hung the curtains.


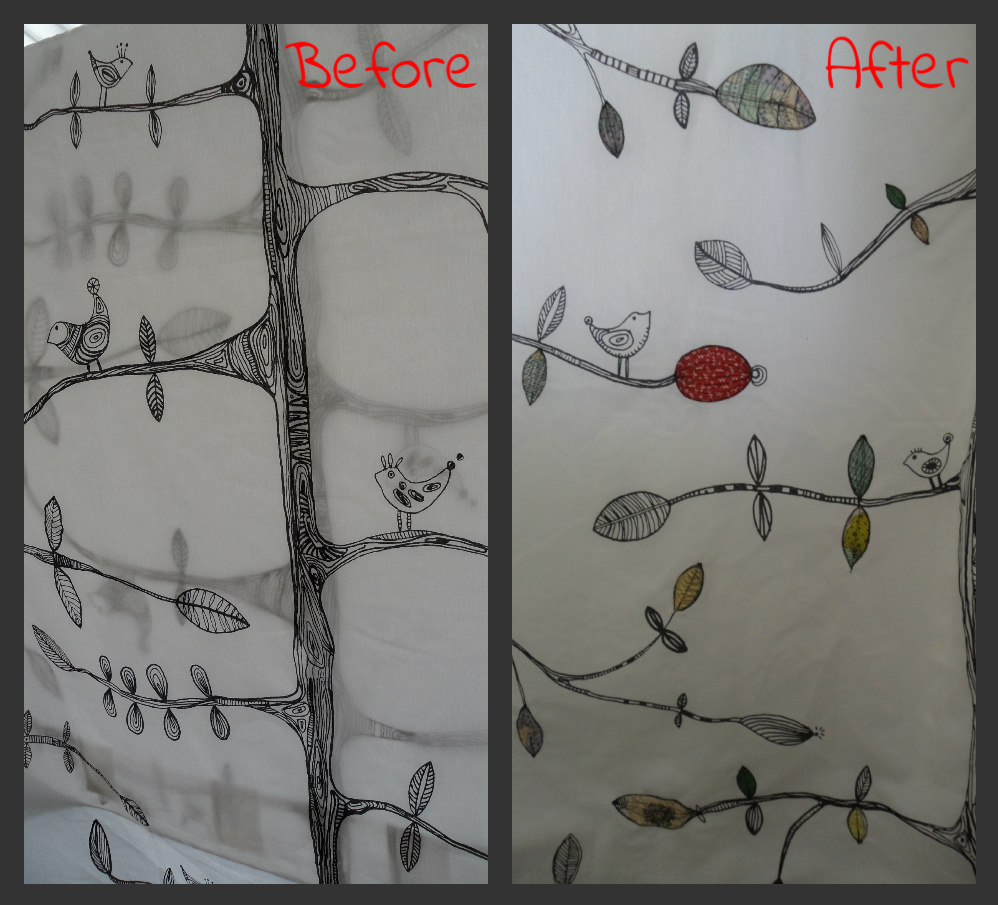
Well I finally finished the curtains which are the EIVOR tab tops from IKEA and I appliqued some of the leaves and berries/flowers{?} and then I lined them using 1 pass curtain lining from Spotlight {as they were a little thin.}


Here is the BEFORE and AFTER, and you can see the applique process HERE.     


Until next time . . . . . .

Tash :o)

Incase you missed Part 1, 2 or 3:

Part 1 HERE!  
Part 2 HERE! 
Part 3 HERE!

Tuesday, November 6, 2012

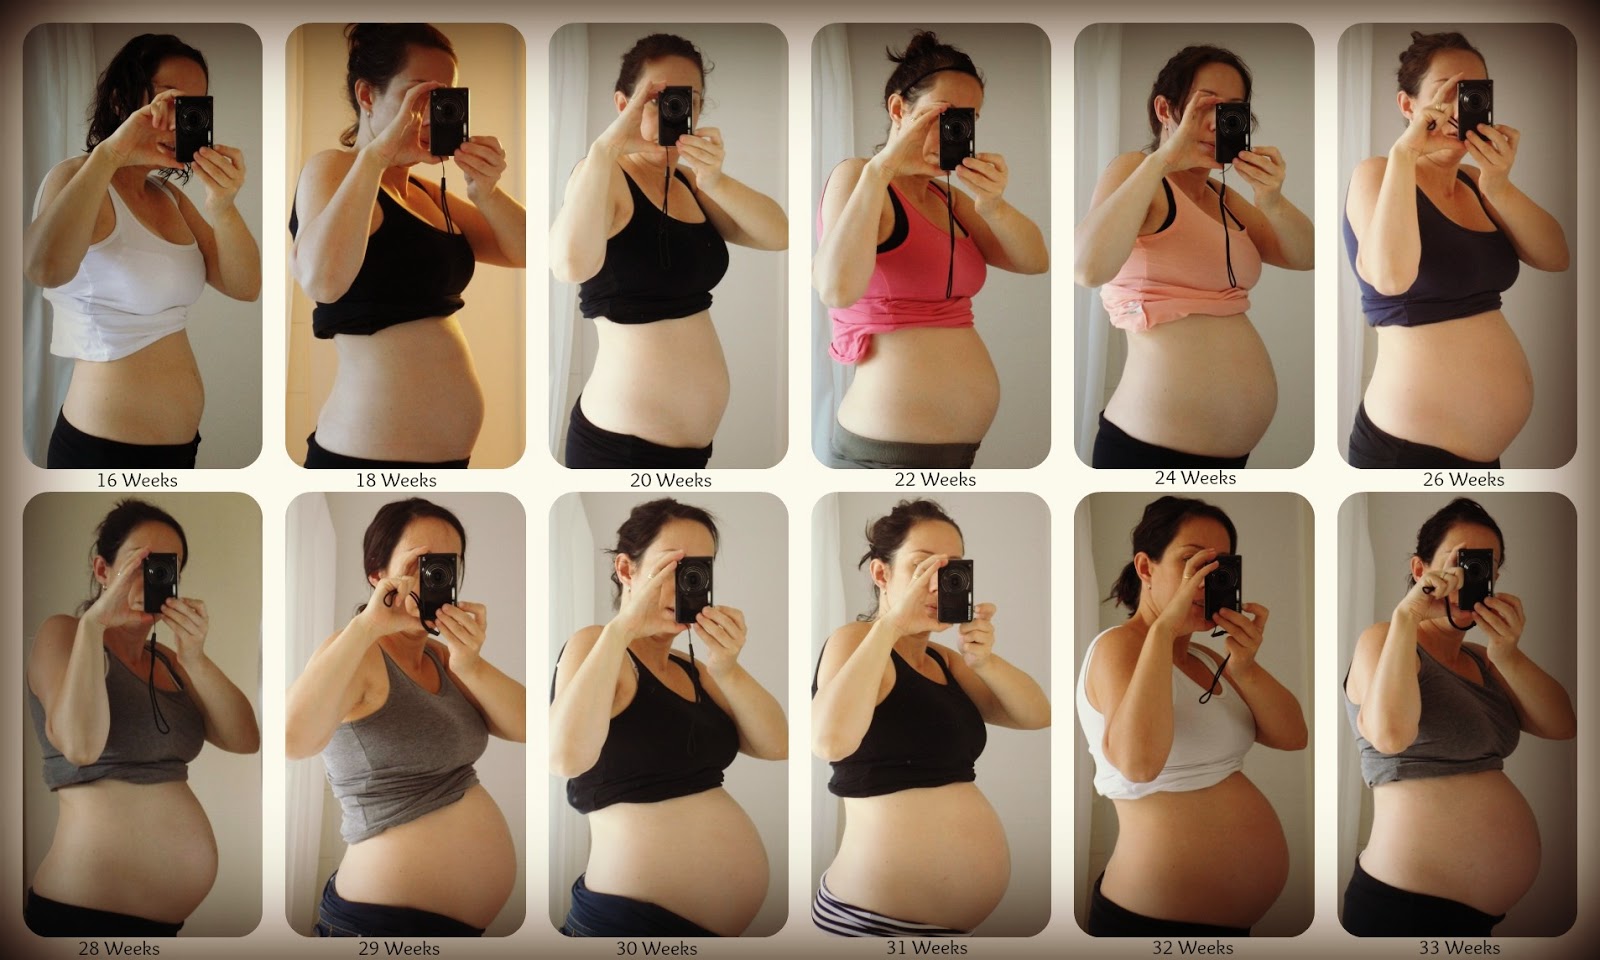
BELLY UPDATE . . . .

  I'm 33wks already!!! Where did the time go??


I can't believe in just over 6wks my due date will be upon us, maybe not a baby, or maybe I would have already had it {heres hoping!!} Tho I do have to say that I have been sleeping A LOT better which is great!!

I have nearly finished the curtains too!!! So hopefully later today I will be able to put up a pic of the finished product.

Until then, keep smiling . . .

Tash :o)

Saturday, November 3, 2012

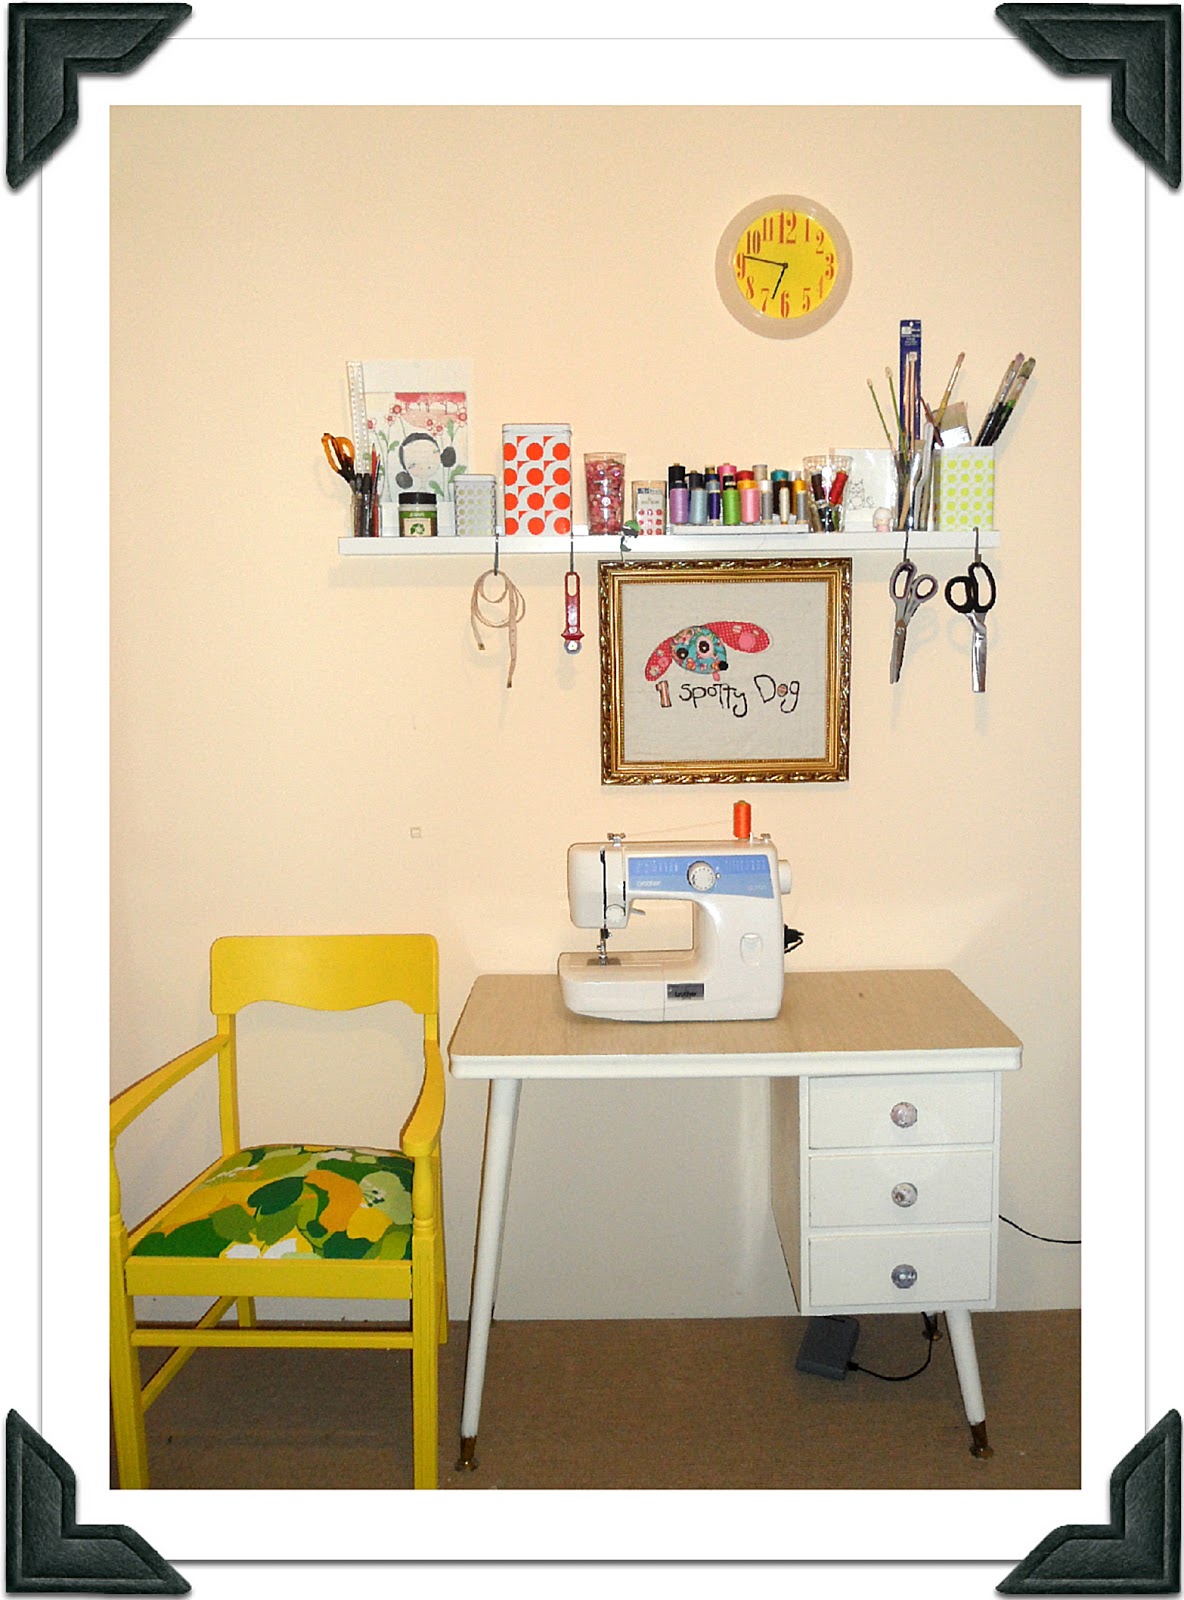
My Newly 'Organised' Sewing Space!


At 3am the other morning I was wide awake {thanks to the little human growing inside me} so decided to get up and check out some of my favourite blogs {and Pinterest} and I found the The Organised Housewife Blog and her 
'20 days to Organise and Clean your Home Challenge'.  
I don't think I will be quite doing the 20 day challenge, but I did got very inspired to sort my sewing area and drawers!!


You can see both AVE and Hungry Designs Facebook pages here. {you will love them!}
 and Ikea here. 


THE DRAWERS:

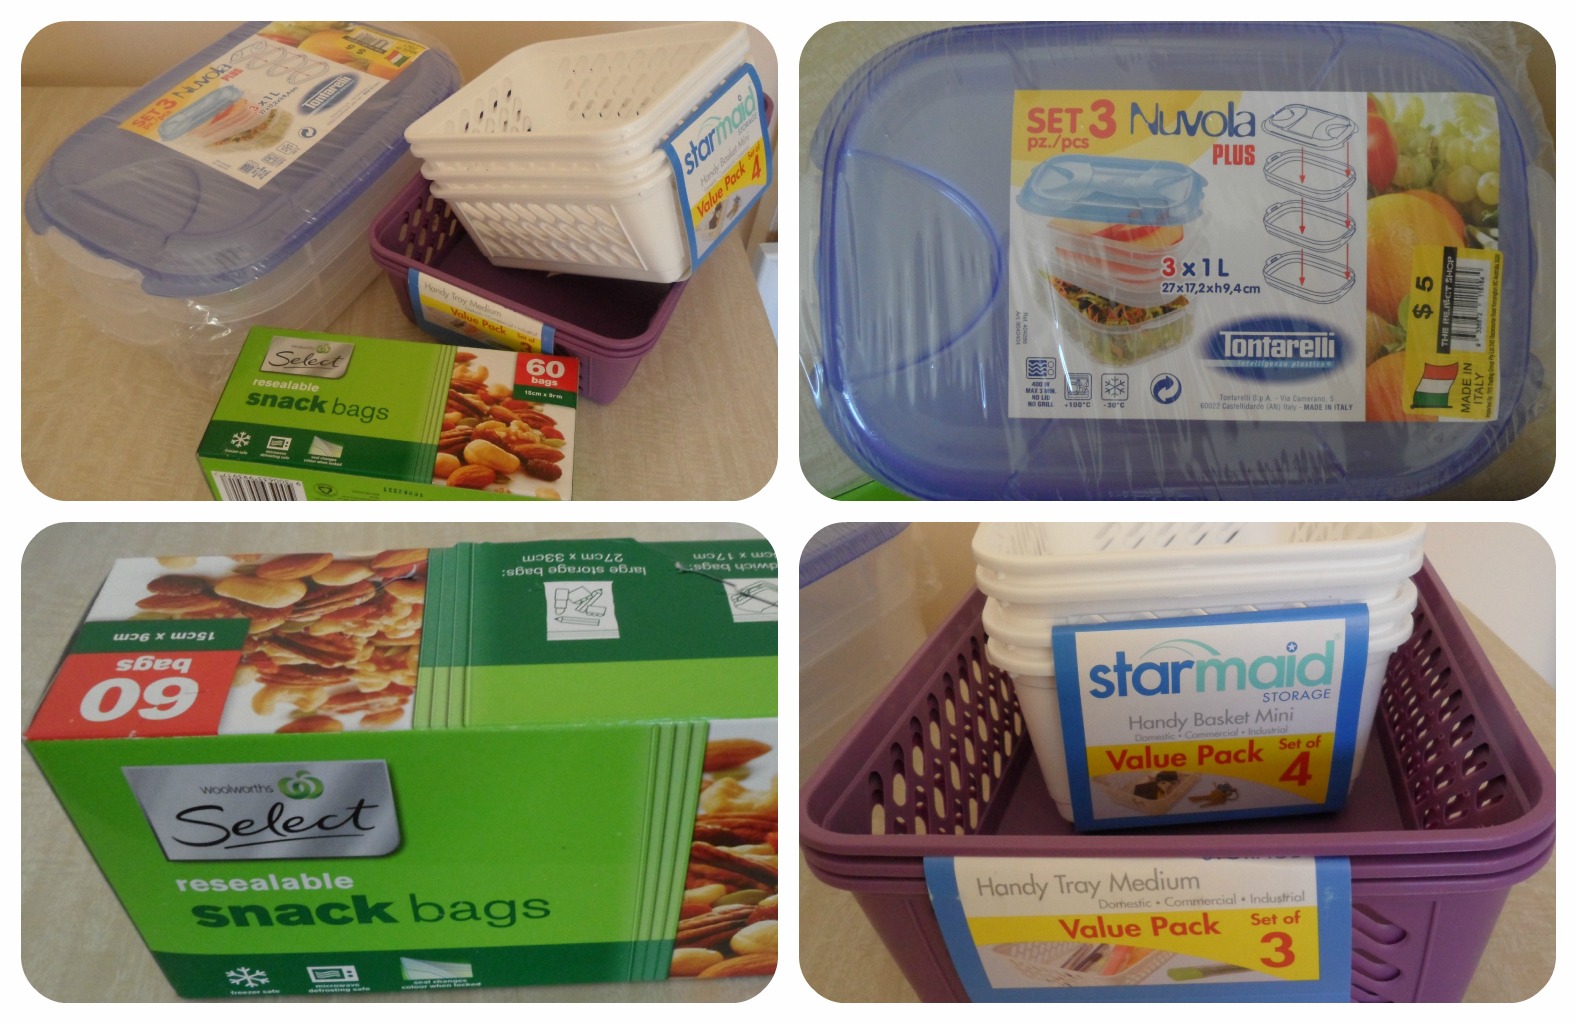
I started with a selection of Handy Trays, Containers and Zip Lock Bags.

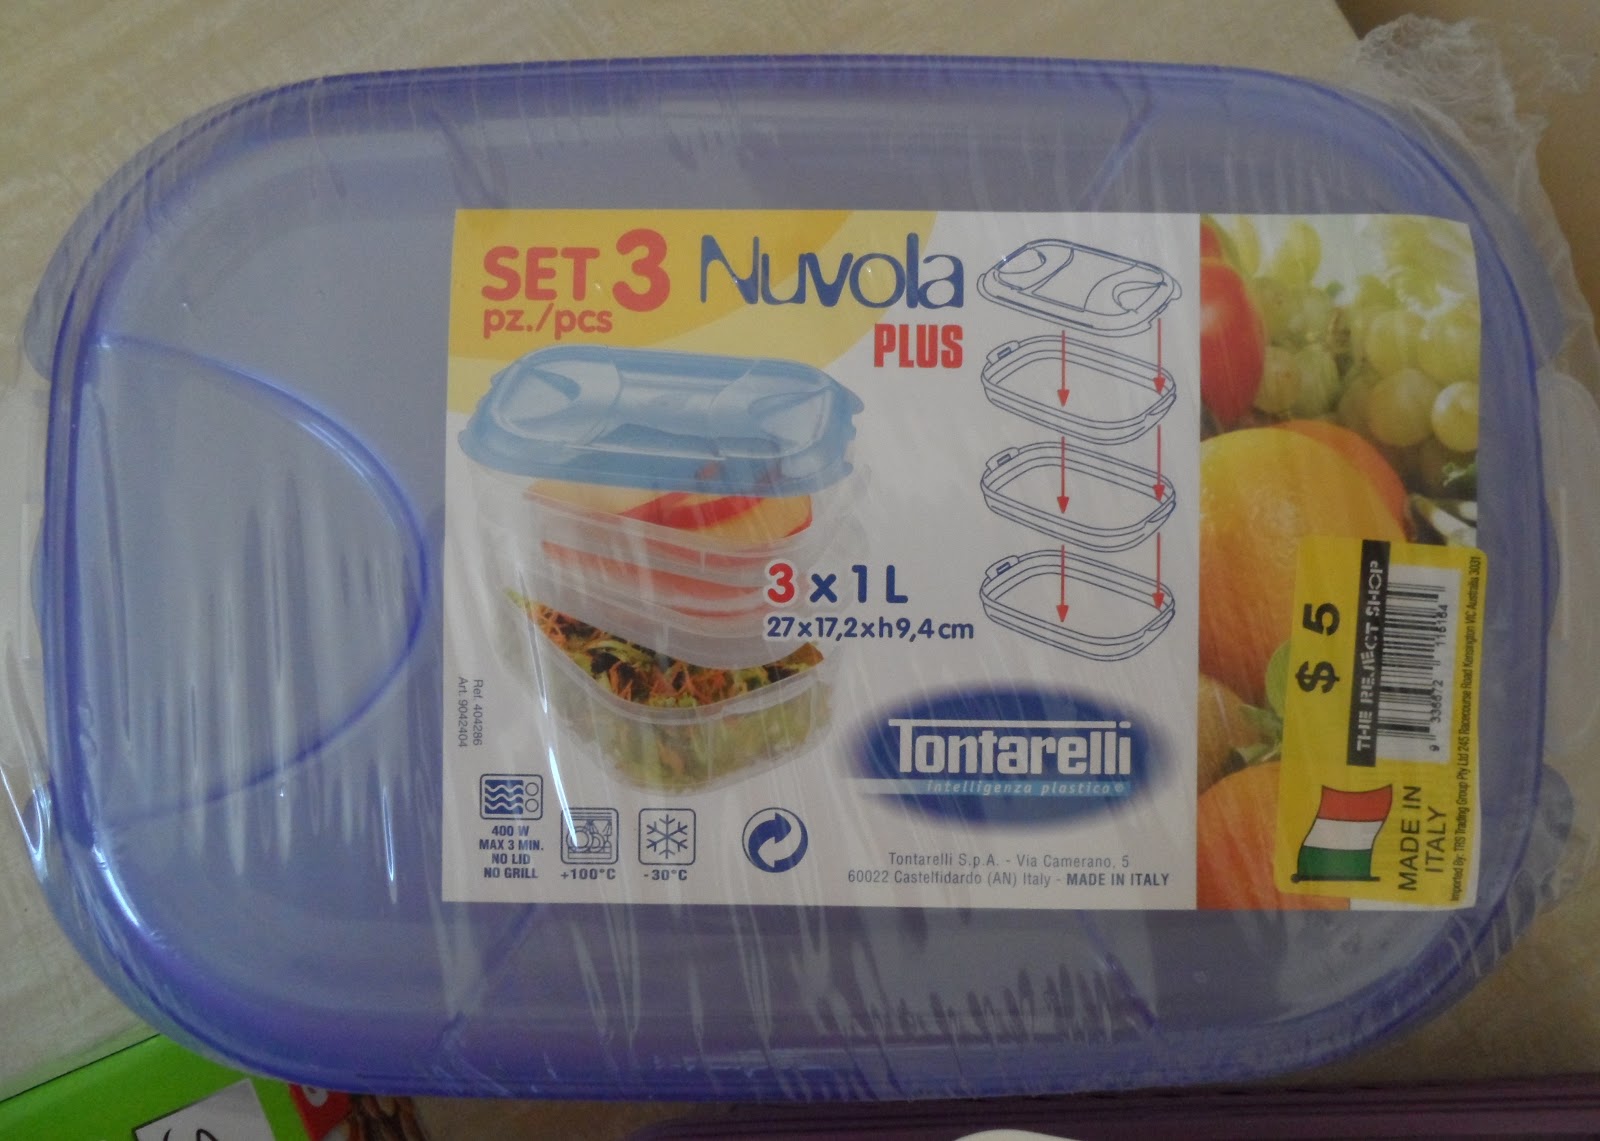
Set of 3 stackable containers $5, Purple and White Handy Trays $3 Set
 all from The Reject Shop

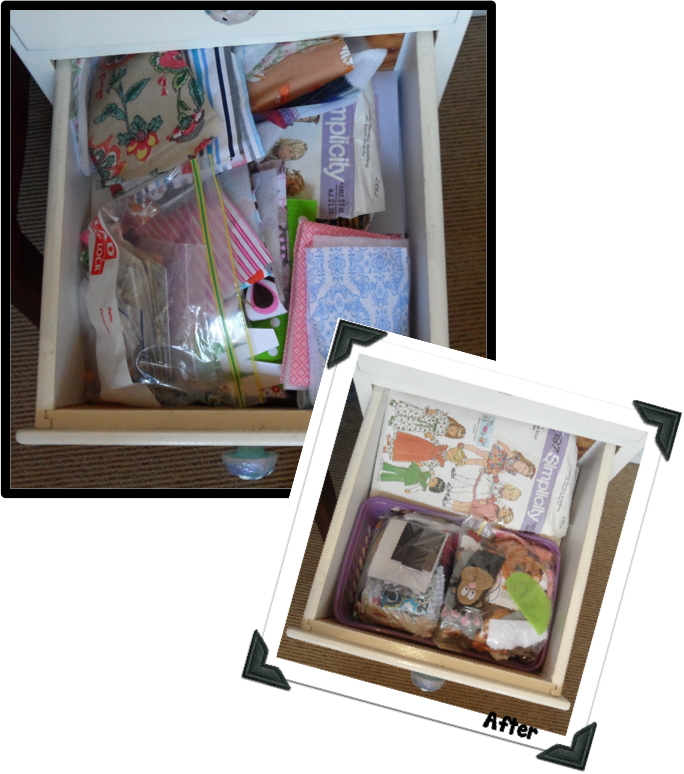
Here is the Before and After shots.

Top Drawer. . . . . 


Middle Drawer. . . . . 


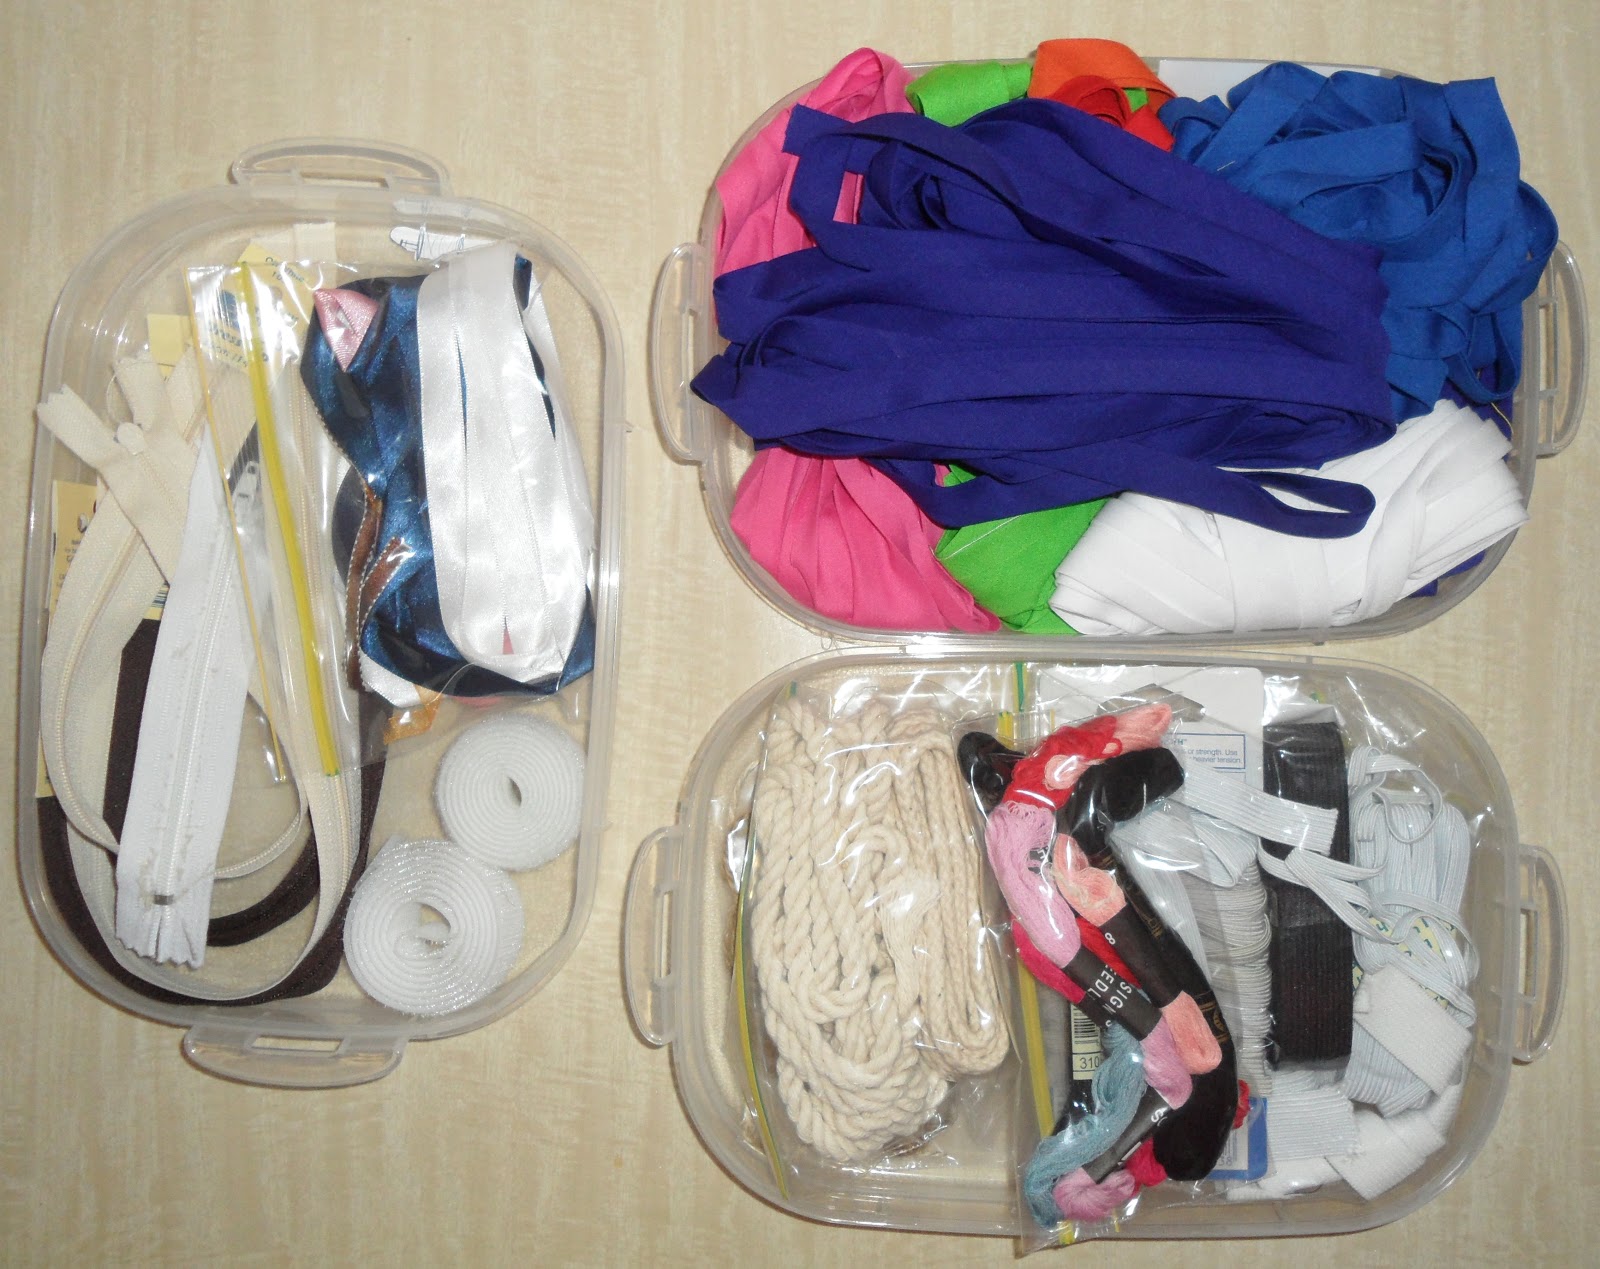
This container was such a good find. {and it was just the right size to fit into the drawer.} 


I was able to get all my things sorted into each of the three trays.

  1. Zips, Ribbon, Velcro and Twine.
  2. Cord, Embroidery Tread and Elastic.
  3. Bias Binding.


Bottom Drawer. . . . .


There are A LOT of unfinished projects in this drawer that I need to add to my 'To Do' list . . . . . 


Tash :o)