Here is the process of appliqueing the curtains.
{If I had of thought at the time how long it was going to take me to sew around all the appliqued leaves I probably wouldn't have done so many, but I do LOVE them, so it was well worth it.}
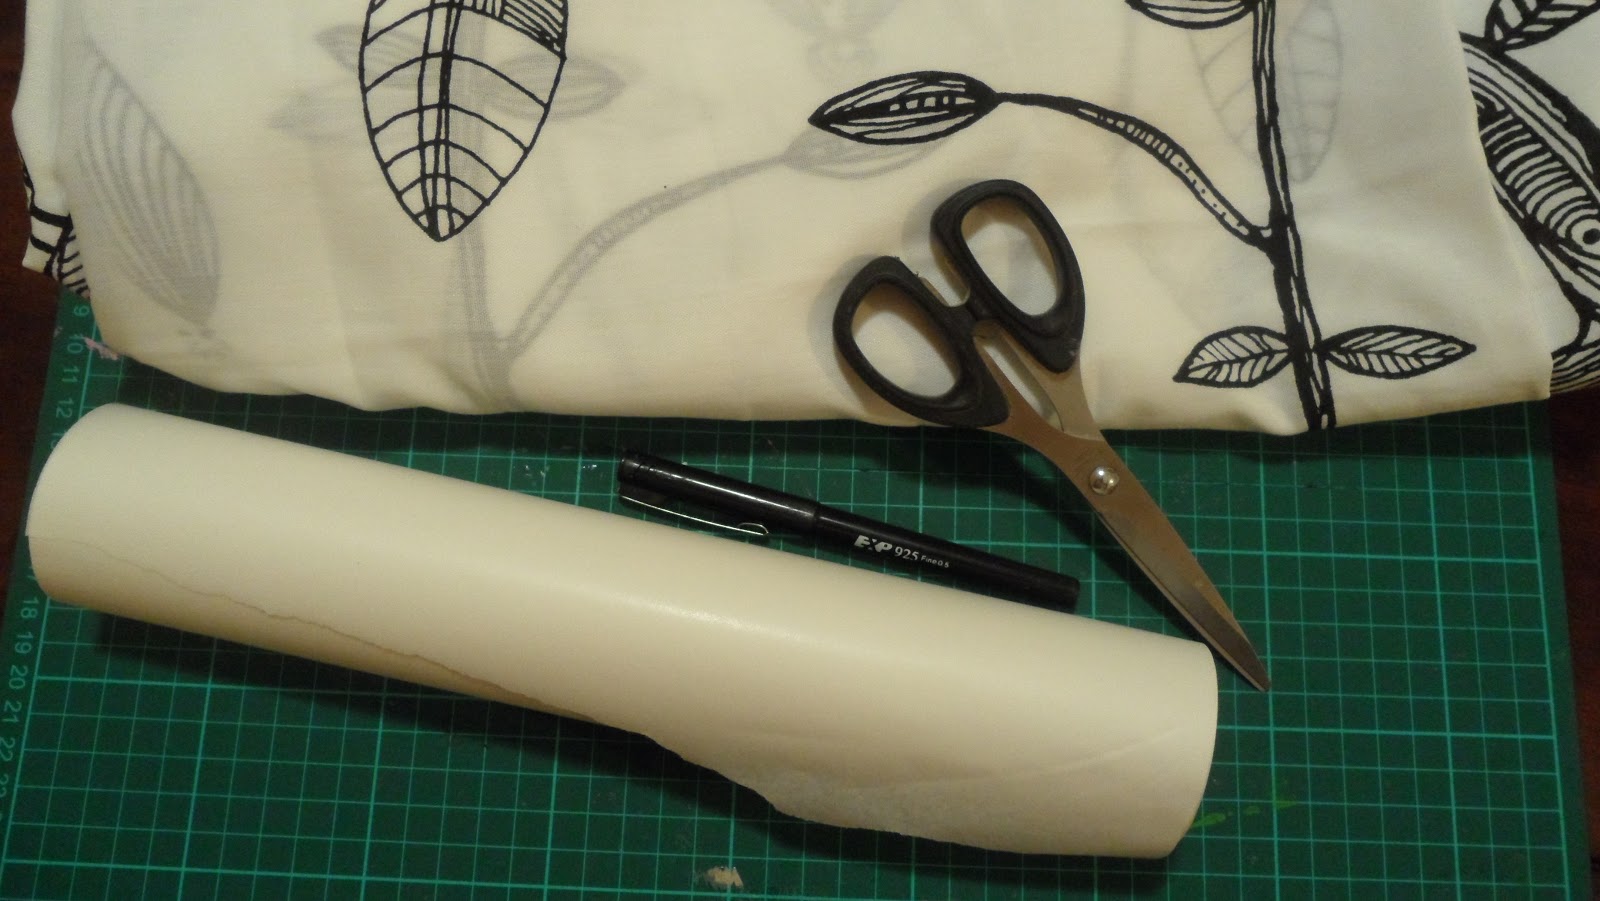
I started with a set of Ikea Eivor Curtains;

STEP 1:
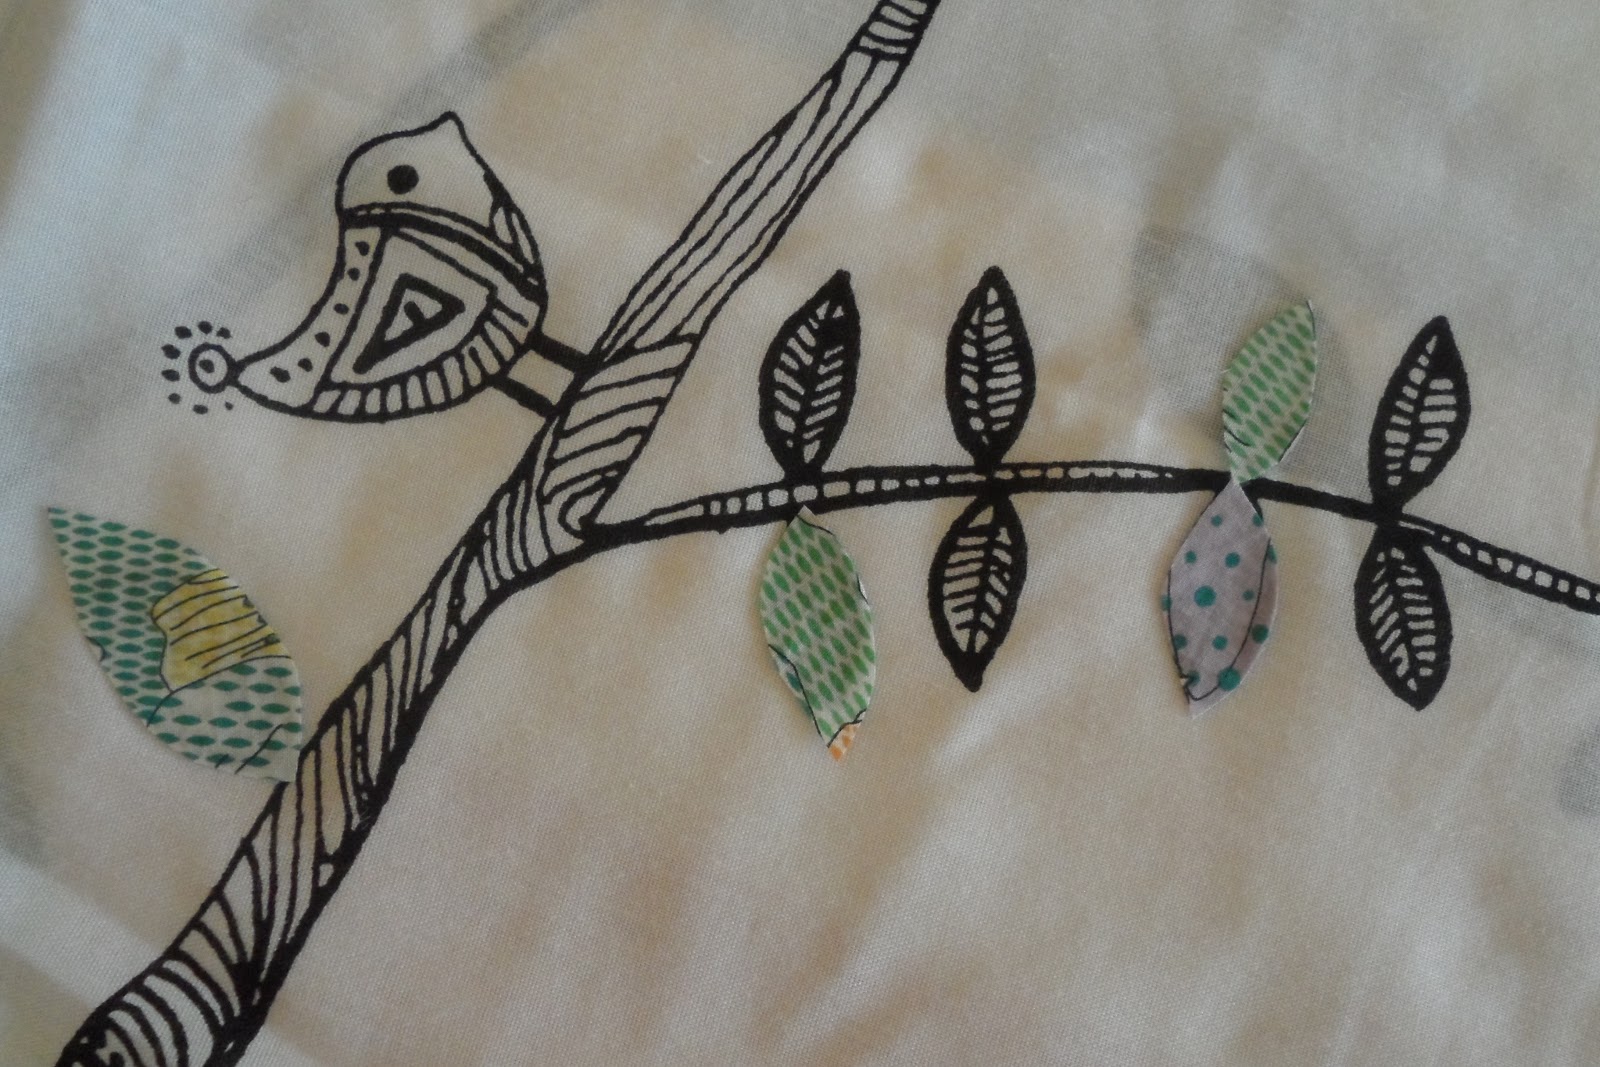
Make a template of the leaves you want to applique.
 |
 |
| I used baking paper and a fine tipped marker and traced around the leaves on the fabric. |
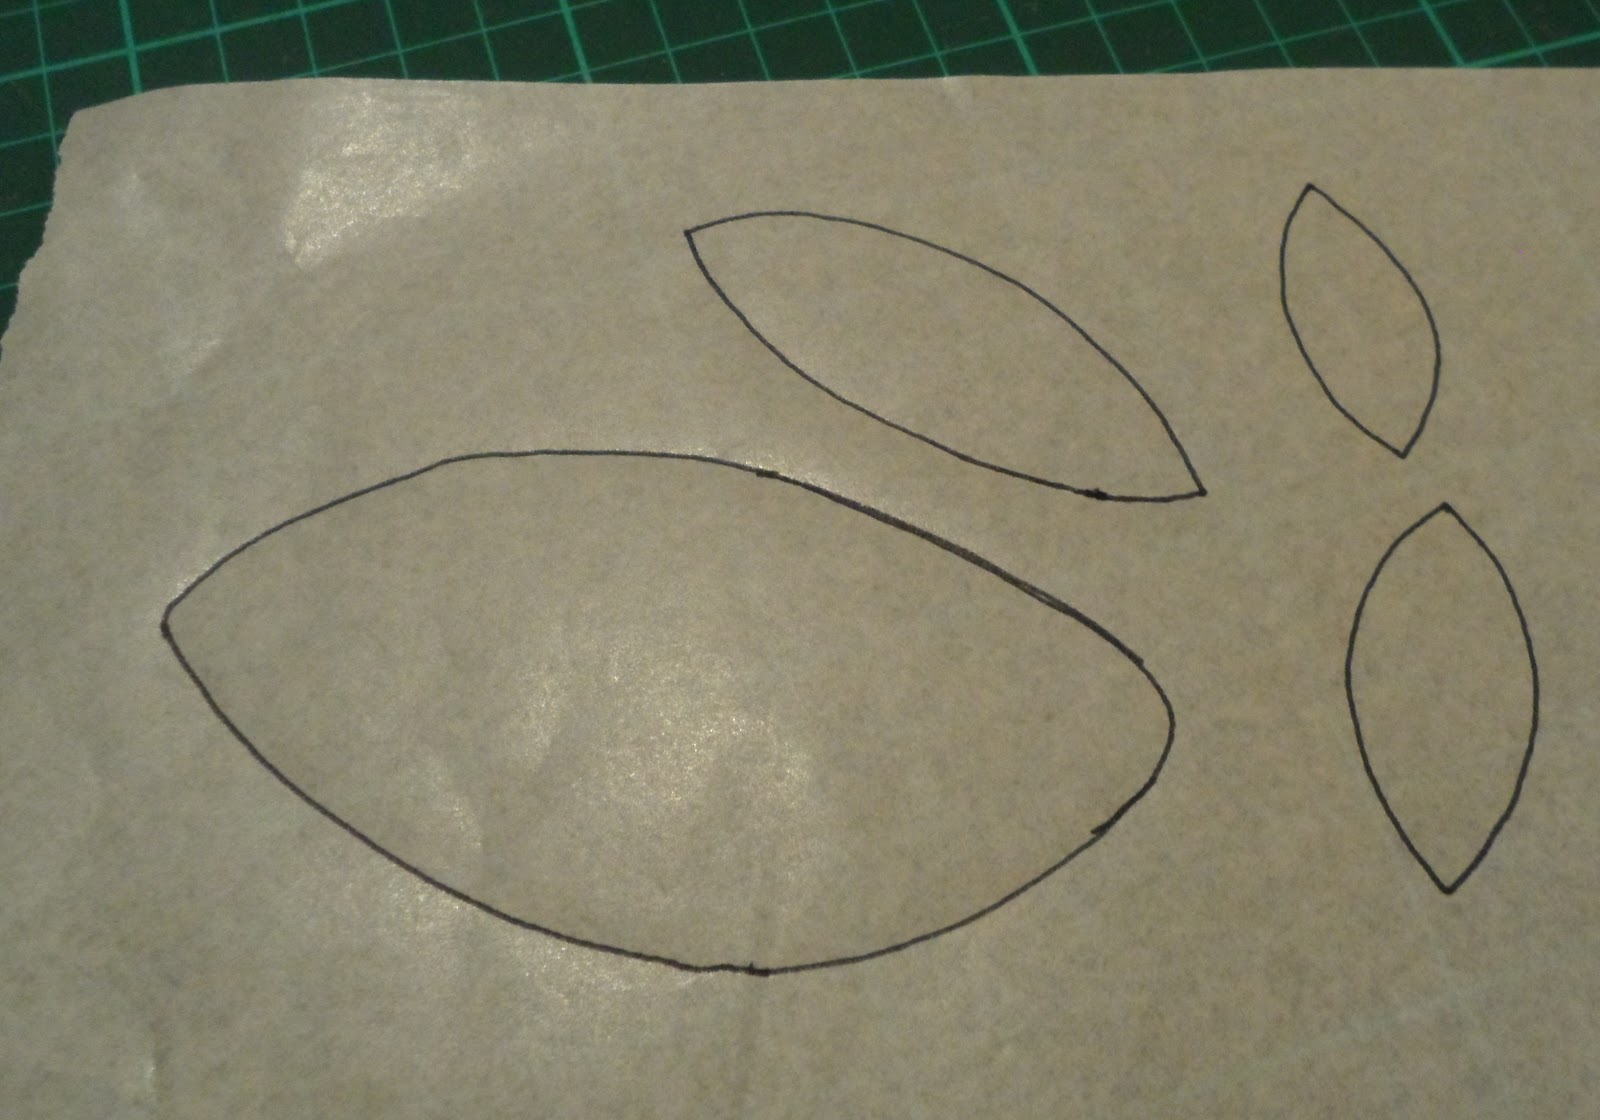 |
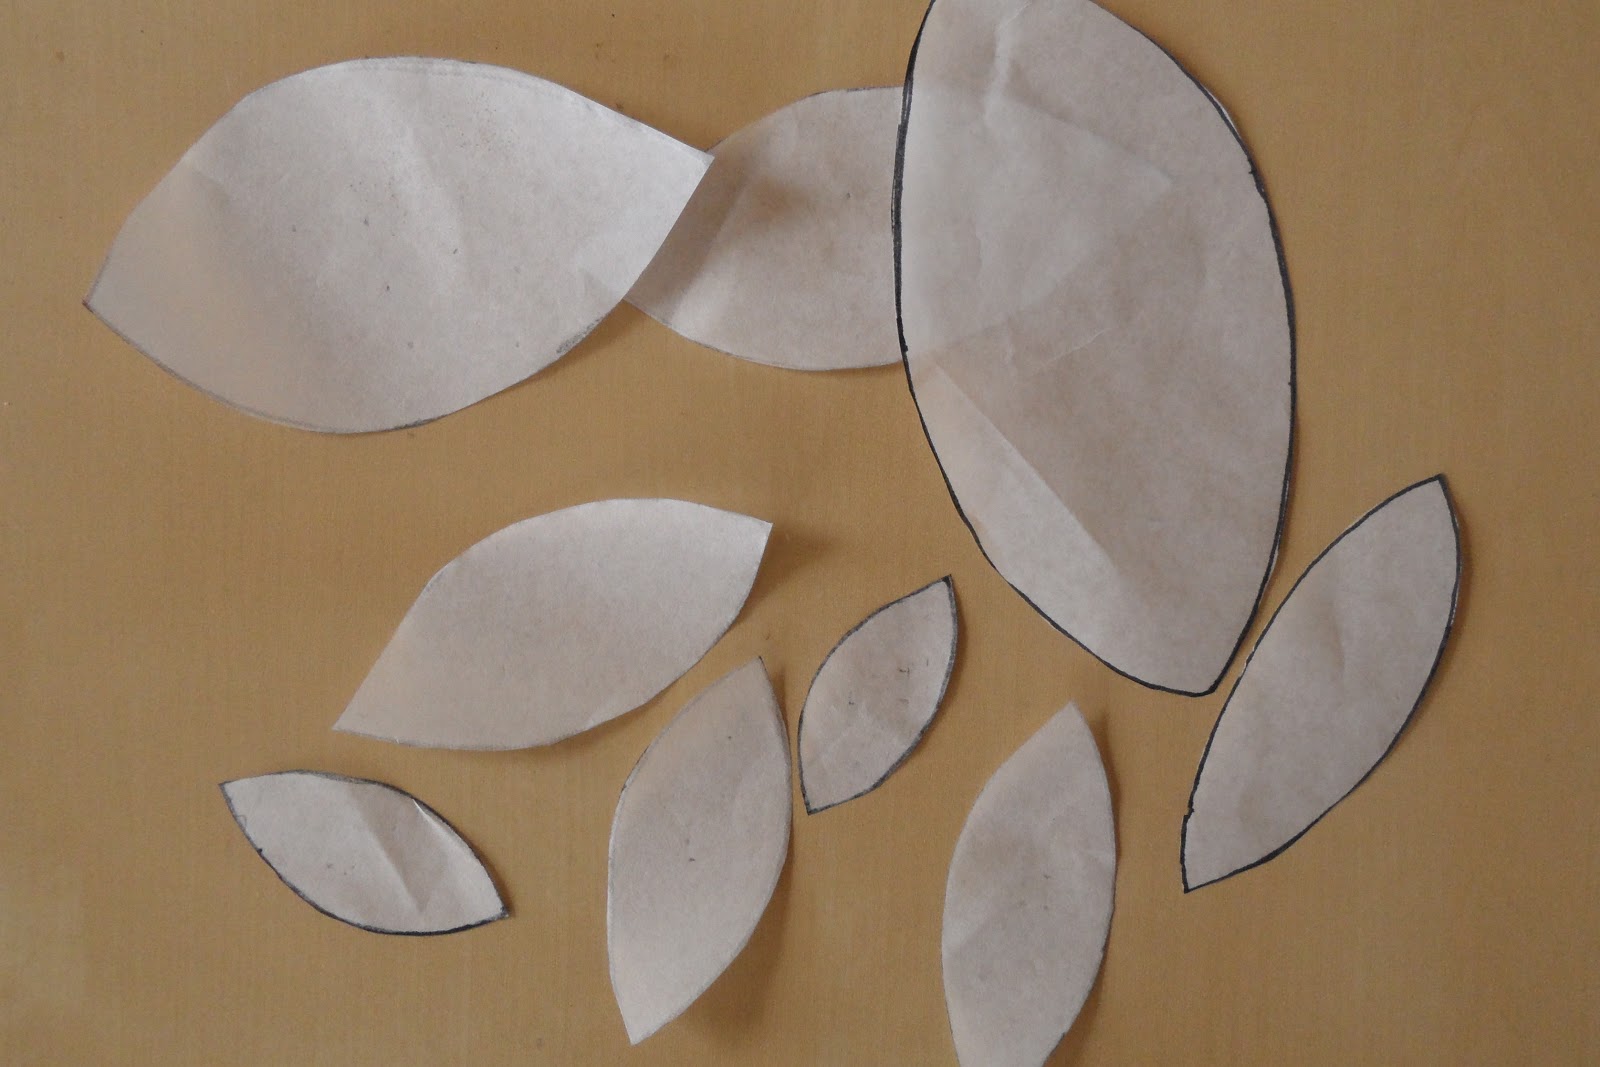
| Once you have traced around them, cut them out. |
STEP 2:
Choose your fabric.
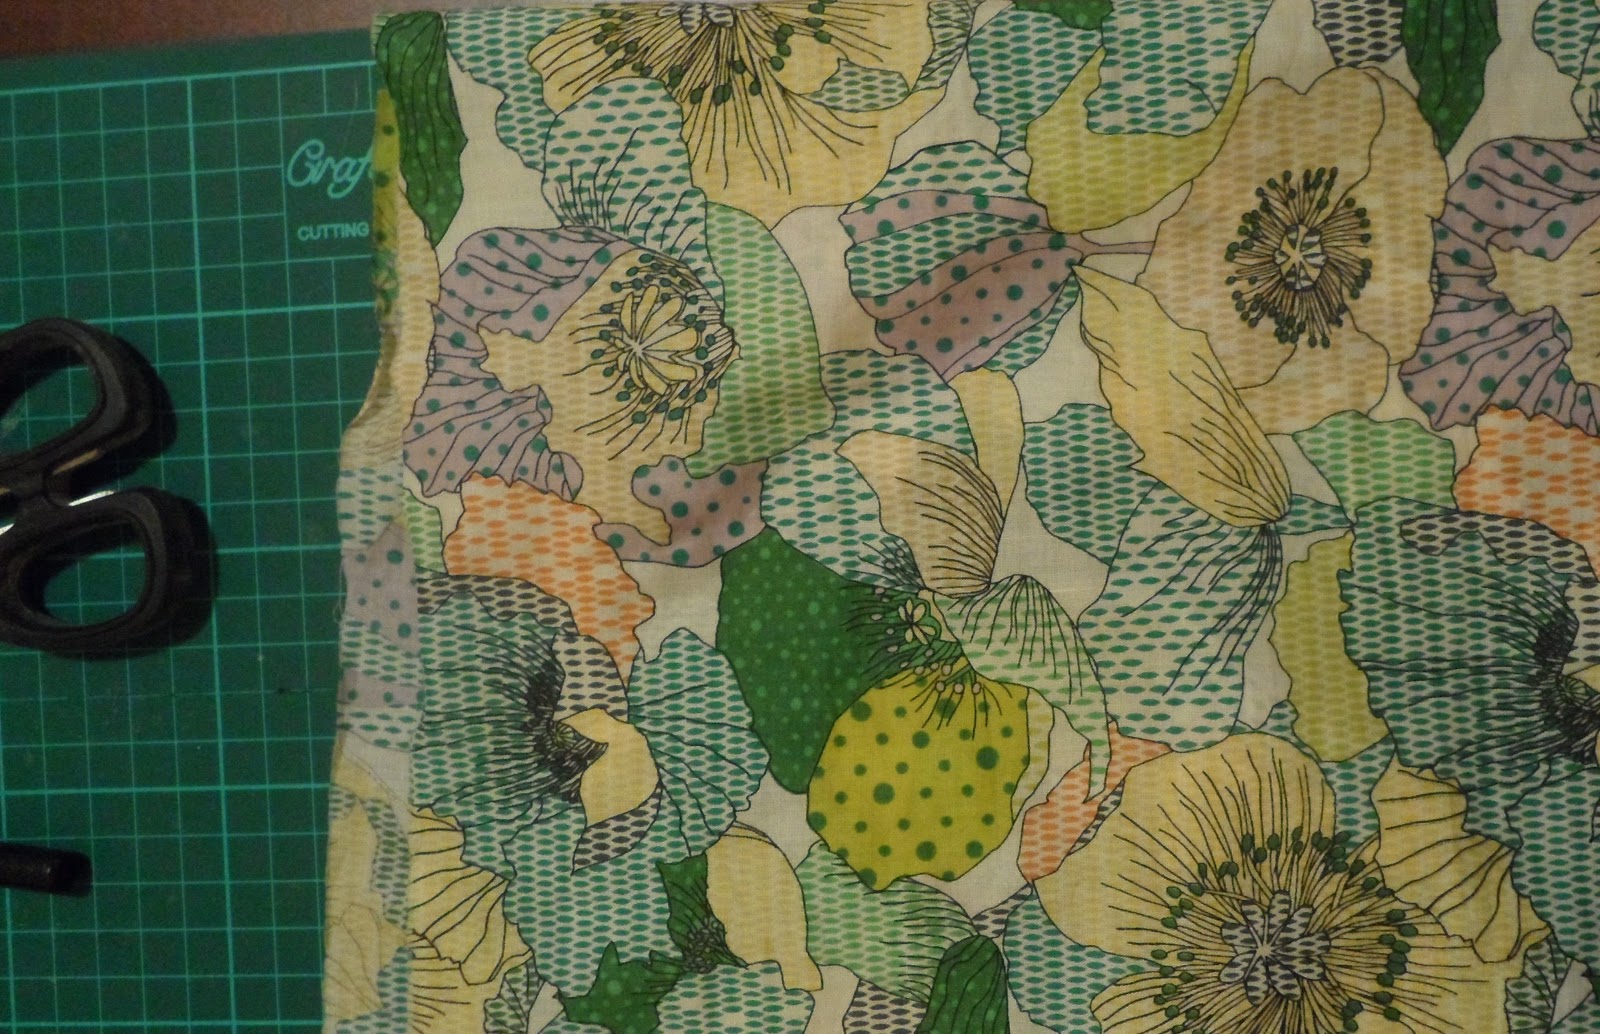 |
| I don't remember the name of this fabric, but I got it from Spotlight. I also used a red spots and red flower fabric for the berries/flowers. |
STEP 3:
Iron Visa-Fix to your fabric.
{Visa-Fix some might ask . . . . . . .You know the stuff that melts and sticks two fabrics together before you sew, sort of like hemming tape, but you can get it off the roll. ie in larger pieces.}
For those of you that have not used it, you get it fabric stores, in my case, the dress fabrics section of Spotlight and it has a backing paper. You iron it your fabric on the paper side and leave the paper attached.
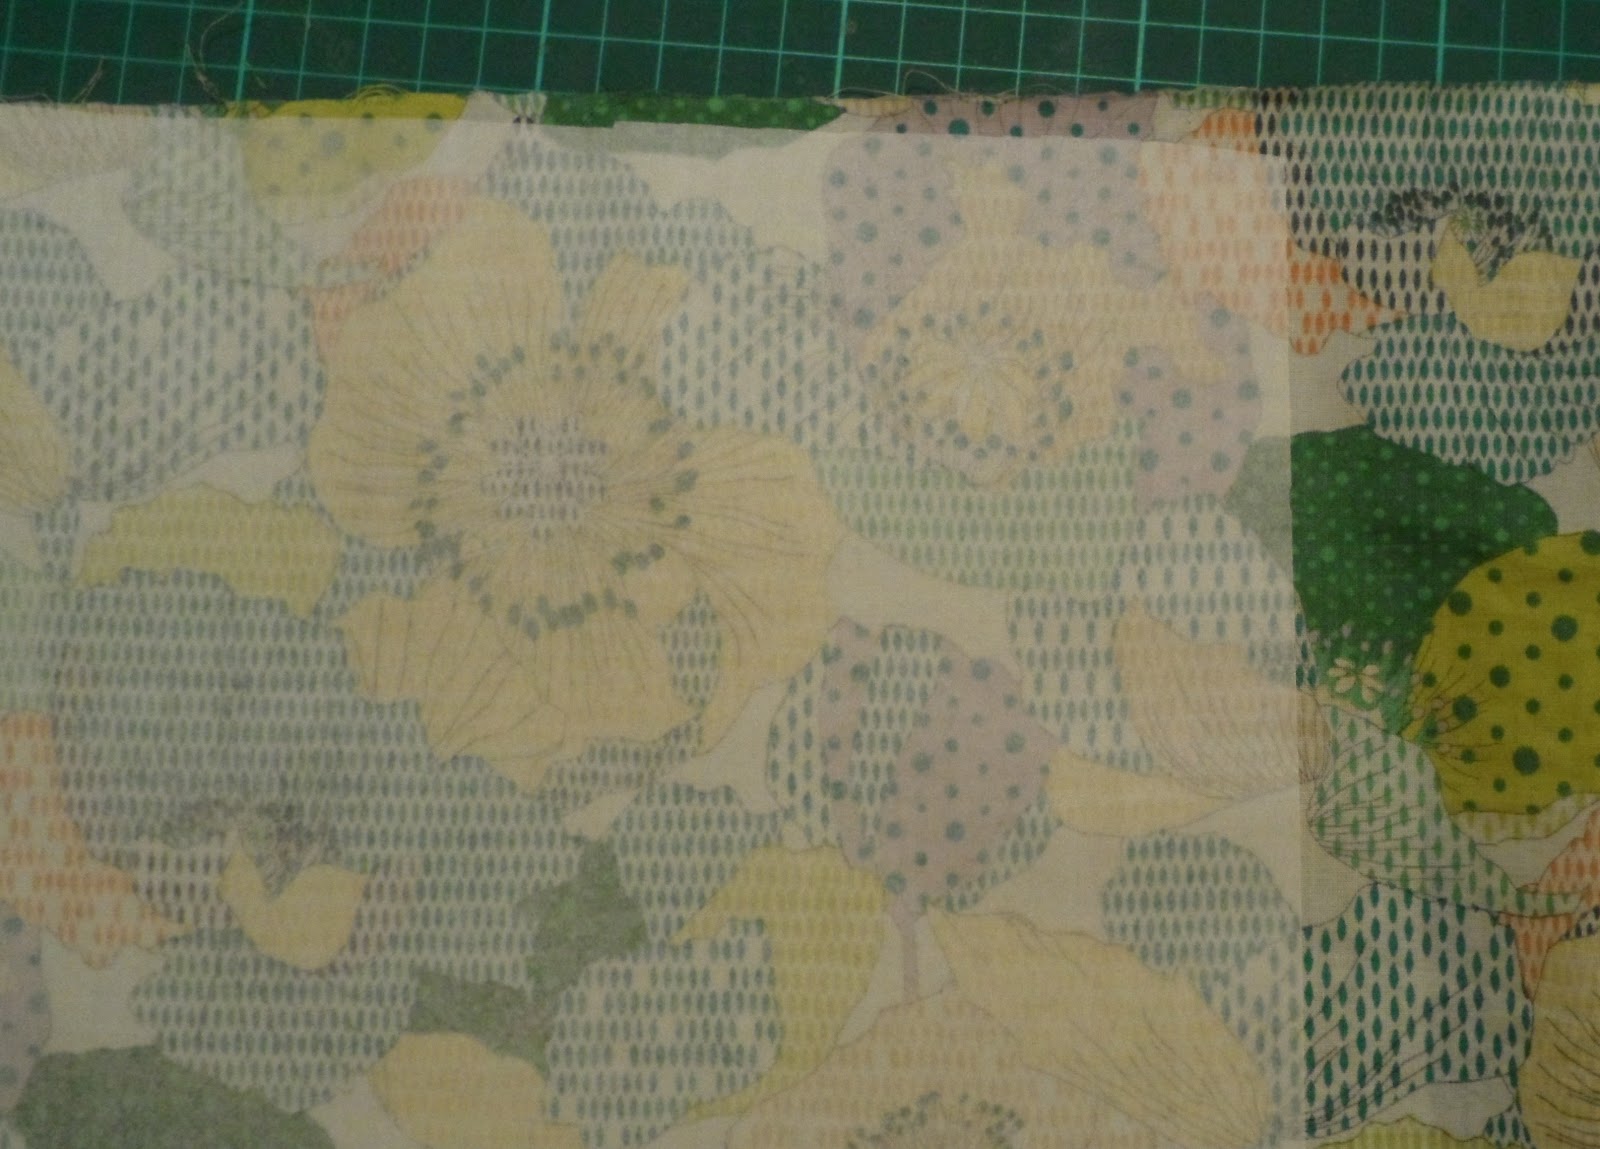 |
| This is the Visa-Fix ironed on. |
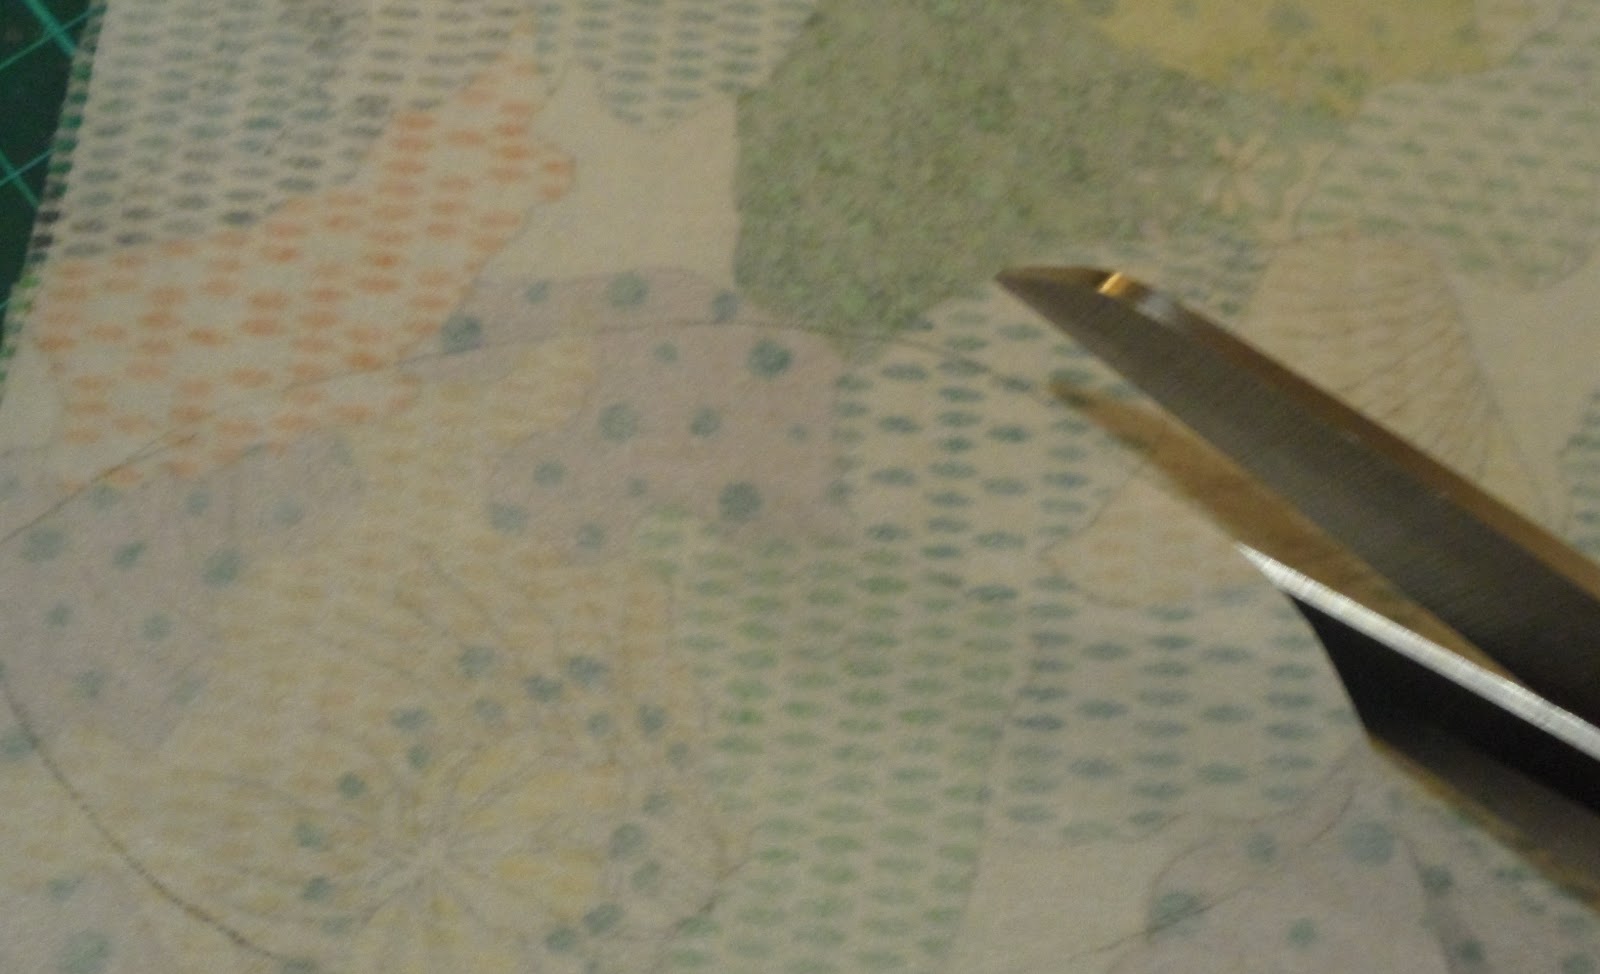
STEP 4:
Trace leaves onto fabric.
Use your template to trace leaves onto backing paper on fabric {remember to place your template on UP SIDE DOWN! so that when you cut it out the fabric will be the same as the leaf on the curtains}

STEP 5:
Cut your leaves out of the fabric.
 |
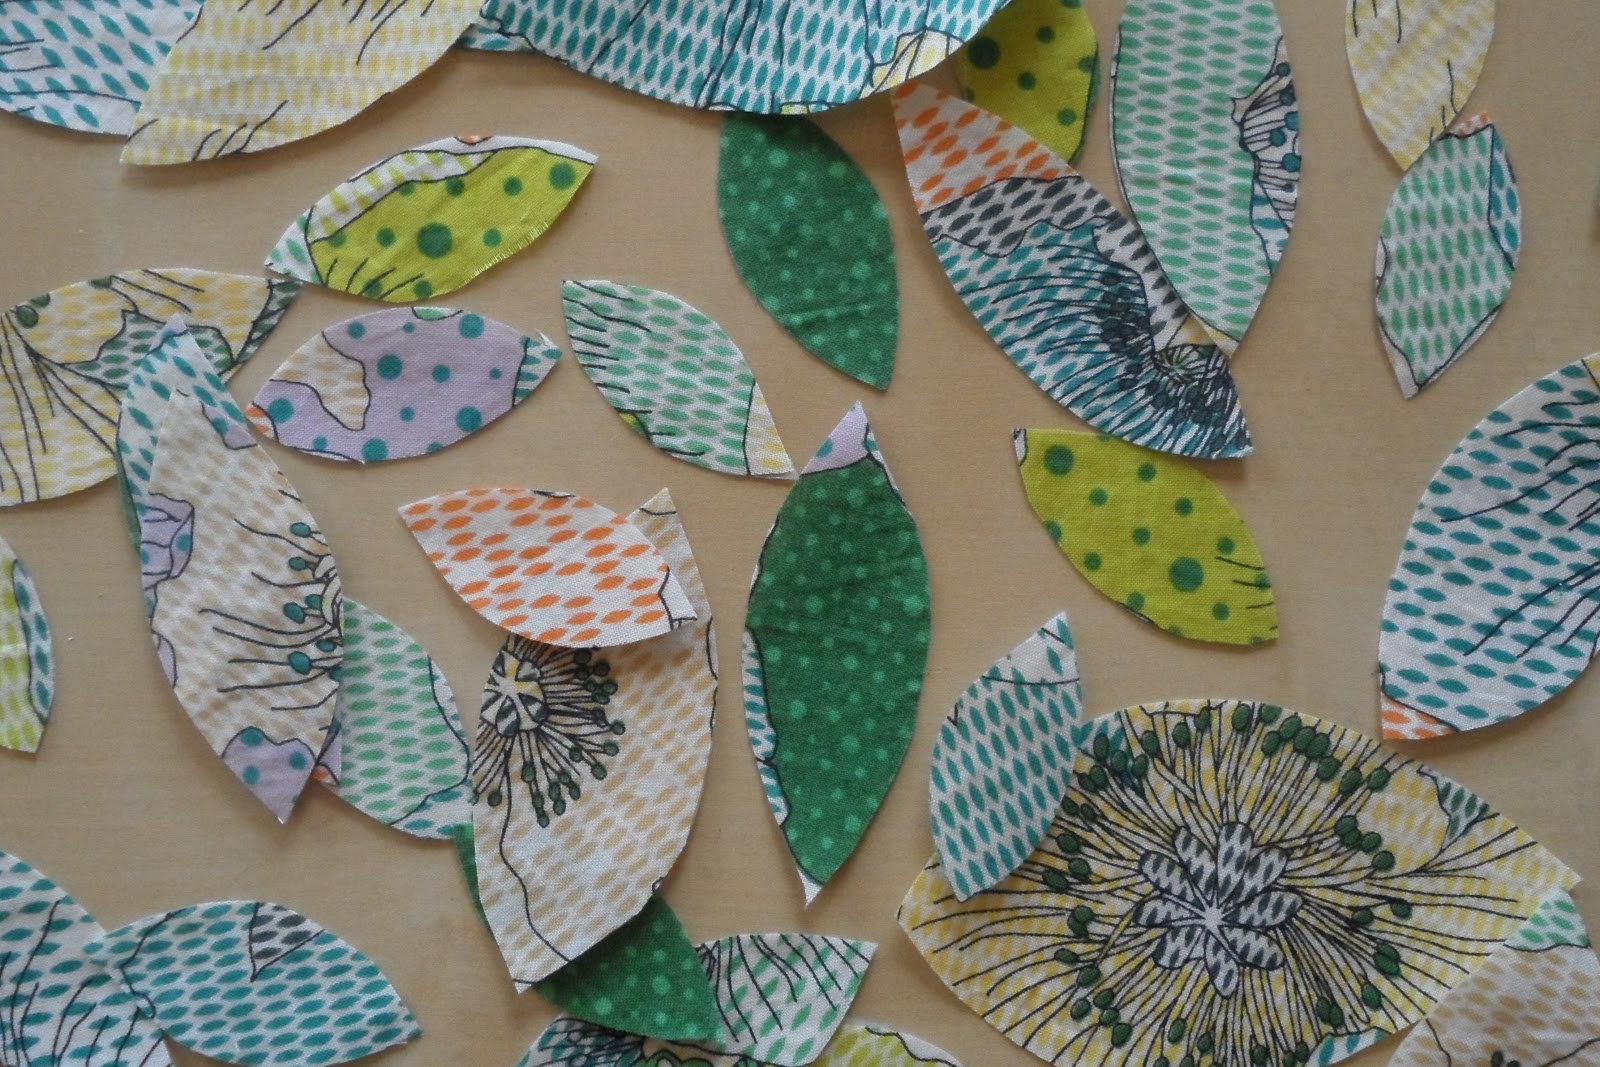 |
| Now you should have a bunch of leaves of varying sizes and colours {depending on your chosen fabric}. |
STEP 6:
Iron leaves into place on fabric.
 |
| Remove the backing paper and place down on your fabric in desired position. Turn iron onto heat setting for the fabric and iron straight onto leaves. |
STEP 7:
Sew around leaves and berries/flowers.
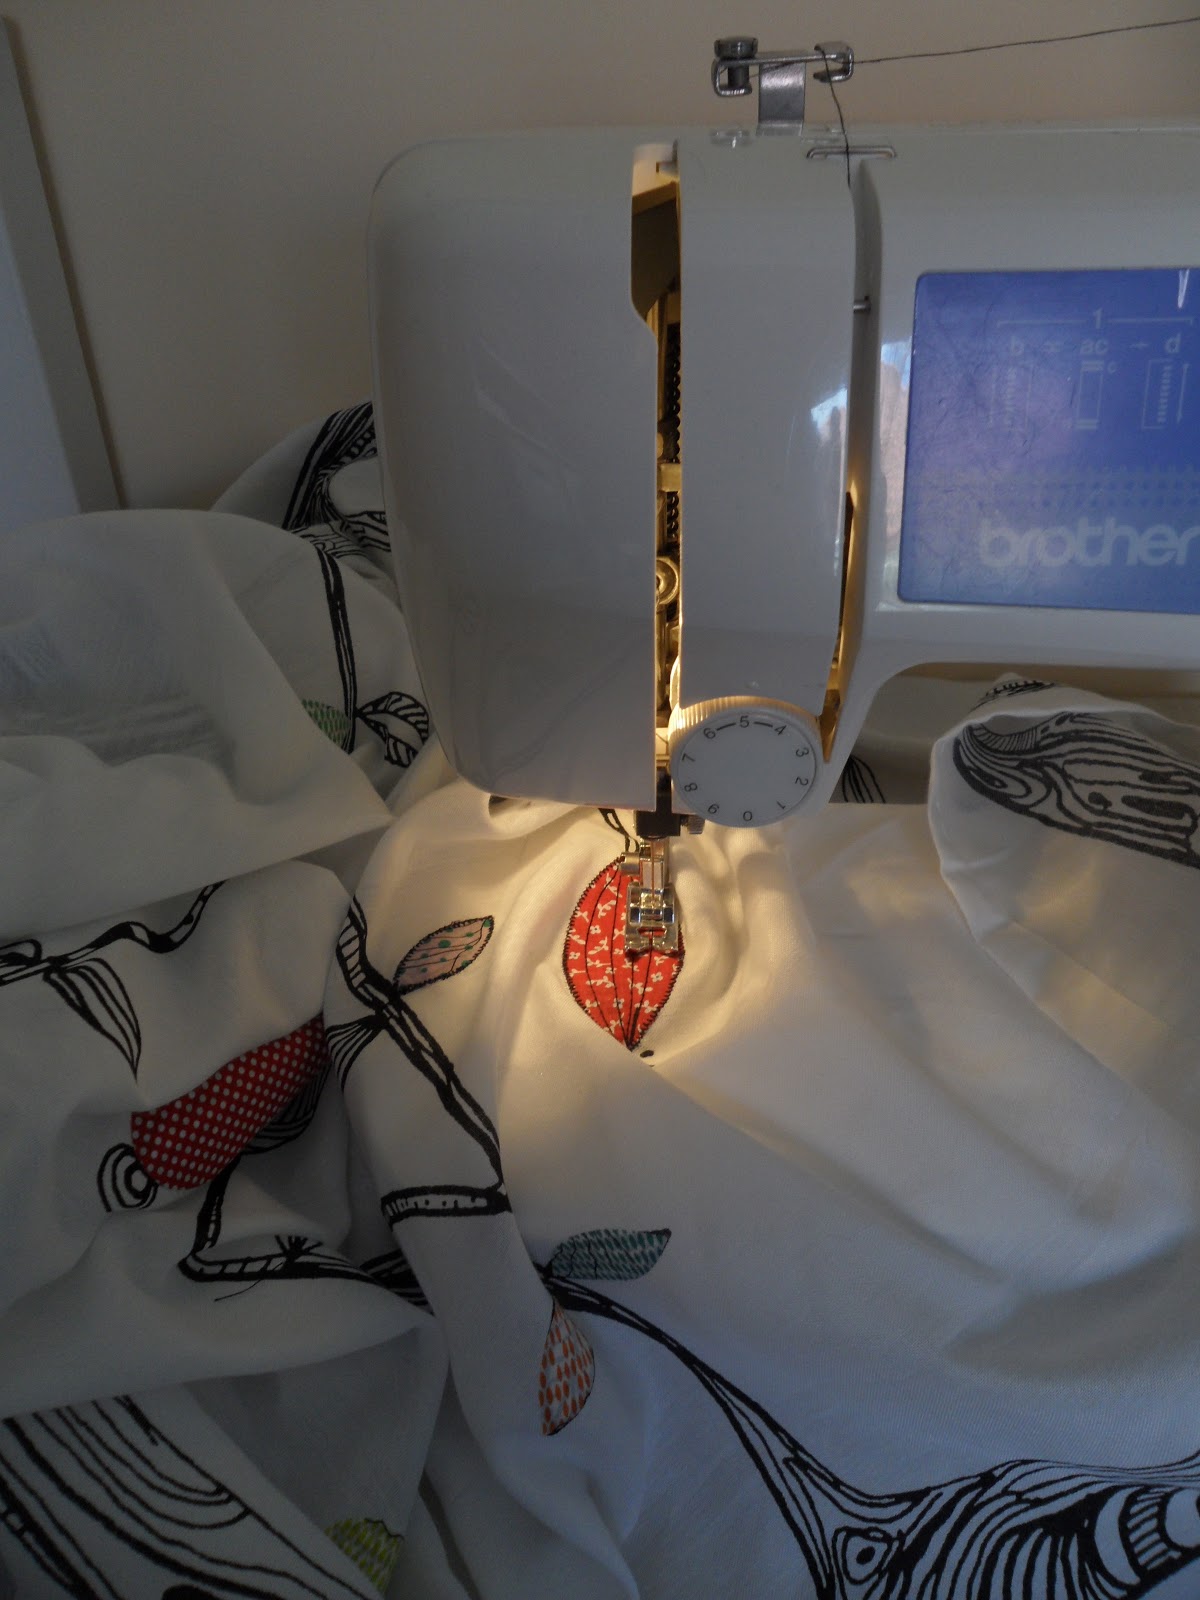 |
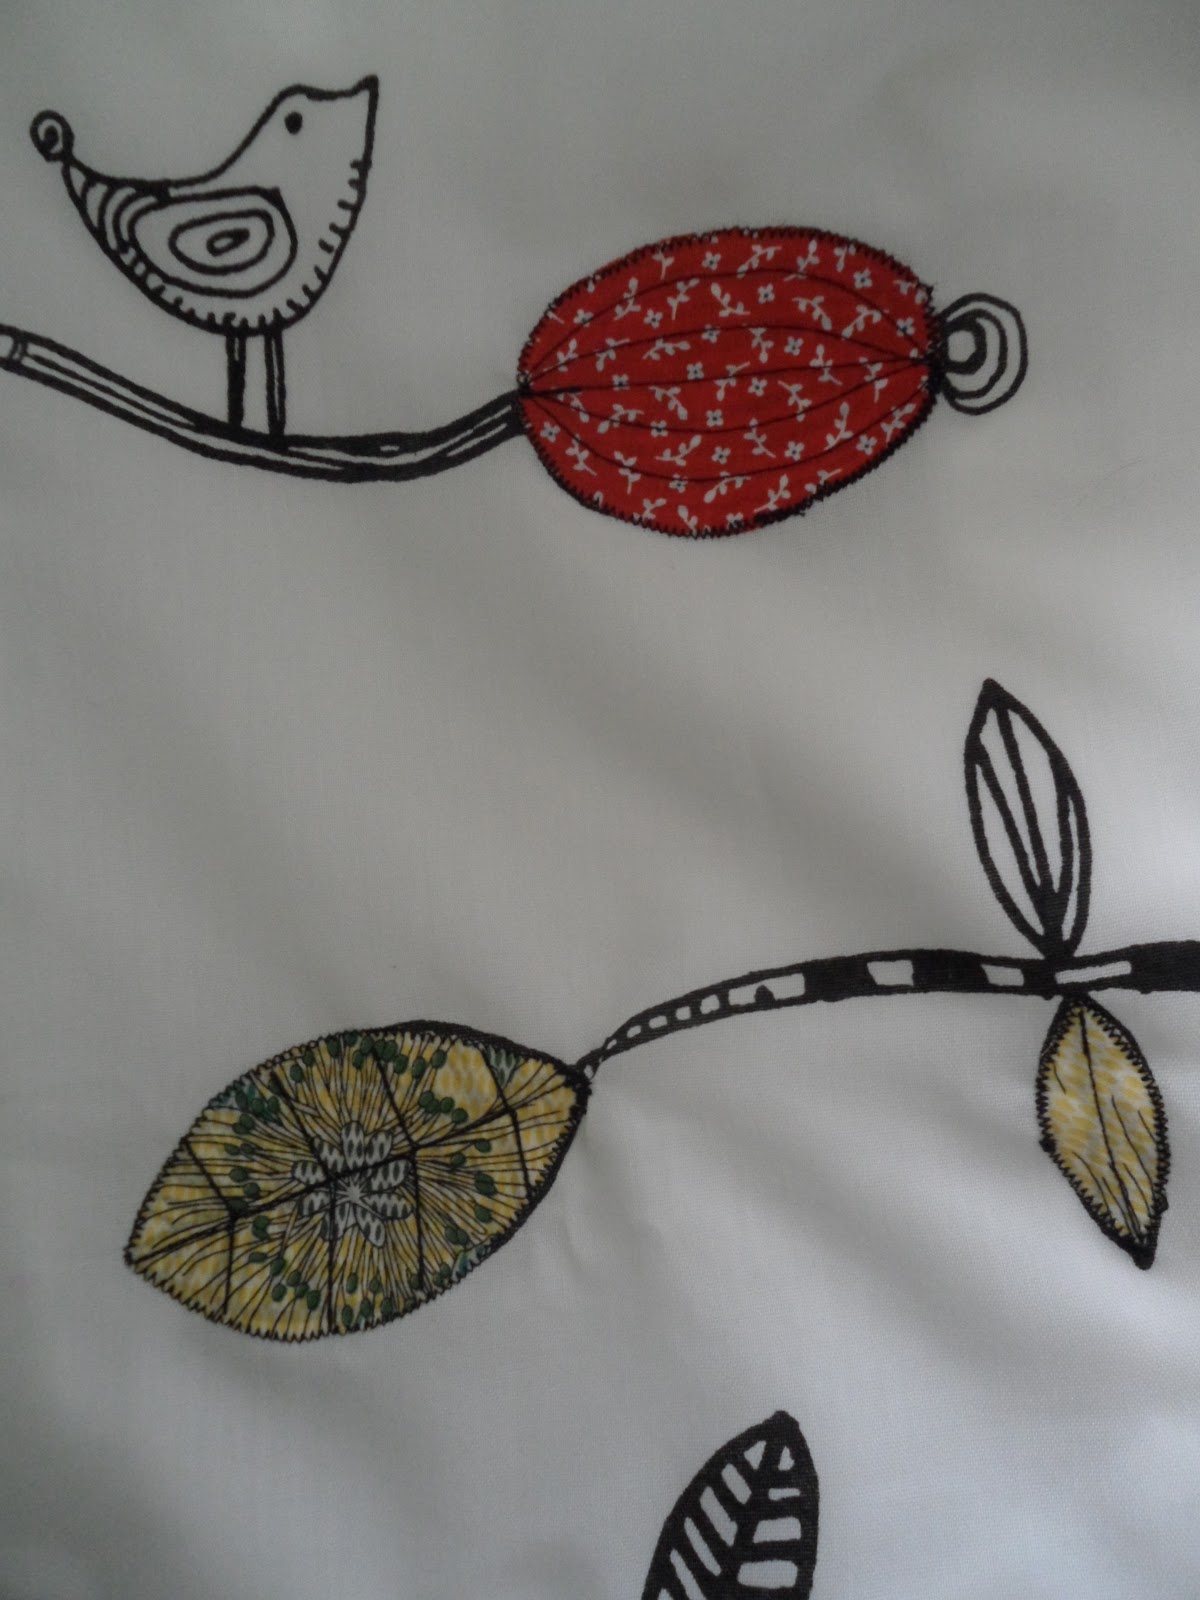
| You can be as creative as you want with your sewing, I used a number 2 zig-zag around the outside and used a straight stitch so sew in vain's. |
AND HERE THEY ARE:
If anyone ever makes any I would love to see them!!!
Tash :o)
very cute. seems quite time consuming but I love the result.
ReplyDelete